2020 Property work - a recap.
Hey everyone on the interwebs…. If you have been following me for a while you know how passionate I am about building this nursery. I want to give you all an update on the progress. We have been busy mapping out the irrigation system, planning where grass will be, where trees and other coverage will be placed along with the hardscape items. This has been a very calculated effort taking into account all the features we wanted to incorporate for our own enjoyment but also for ease of access for patrons and friends to visit the nursery and also creating some micro-climates for shade, tree recovery, and winter protection.
All of these projects require a great amount of patience, cost, and engineering. We started this endeavor working around the water feature for our koi. We have been koi keepers for many years, and they bring us a lot of enjoyment and peace. This is also one of the larger more complicated features to build. You can refer to the blog entries here for your viewing pleasure. https://www.highdesertbonsai.com/blog/2019/10/22/digging-the-pond-and-hard-structure-placement
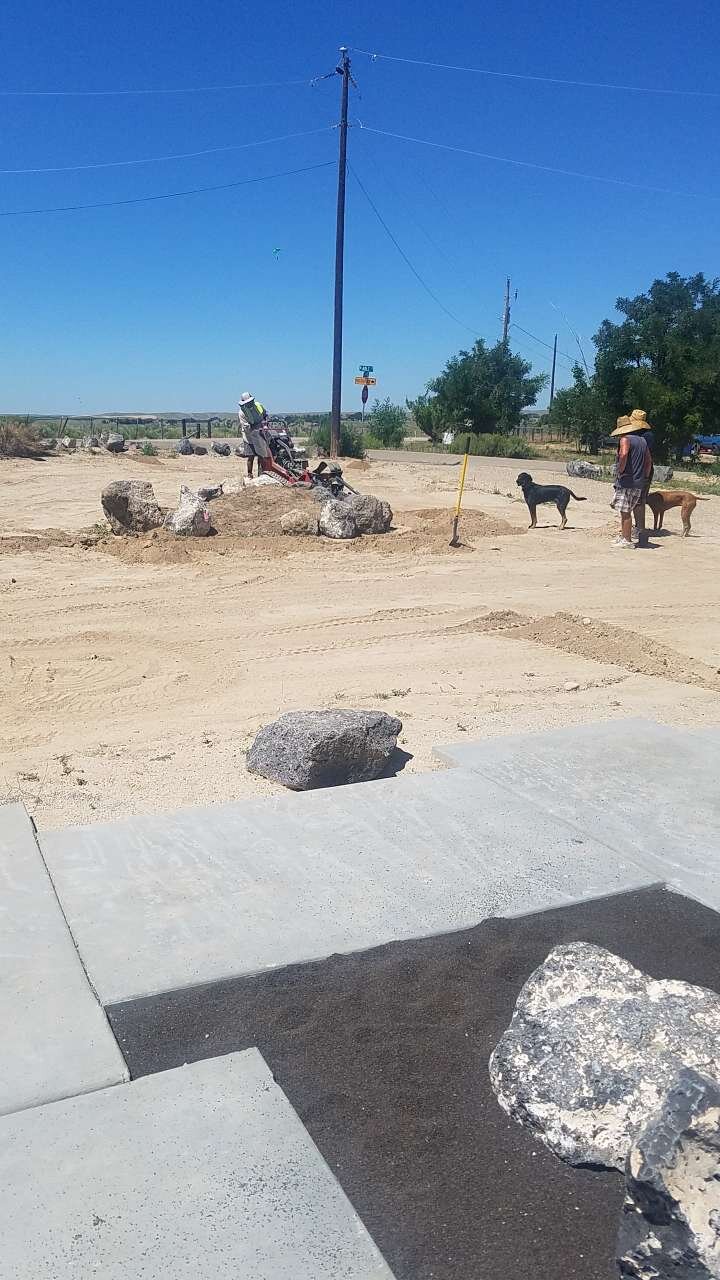
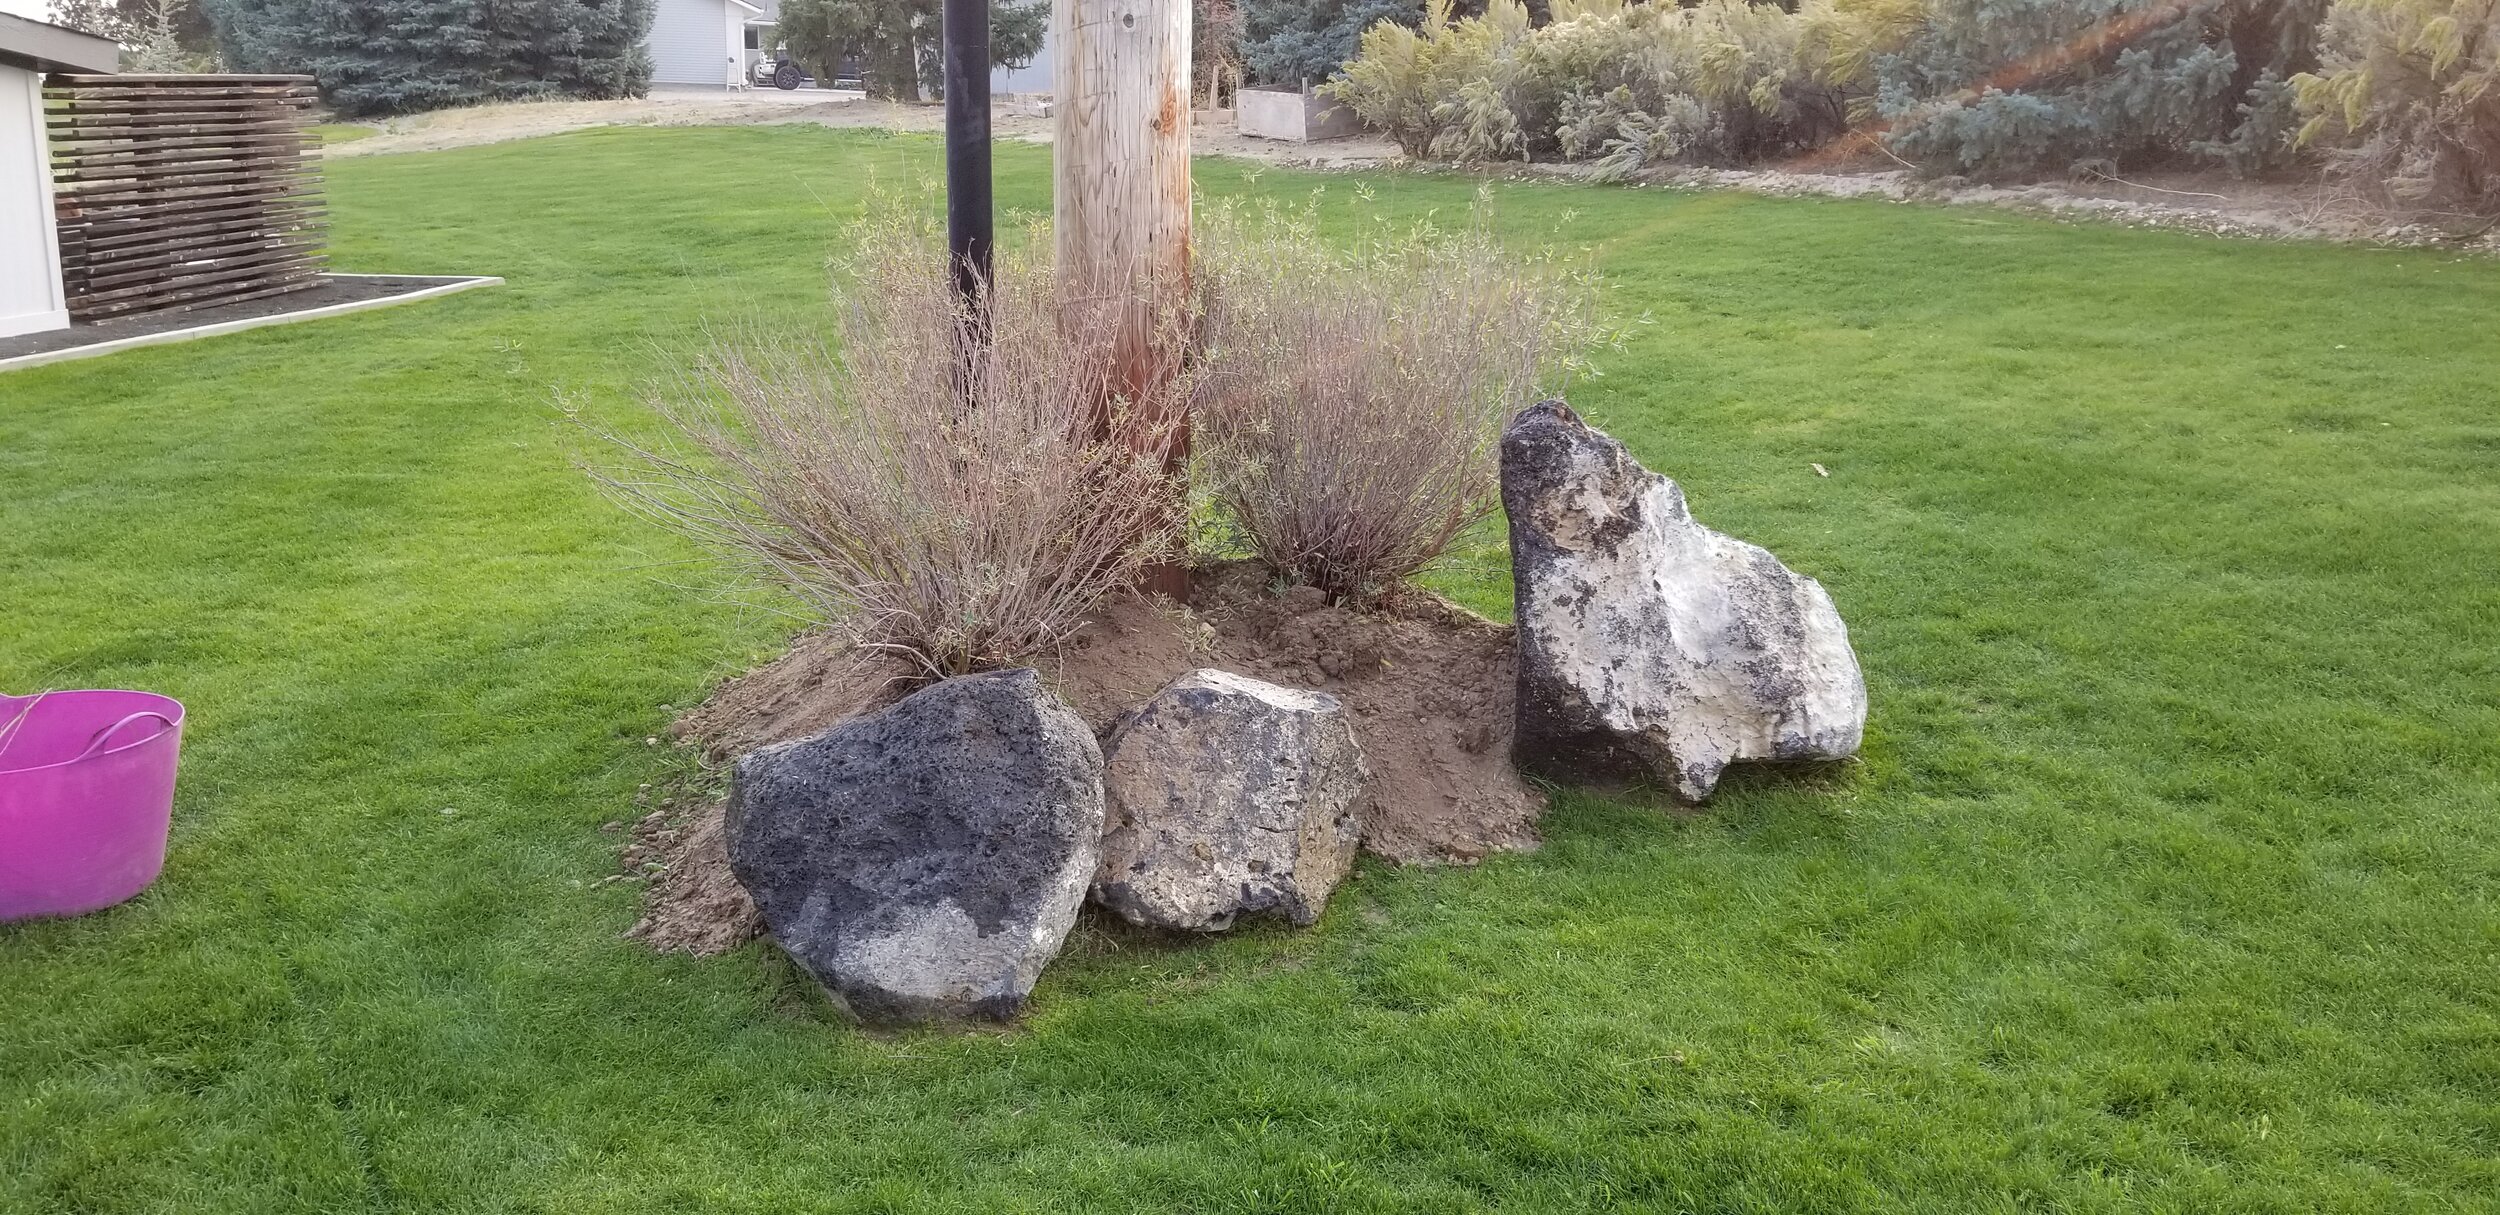
Now that the pond is running, fish are home and the pump house is built I needed to re-grade the property and work out the details for permanent hardscape i.e. boulders/rocks, curbing, decorative rock and in-fill media for planter beds.
Luckily for me that I have a few friends with heavy equipment I can borrow. This makes the effort much easier; I just have to work around their availability. I am happy to say that 95% of the work out here has been done by my family and I. There’s great satisfaction in that statement and it holds a dear place in my heart to look at this work with that gratification.
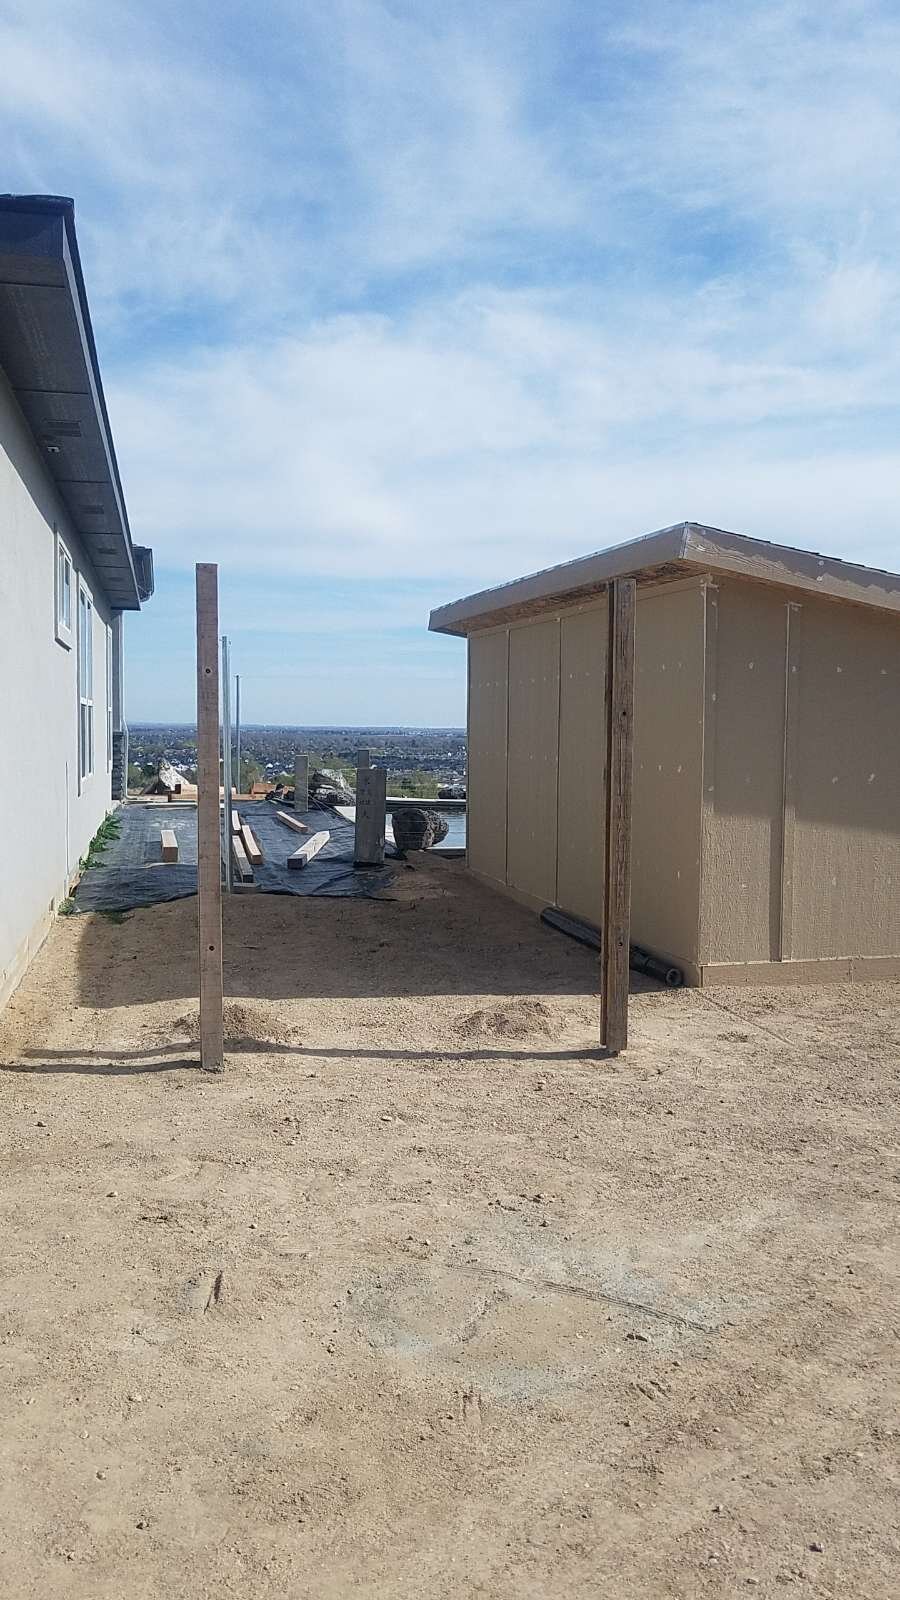
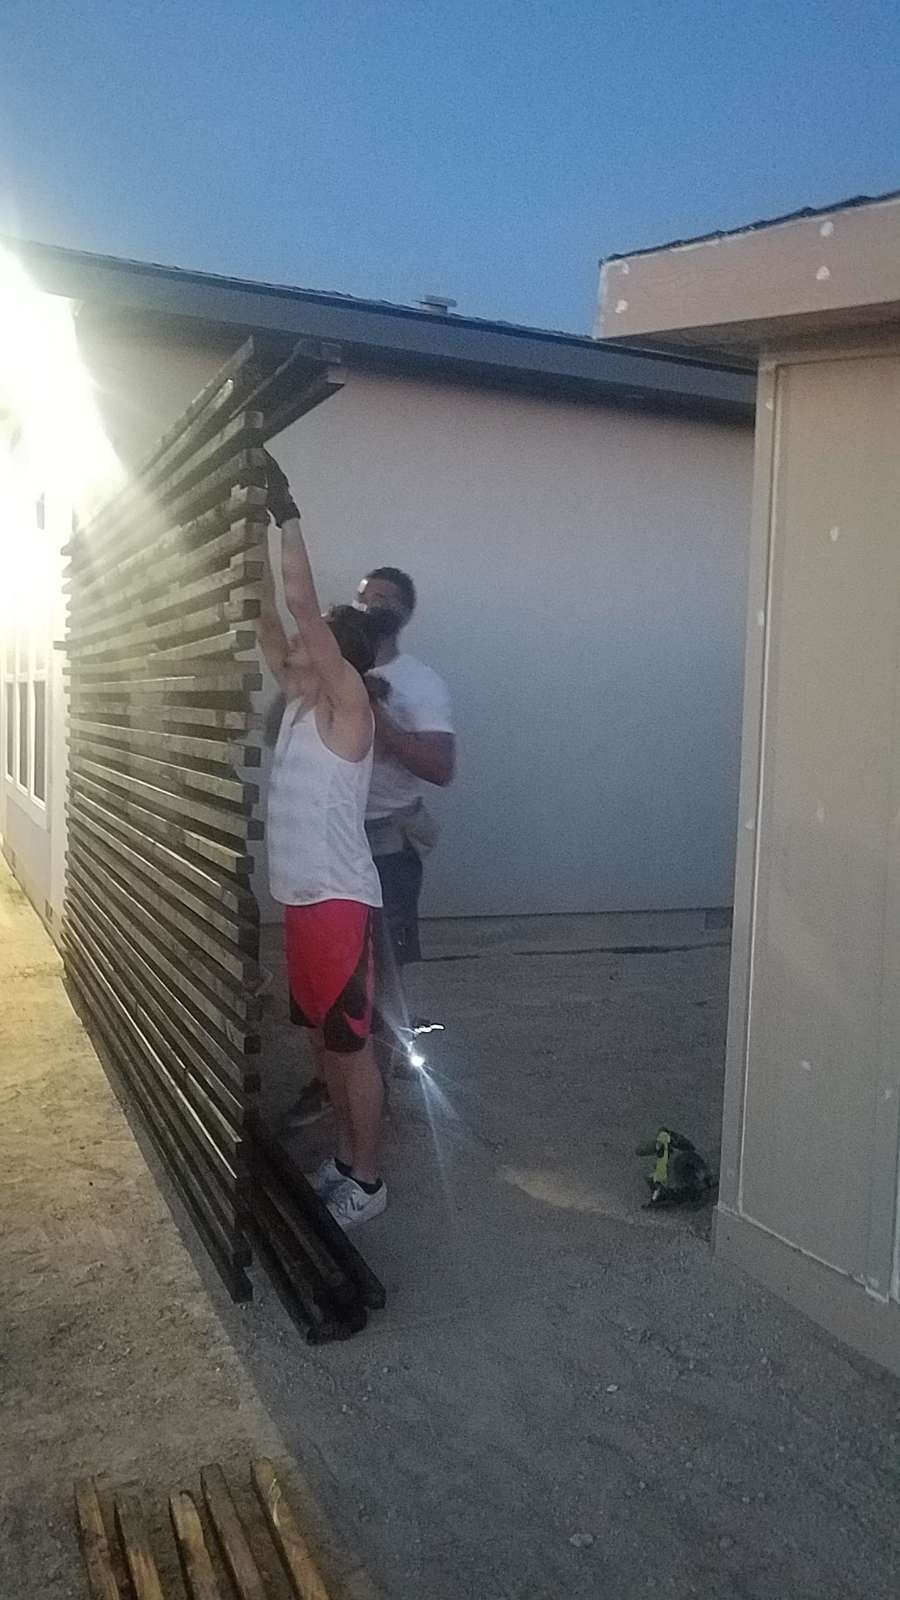
Fencing and creating some visual barriers
This is one of the more difficult things to plan out when you live where we do. The wind blows pretty hard at times (30-50mph). There aren’t many mature trees or structures to provide some reprieve from the weather. That being said, it’s a large factor in what and how we build things out here. Let’s talk fencing… We want a fence that will visually break up space but not be a fortress wall. Something that also looks nice, simple but elegant at the same time. So, we went with this Sho Sugi Ban style fence with telespar posts (square post). This helps to define spaces but also allows for the flow of air and a bit of visual insight for what’s around the corner.


Grading turf area
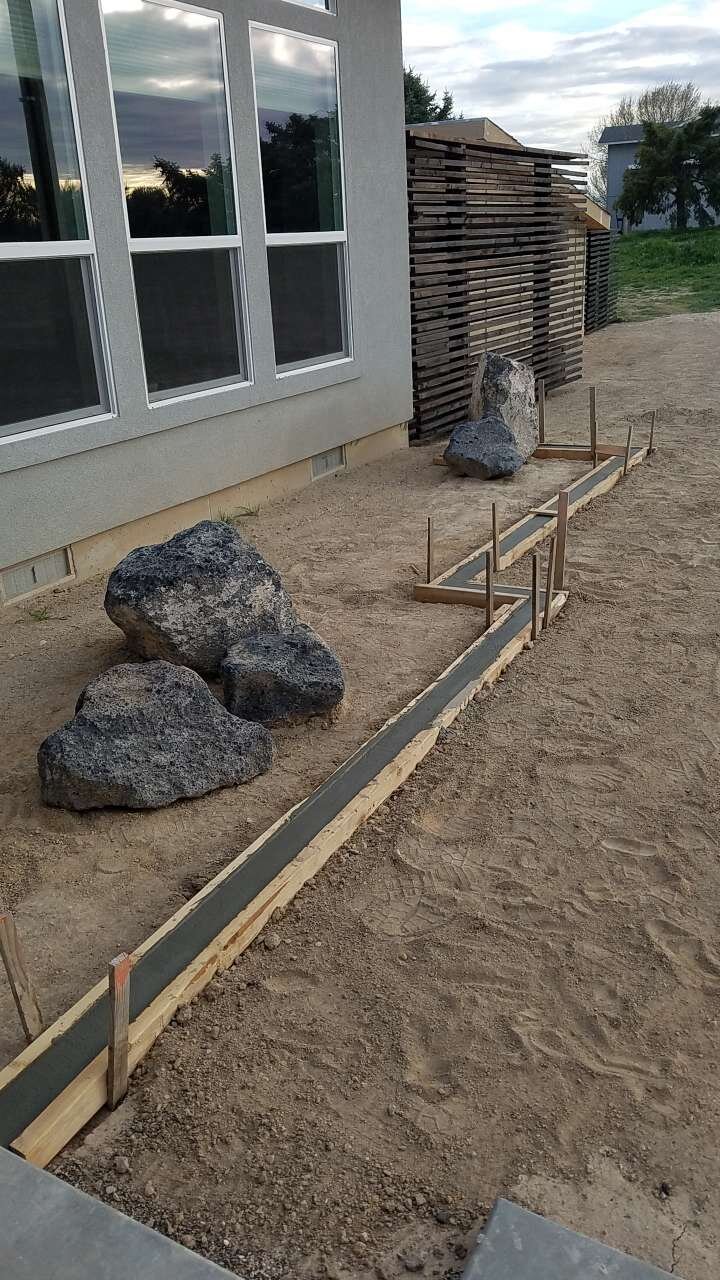
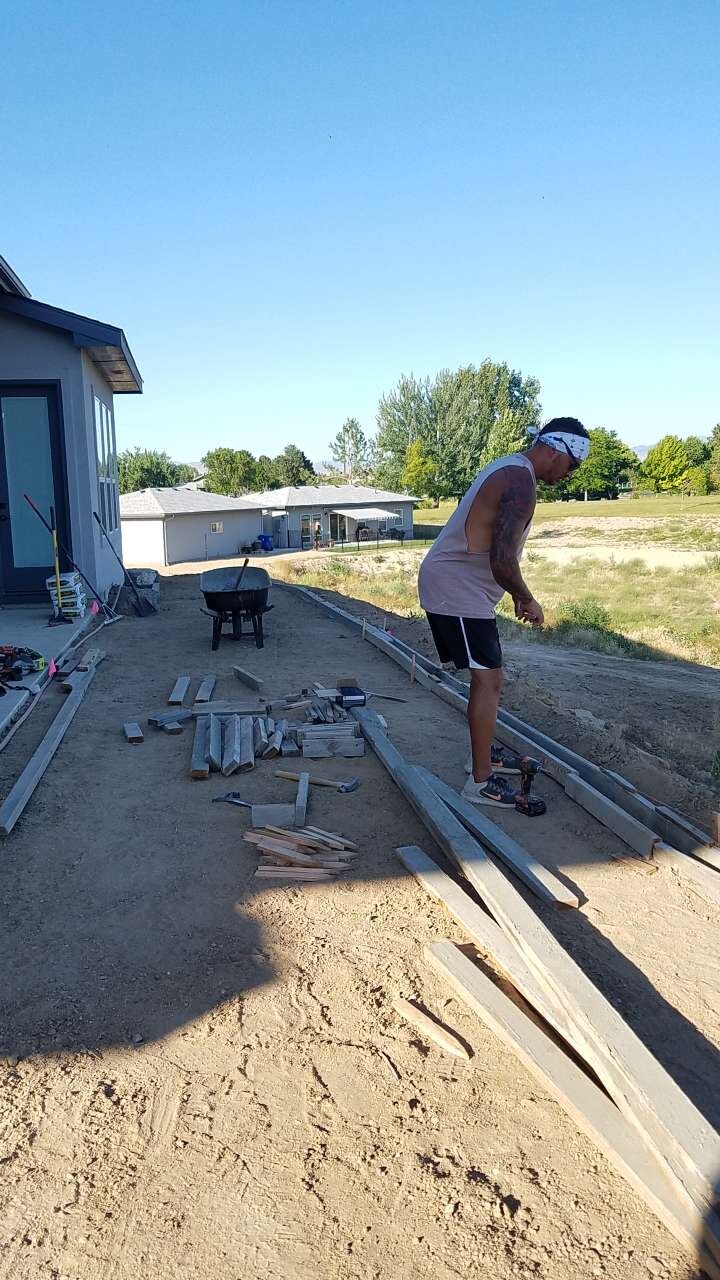
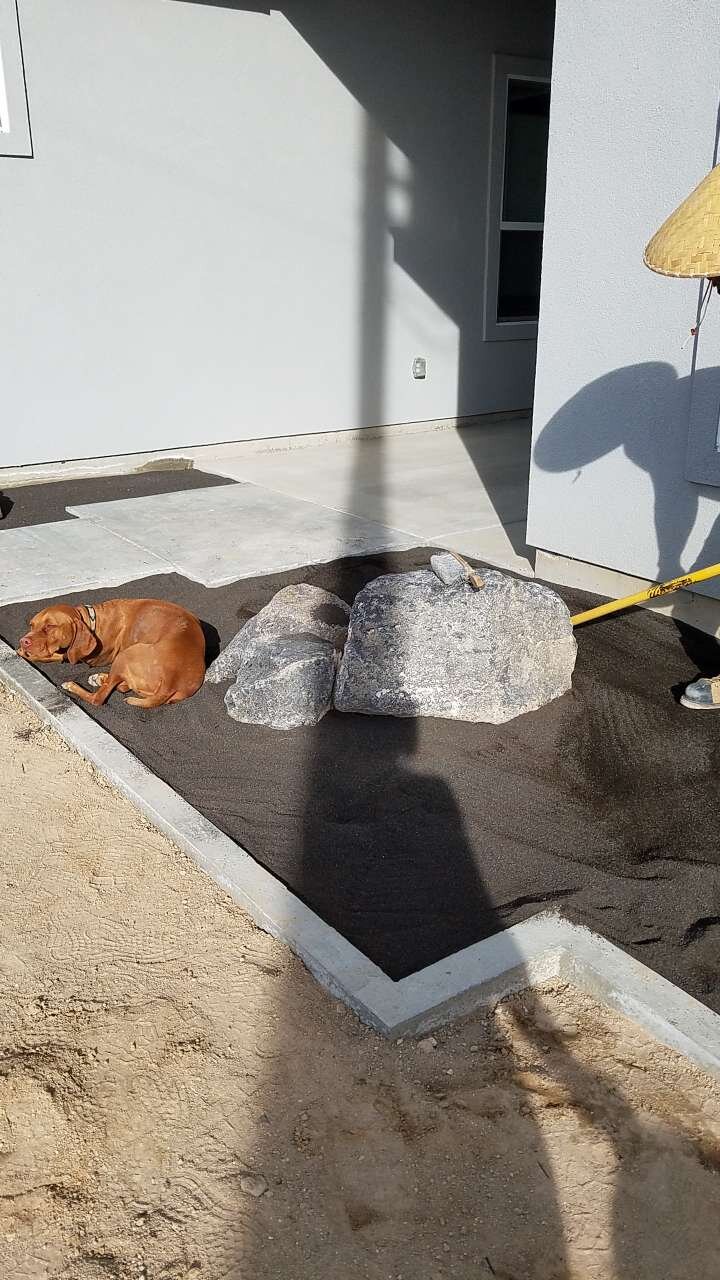
As we finished the pond and bringing in the decorative rock to line the pond we looked at where and how we wanted grass around the house. Some may think, “that’s easy, just put it in and let it grow”. Well, let me tell you that carefully planning out where you put grass and how the access, maintain and walking paths is very important. We are covering about ¾ of an acre in grass mixes. That being said, we have a riding mower and I am trying to minimize any mowing that may require a walk-behind. All this with the concept of minimal string trimming against free moving items like rock, gravel, sand, freshly planted trees, or flowers. Speed, simplicity, and aesthetics all play a part in the composition. I don’t want to spend hours a week mowing or trimming the yard if I can help it. I would rather put that time into trees or getting out of town to collect. I do however want to have a nice yard and nursery for my family & friends to visit. The big takeaway here = be logical. Space out your plantings, put up borders or curbing or edging where you want the grass to stop and other elements to start. Think about watering, be responsible, and think about conservation. Get species of grasses, plants, trees, etc. that flourish in your native climate. Put up the shade on the west side of your property or area you need coverage from the afternoon sun. Leverage structures or shade cloth to supplement until trees fill that need. In my case, most of these things are being built-in right from the get-go. We don’t have mature trees or lots of shade, but I can change that! We built curbing around the edges of elements and also in places to provide erosion protection or to simply delineate areas. We used a lot of concrete to fit the motif of our design. We used it for walking paths, concrete posts for areas around the pond, and also as top caps for the pond itself.


Trenching and sprinkler install
Now that all the major structural components were installed it is mid-July with the heat hitting the triple digits. So with heat this high why not spend more time out in it getting sun burnt! Let’s install a sprinkler system!


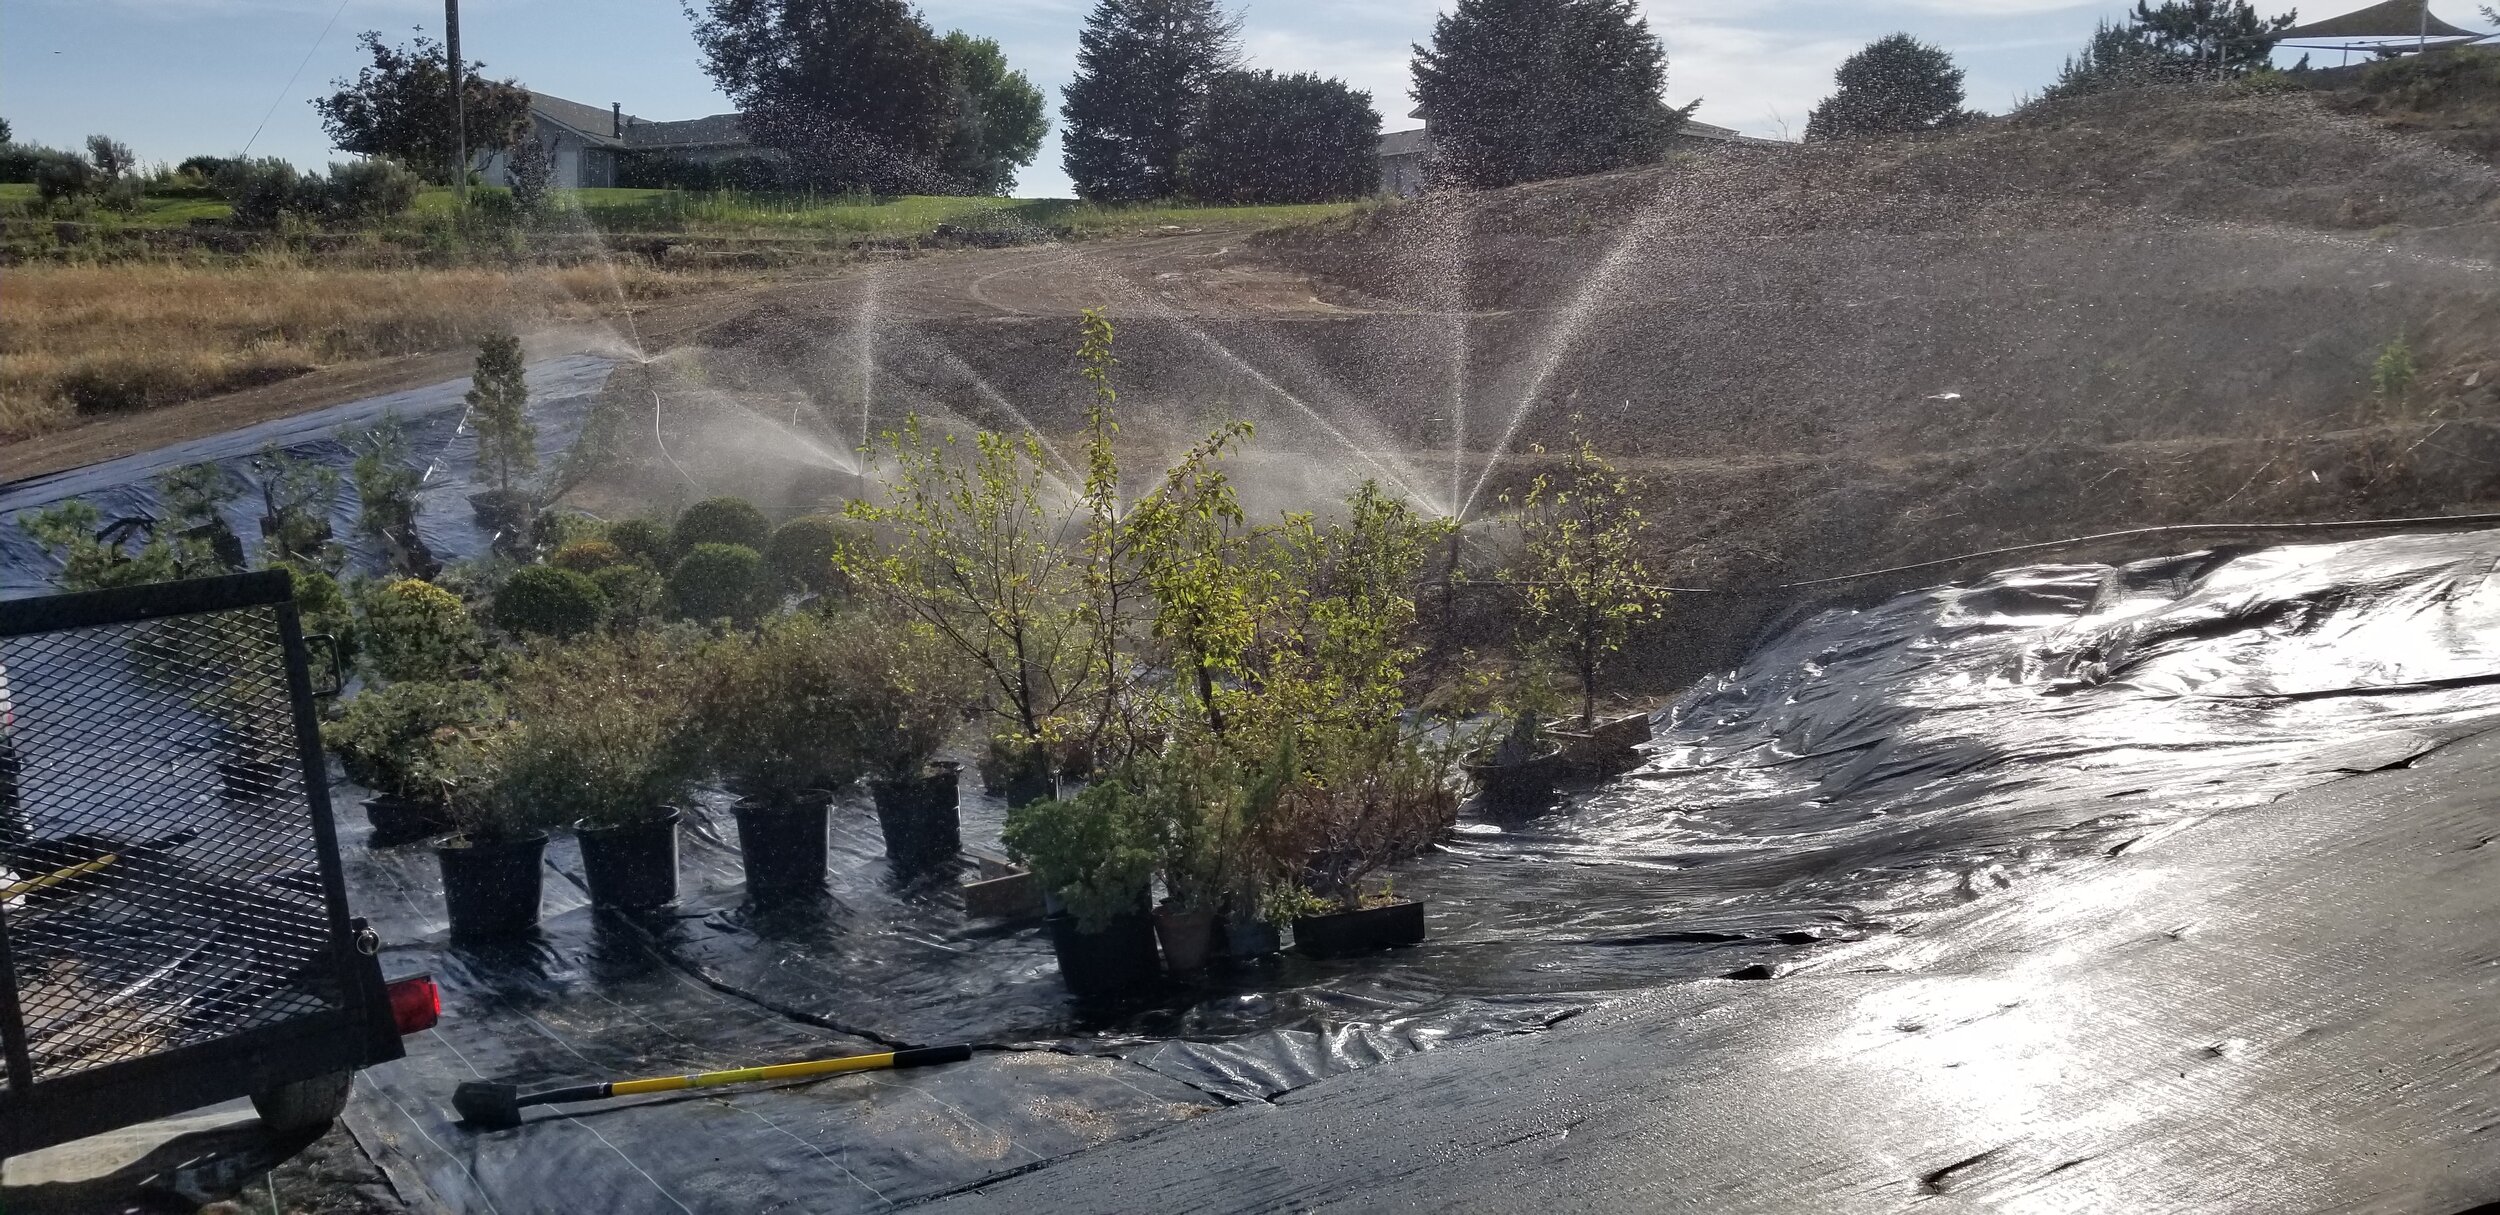
So returning to the idea of conservation and efficiencies. I went with MP Rotor heads for sprinkler heads and setup the property to leverage multiple zones with options to expand if needed. I ran 1.5 in line from the well to the valve boxes and added irrigation to each of the terraces. This not only made life easier it gave us much better coverage with access to water on almost the entire property. I normally have to haul around about 500-600 linear feet of hose to reach the terraces. Having these lines underground and ready to use with a simple hose bib means I can quickly expand and add in supplemental water anywhere needed.
Final grading
Once the sprinklers were installed and tested I re-graded the property filling in low spots and preparing for curbing in areas not yet completed. We also build a nice Asian inspired fire pit out of concrete. I must admit it looks like something out of the animated series “Avatar The Last Air Bender” – great series if you haven’t seen it already!


Time for hydroseed and trees!
With water and sprinklers installed it is time to hydroseed. The guys at A&D Hydroseed are beasts, they knocked out our property in about 90 minutes. It feels amazing having the grass in and keeping the dust and dirt to a minimum.


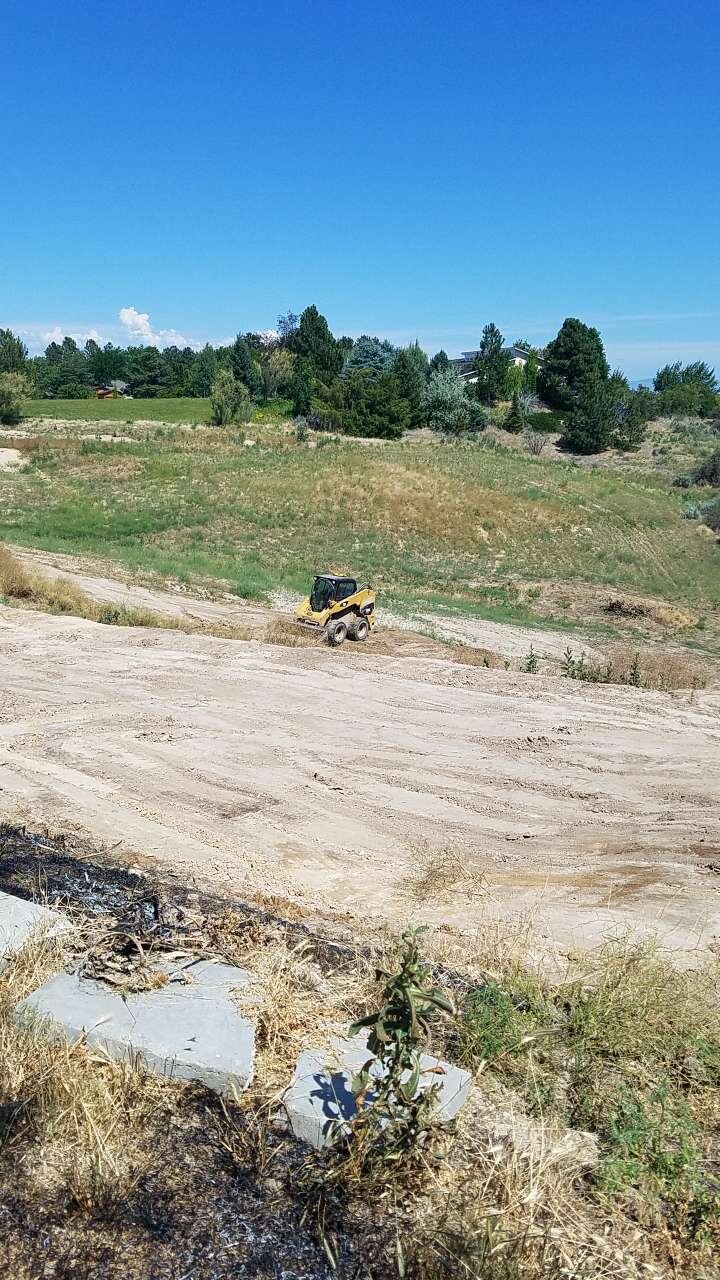
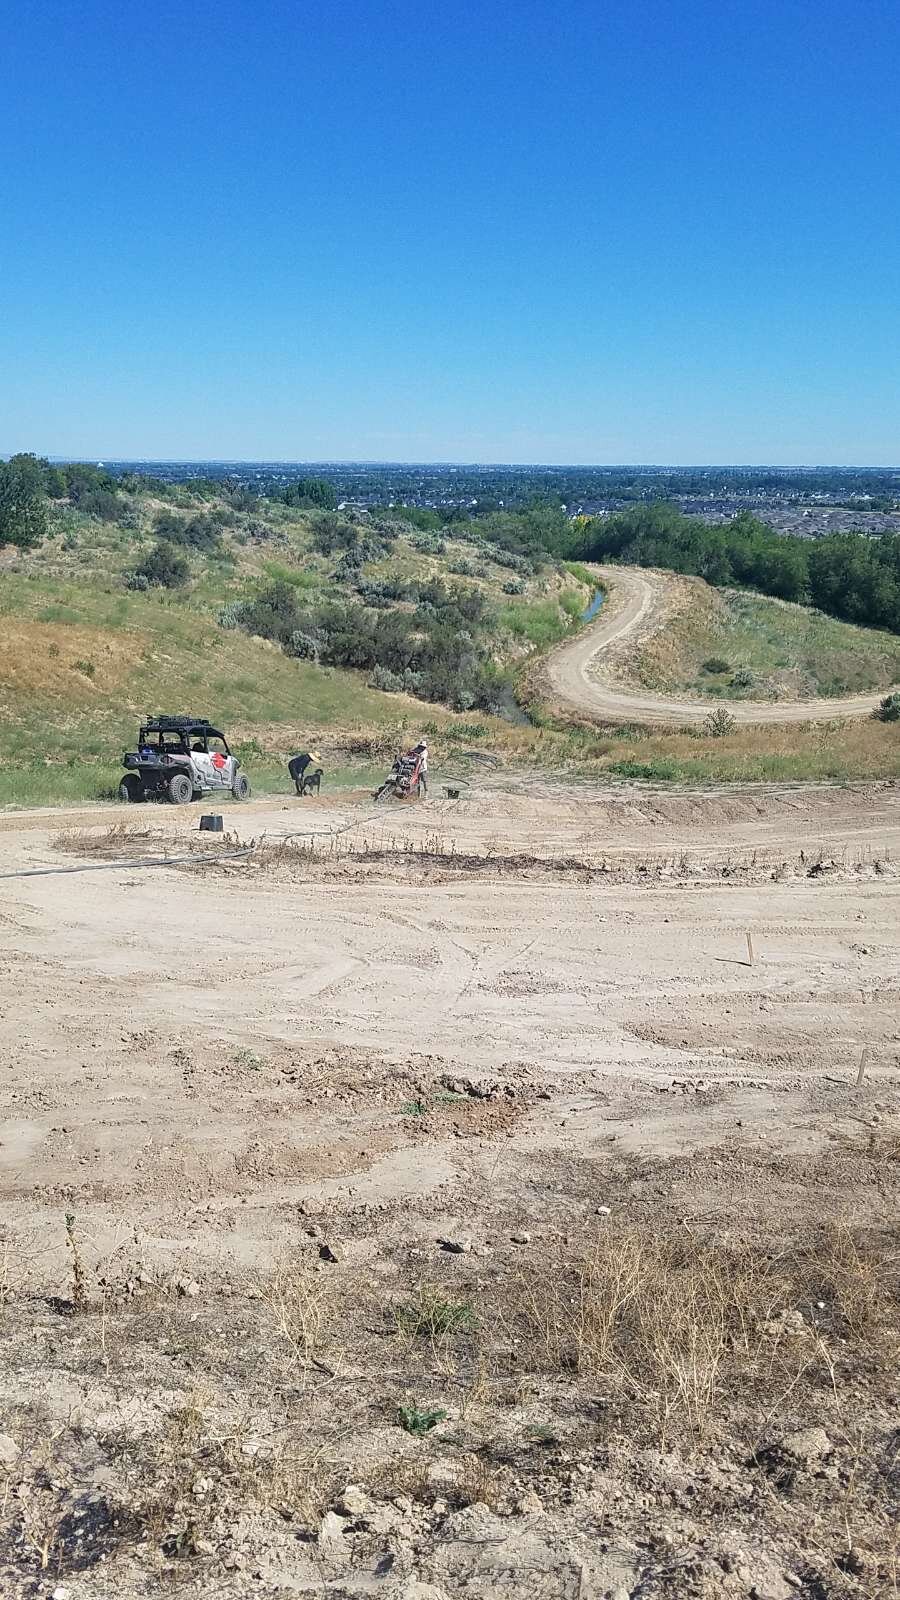
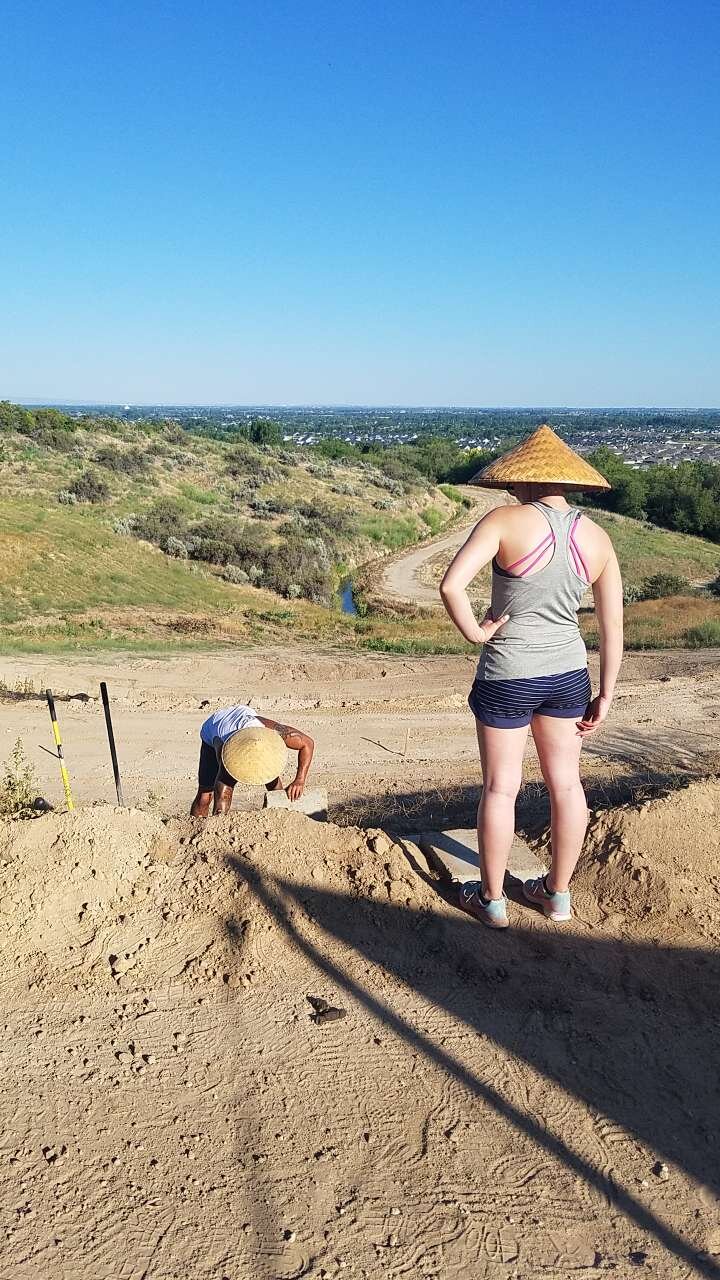
Terrace re-design
Now onto the heavy equipment and dirt moving. With the curbing set, fencing built and the grading basically set for proper runoff and slope. I am now working on rebuilding the terraces below. Initially, the terraces were built to serve two purposes: 1- to connect the sloped areas with the flat areas for tree delivery and walking paths. 2- to allow for storage and growth of trees on alternating terraces. This albeit a strong concept proved to be too difficult to fully utilize when moving large heavy trees. It is also a challenge when you pull a trailer to walk up and down unloading/loading crates, Anderson flats, or potting mixes. The first design concepts placed 9 terraces on the downhill slope below our home allowing me to leverage 5 of the 9 total terraces for storage, growing, etc. What I decided to do is to re-cut in the terraces; taking 3 of them and making one large deep and wide single terrace. Thus allowing me to drive on and create structures at each level. I plan to use each level to serve a different purpose i.e. top terrace directly below the house – this will be for finished trees and my personal main garden collection. Terrace #2 will be for yamadori stock that has fully recovered and is ready for sale and or workshop treatments. The last terrace or 3rd terrace is for newly collected trees or trees requiring a bit of reprieve from the elements. Being the lowest area on the property it gets the lowest amount of light and wind exposure.
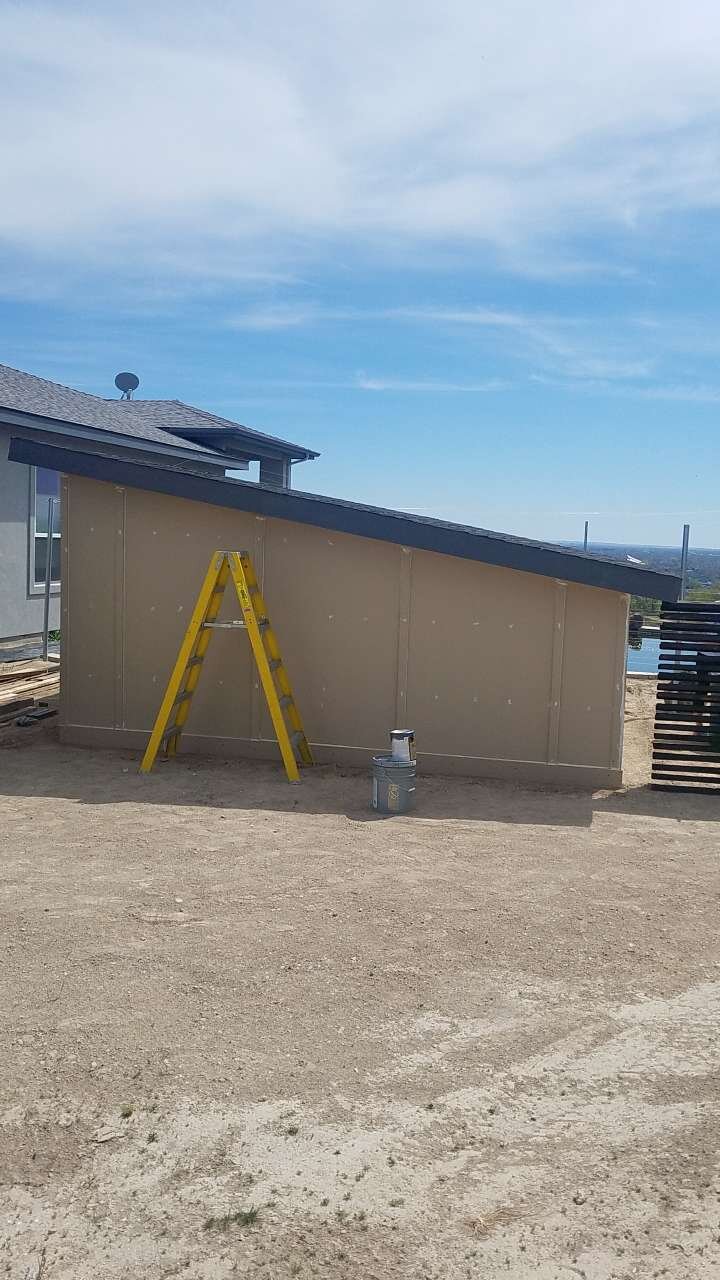
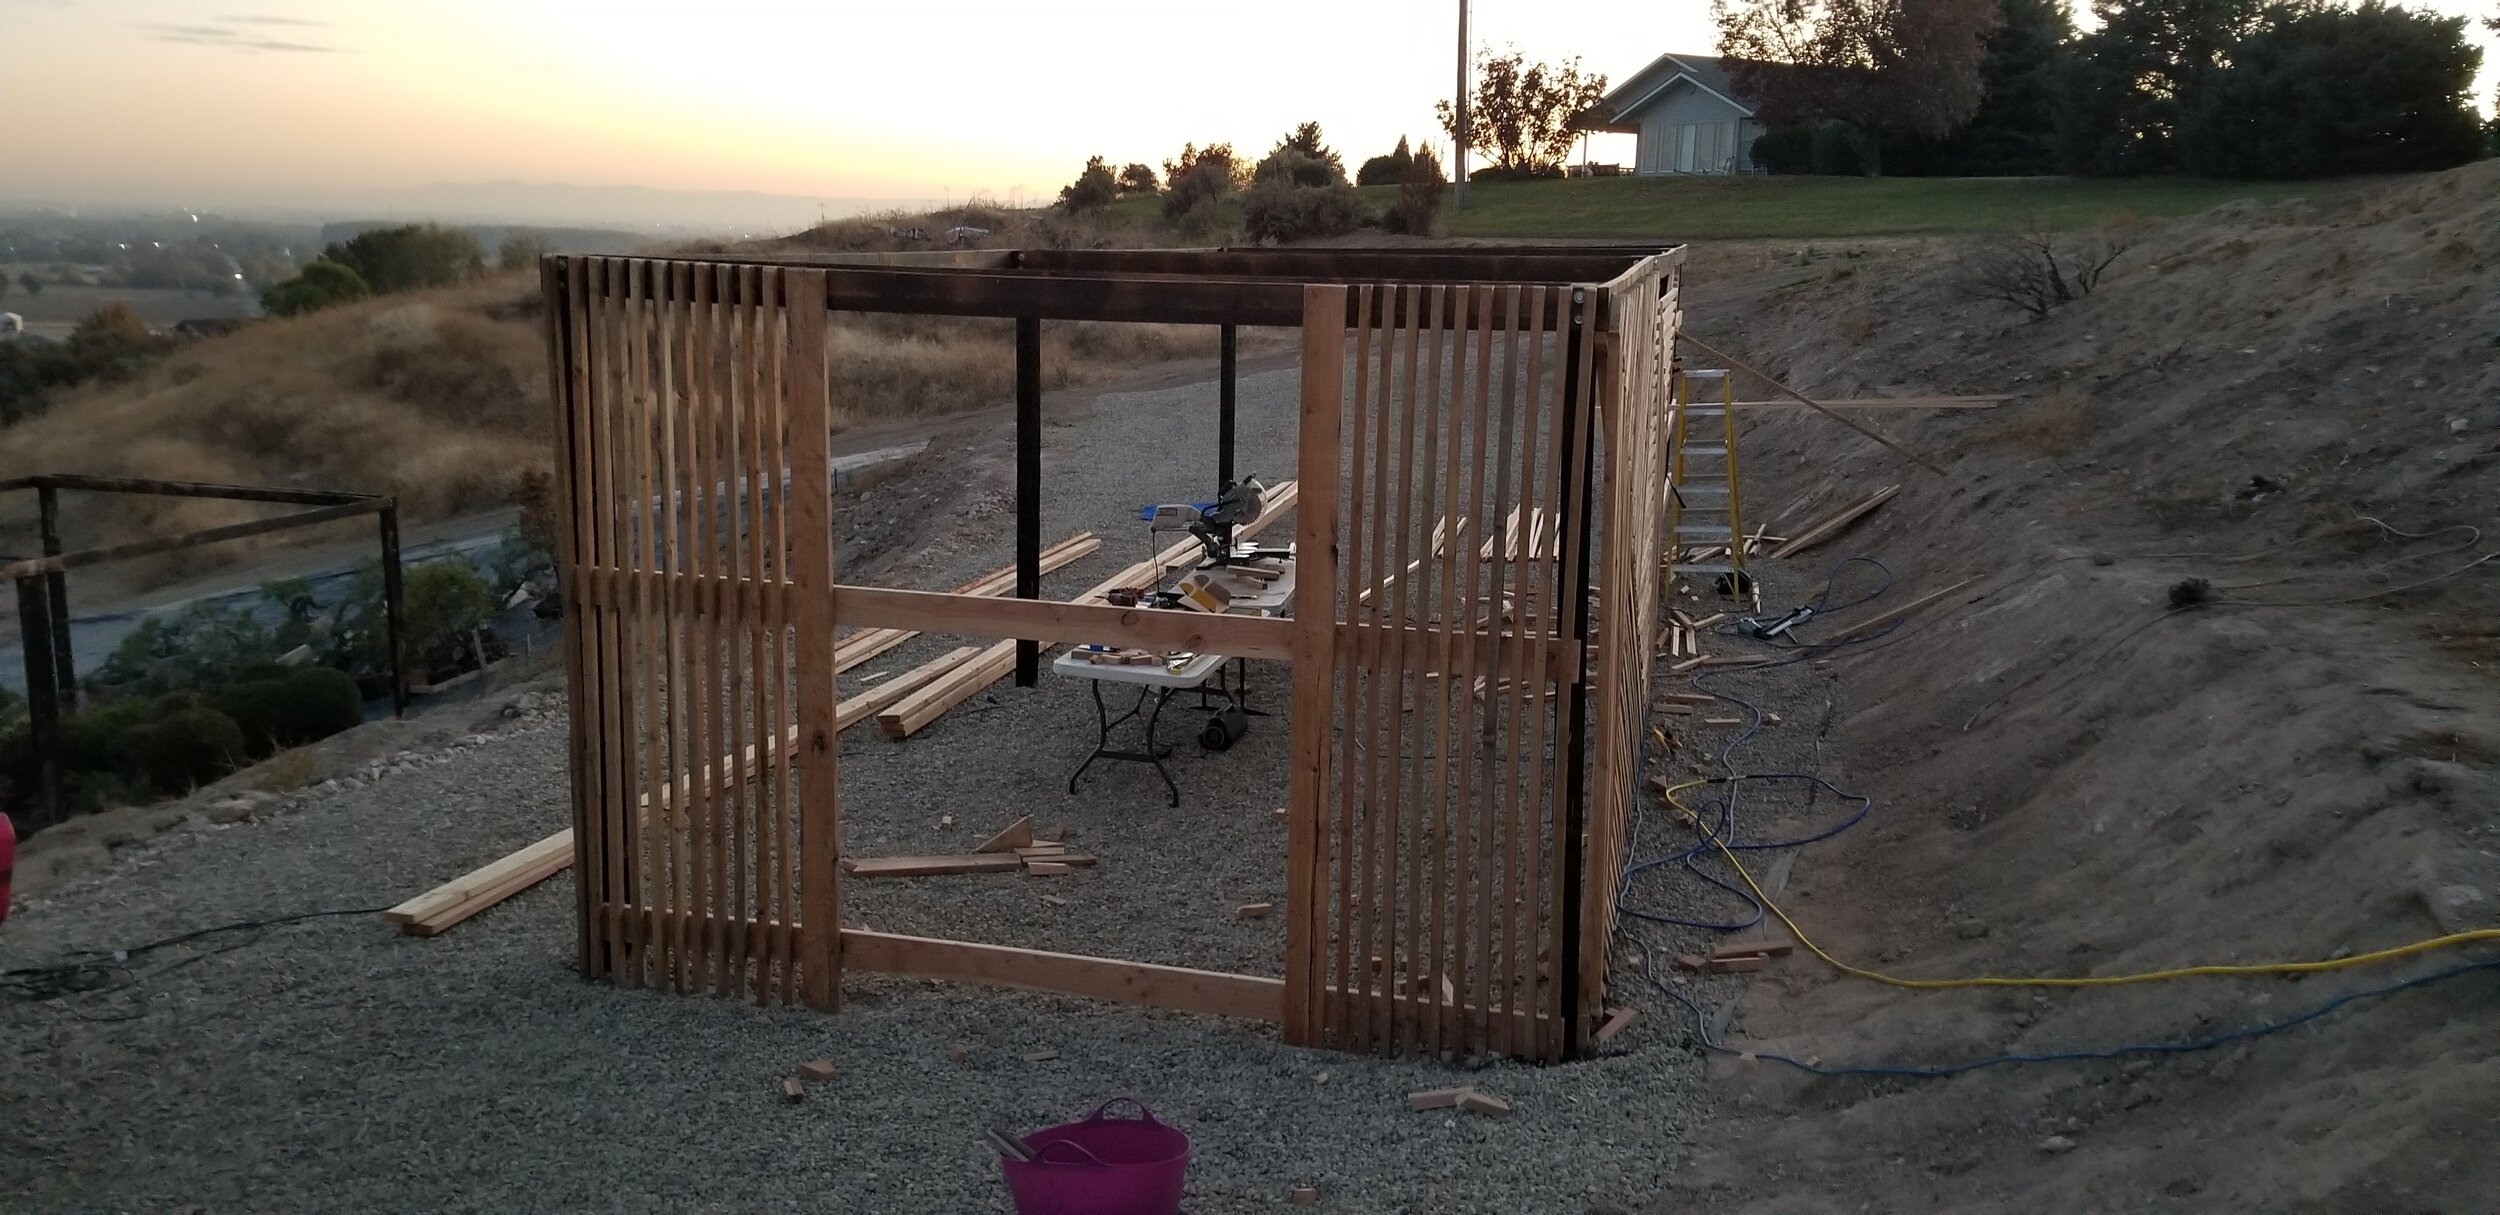
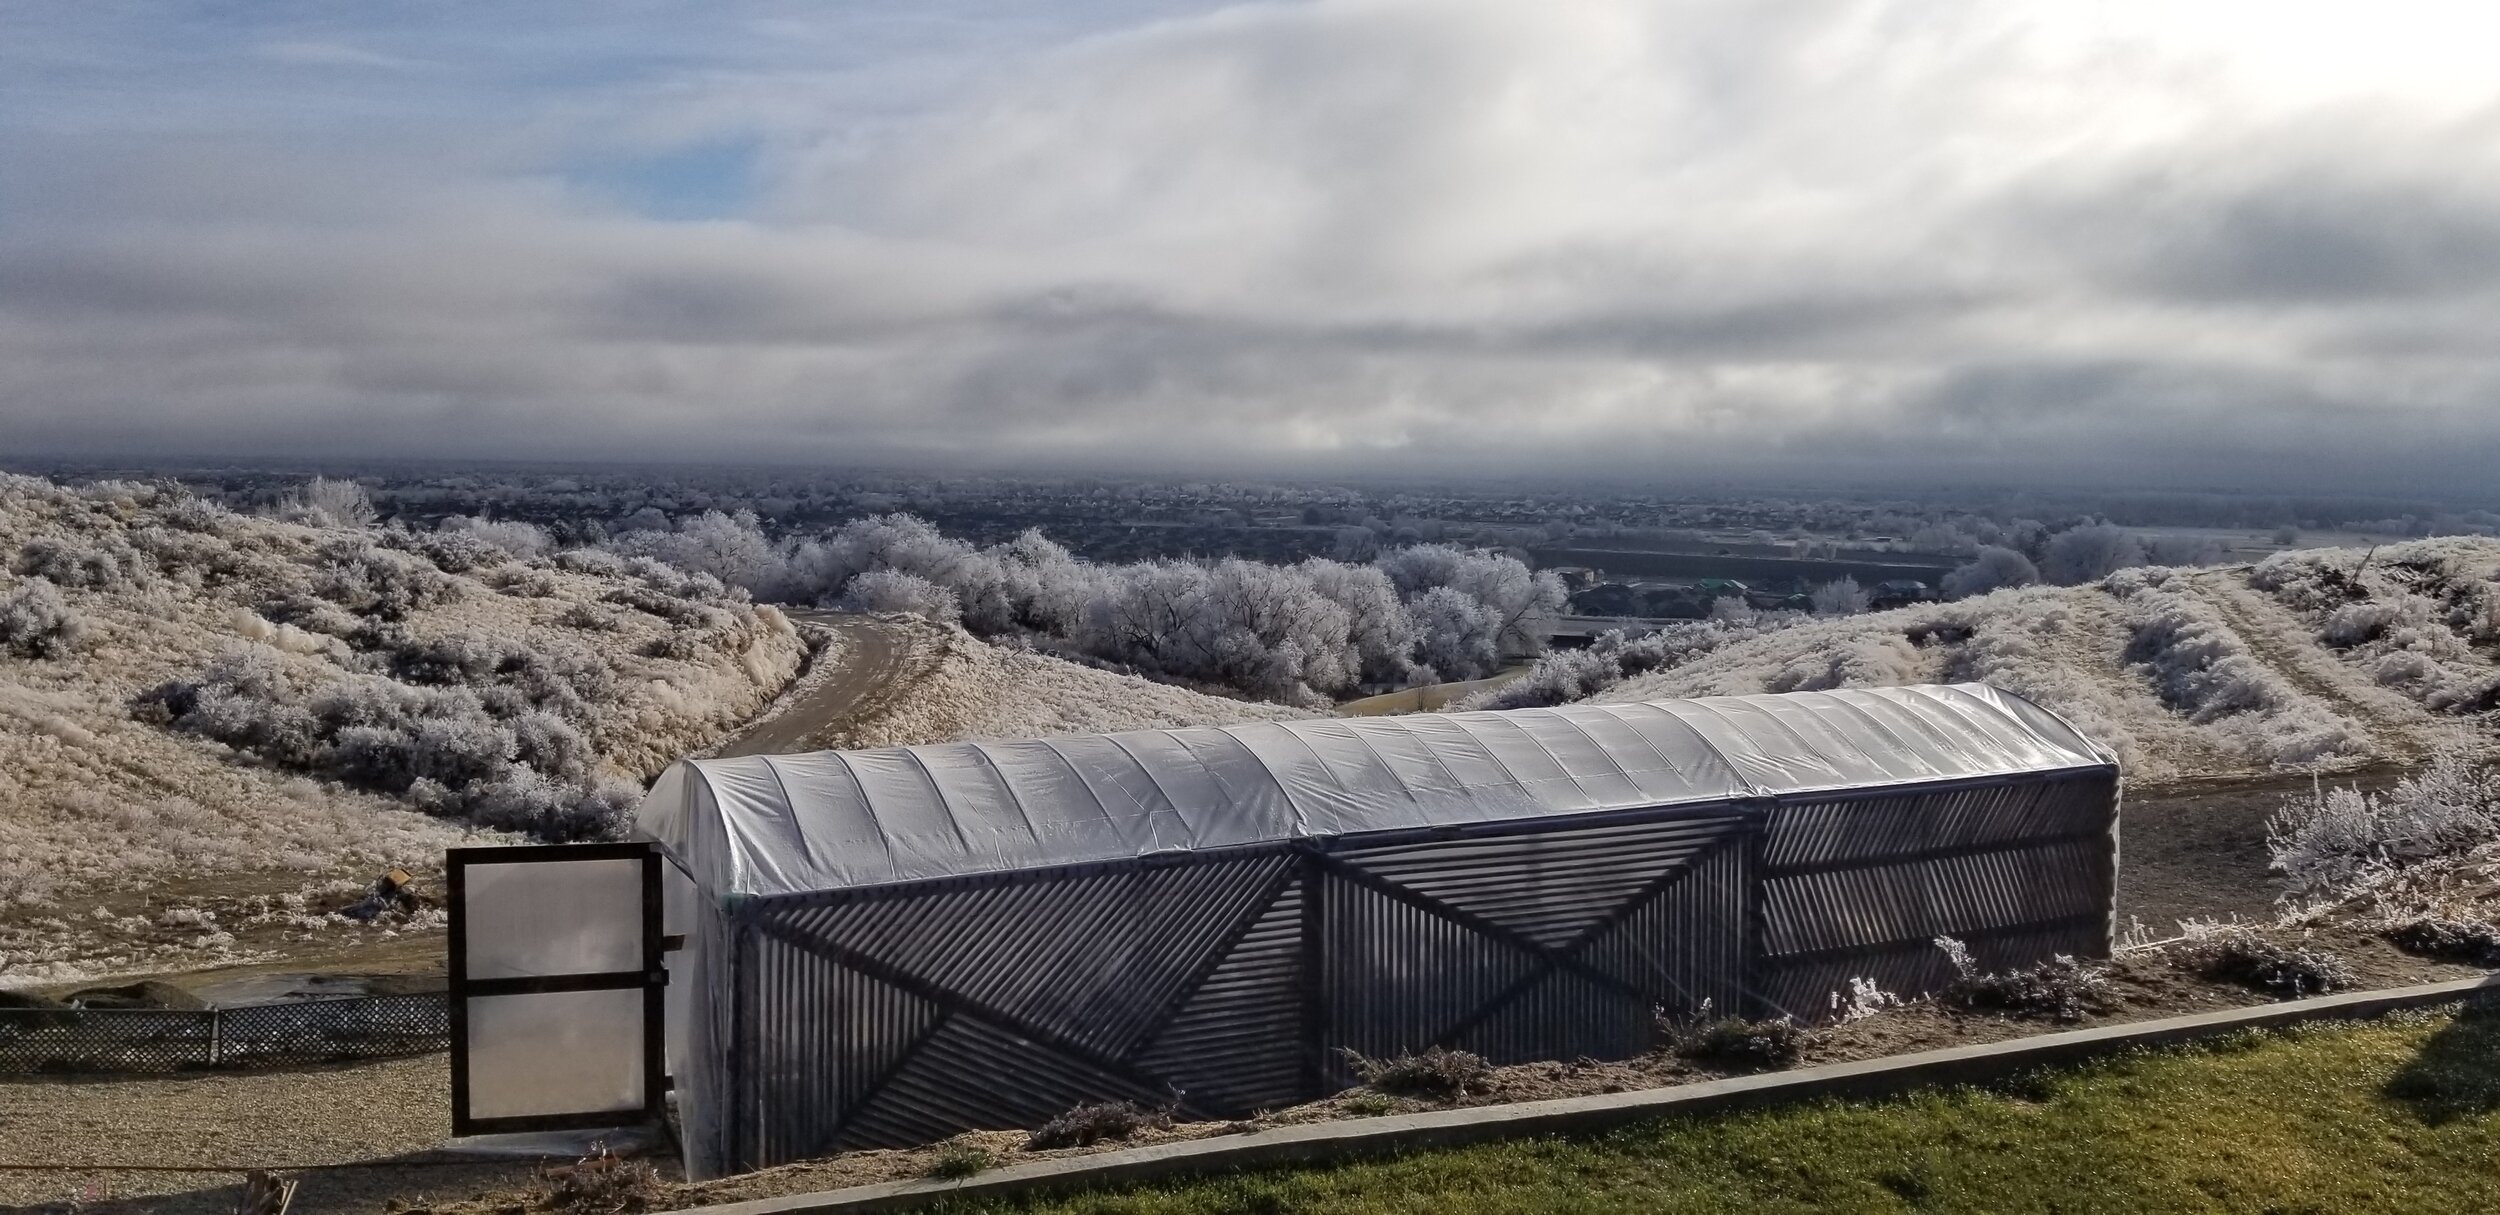
Shade & Greenhouses
Our environment is tough for growing in containers. The temps in the summer often reach into the triple digits and there isn’t any humidity in the air. Equally as tough are our winters with long cold spells with wind and low humidity swings too. My idea is to build pressure-treated structures that serve both purposes (Greenhouse in the winter and then shade structure in the summer. With water now at each terrace and the ability to monitor temps, humidity and add water when needed my dad and I began setting the structural posts. The idea is simple really as you will see. Set corner posts with cross bracing and then some cosmetic backing facing the home. This will also double for shade in the summer and a nice cosmetic touch visually. The top will be covered with center support and hoops to support the poly plastic & snow load. Then in the spring, the poly will be removed and the center post and hoops removed to add shade cloth. I have installed lighting, fans, and water to meet every need for warming (if needed) air circulation and also propagation of cutting, etc. The two initial structures are 70’x16’ and 56’x16’.
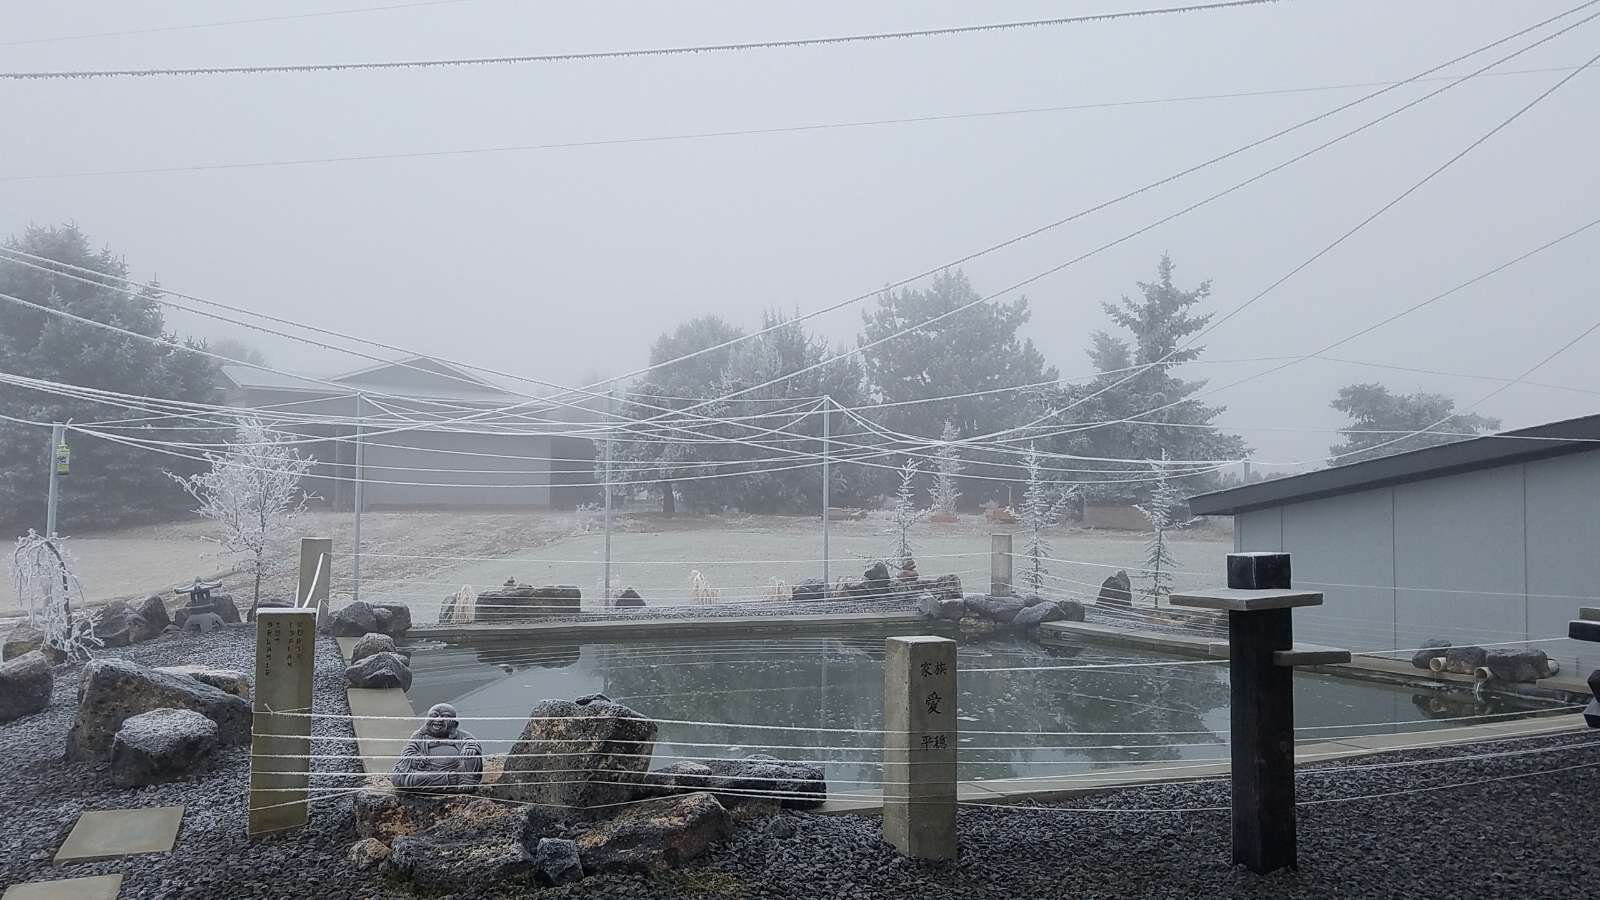
Now it’s time to move the trees in and prepare for the long dark…. “Winter is coming”


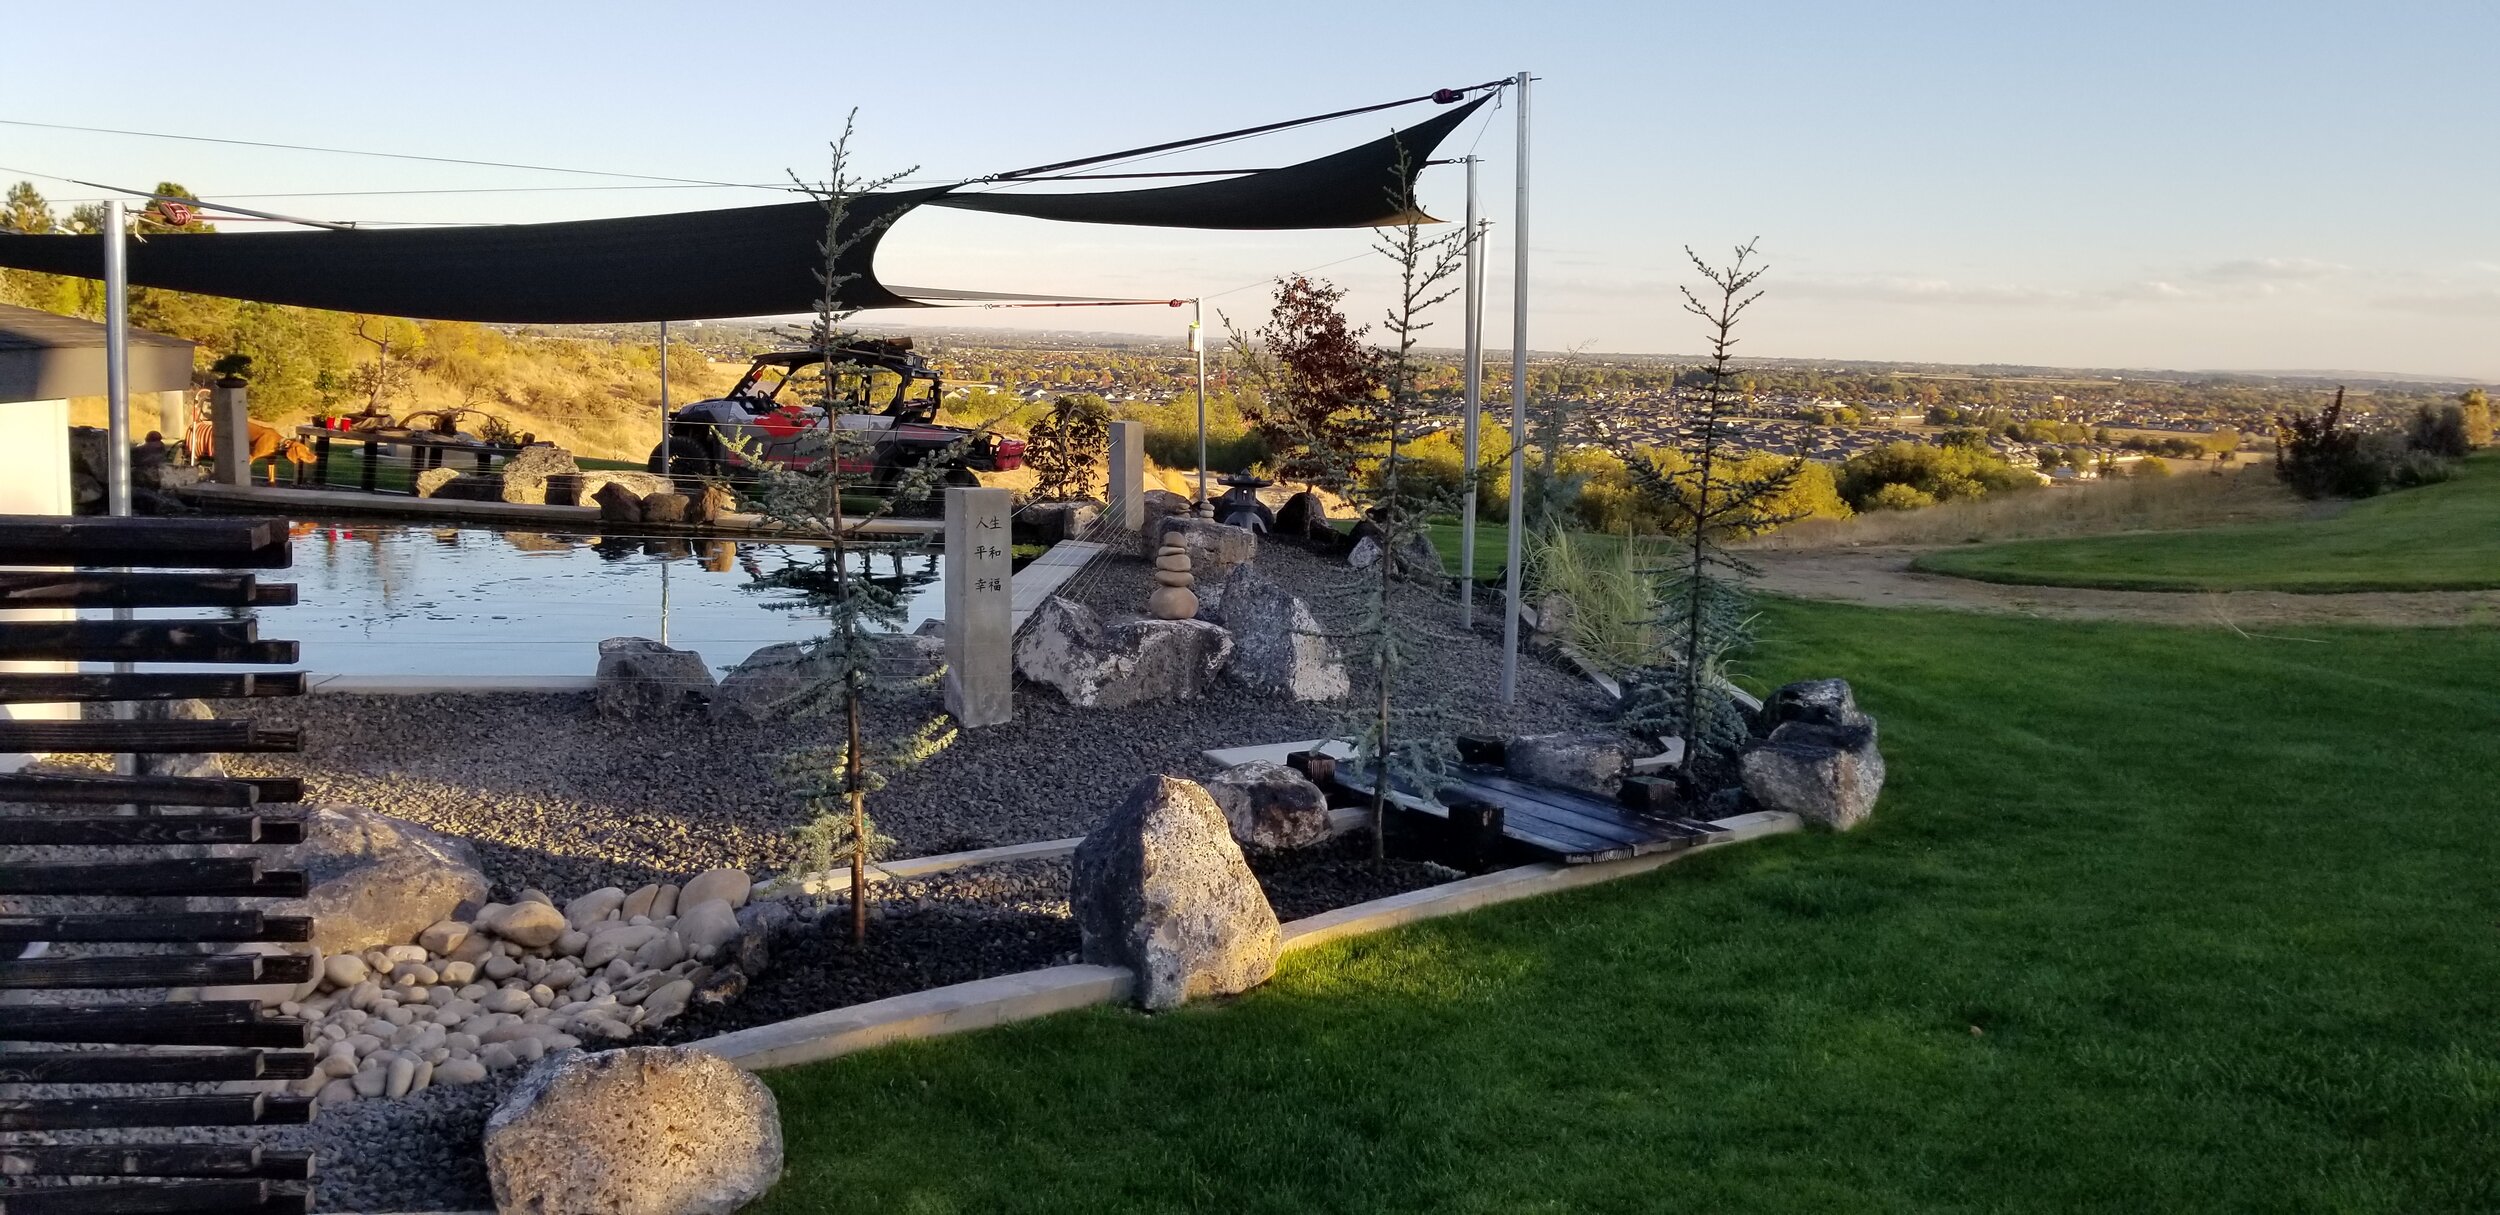
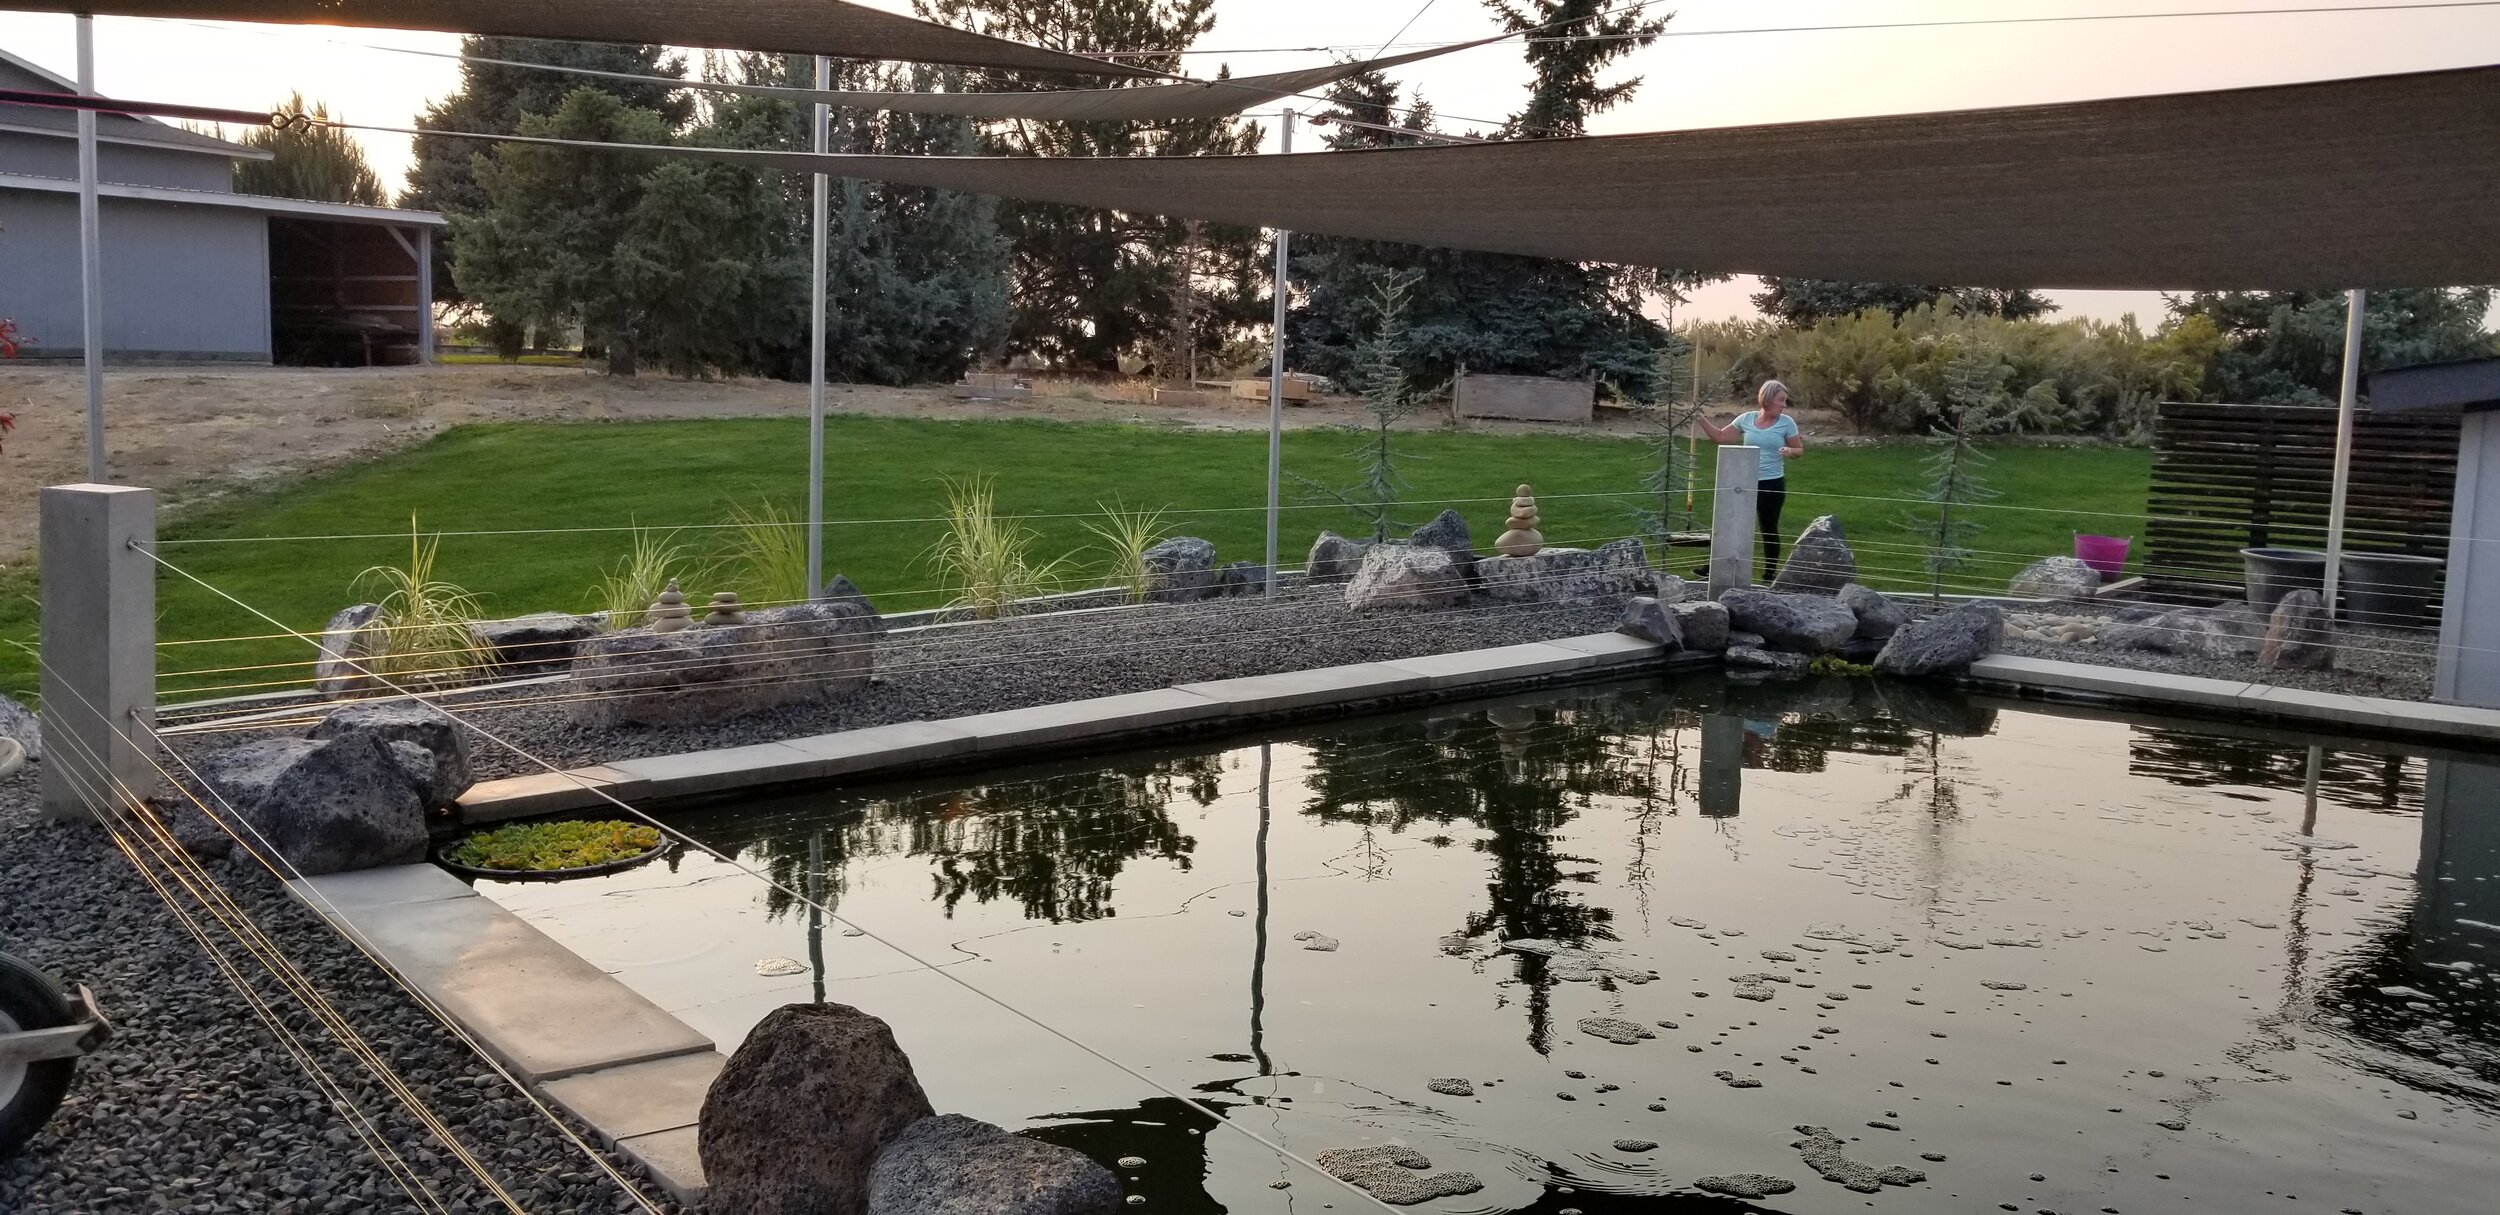
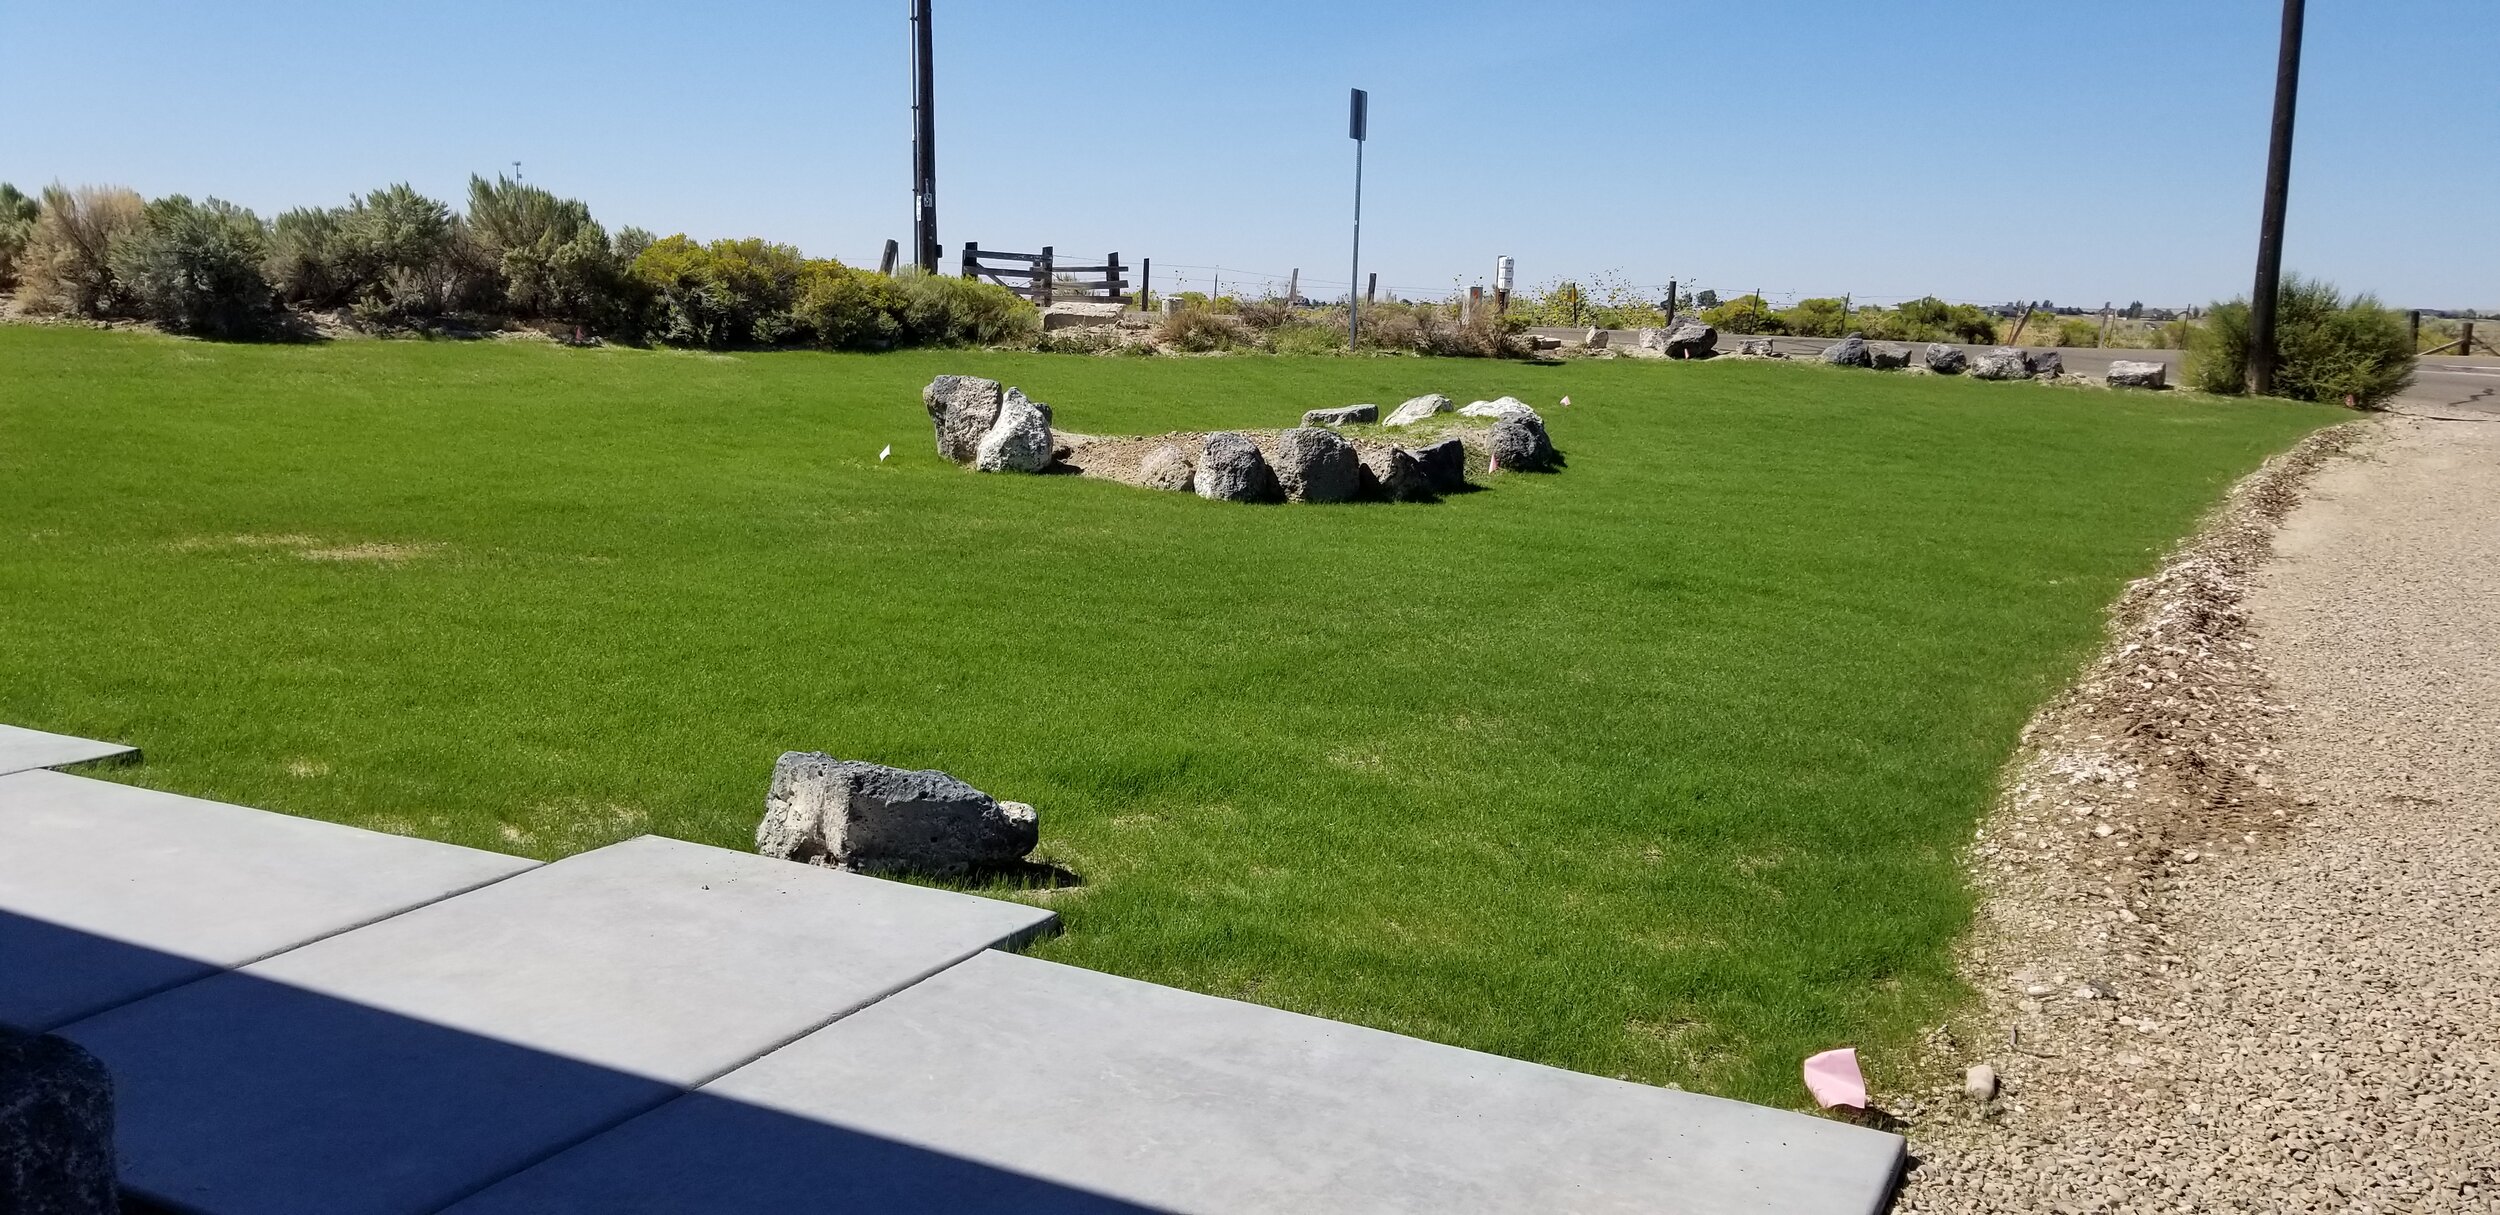
Finished Product (for now)
Now that all the work is completed for this year here are some shots of the grass and tree stand that have come together this year.