
Bonsai studio build - High Desert Bonsai
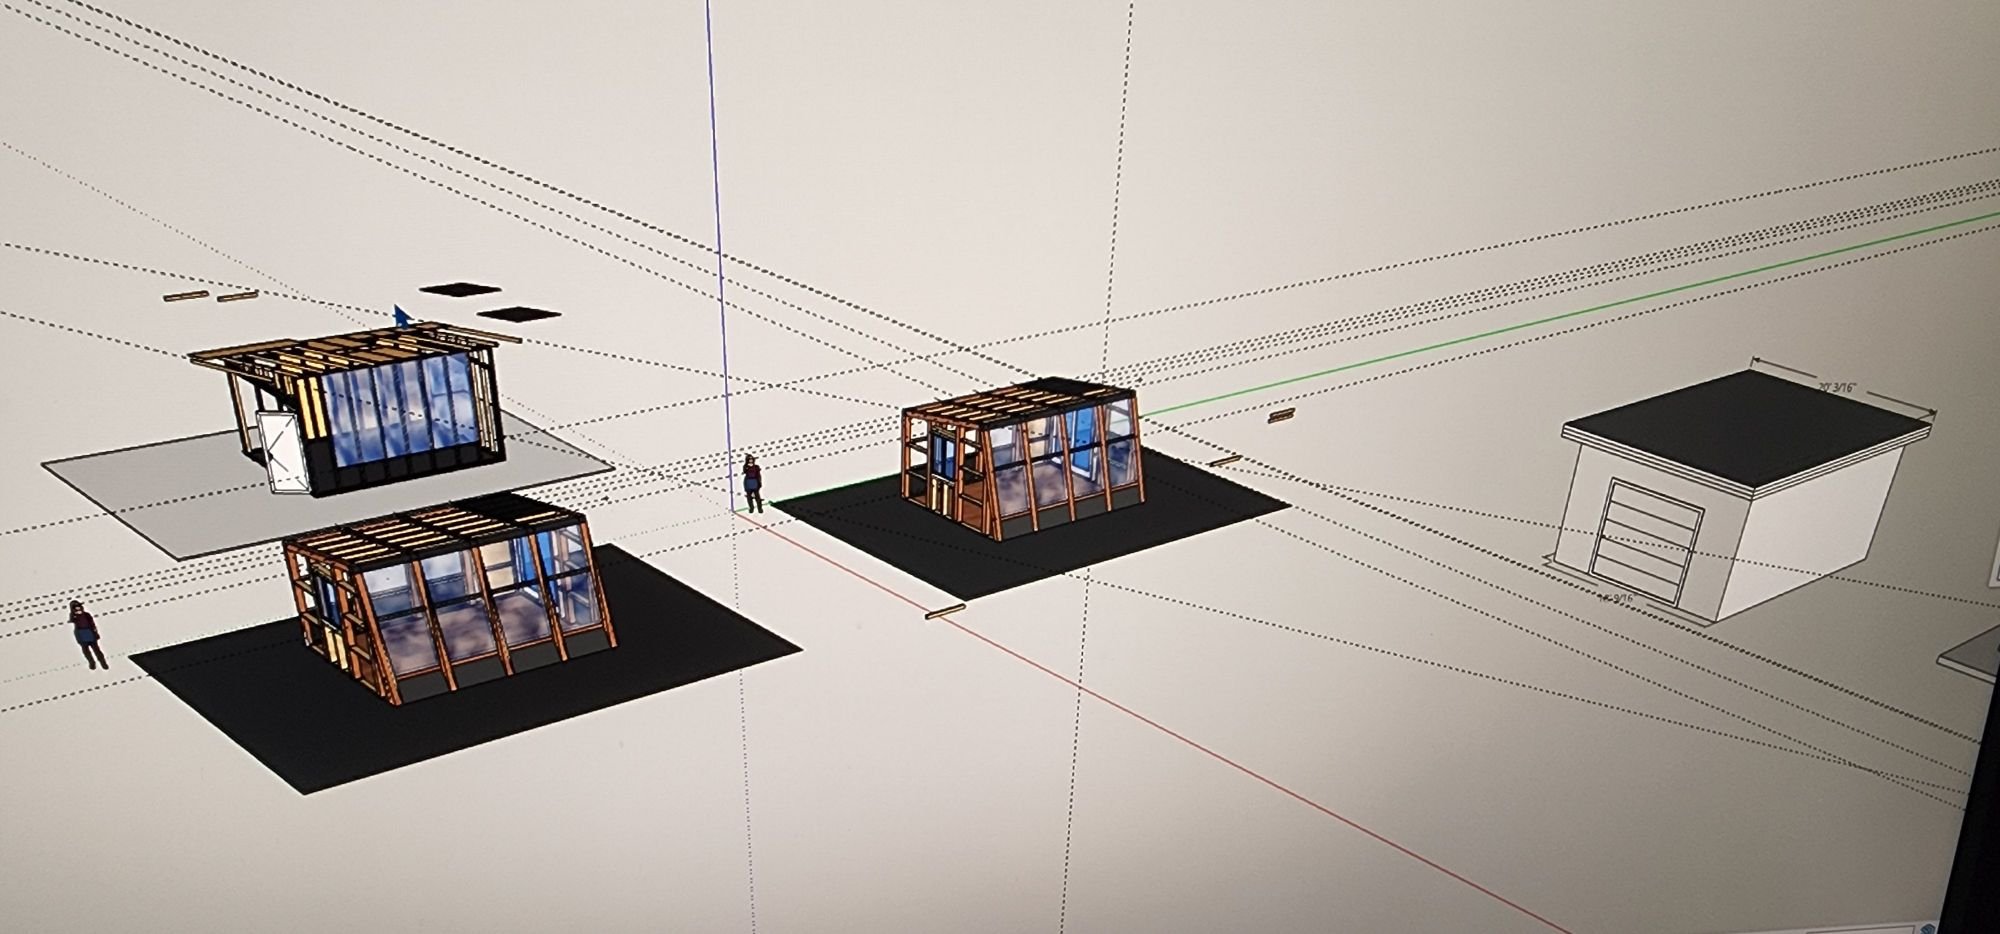
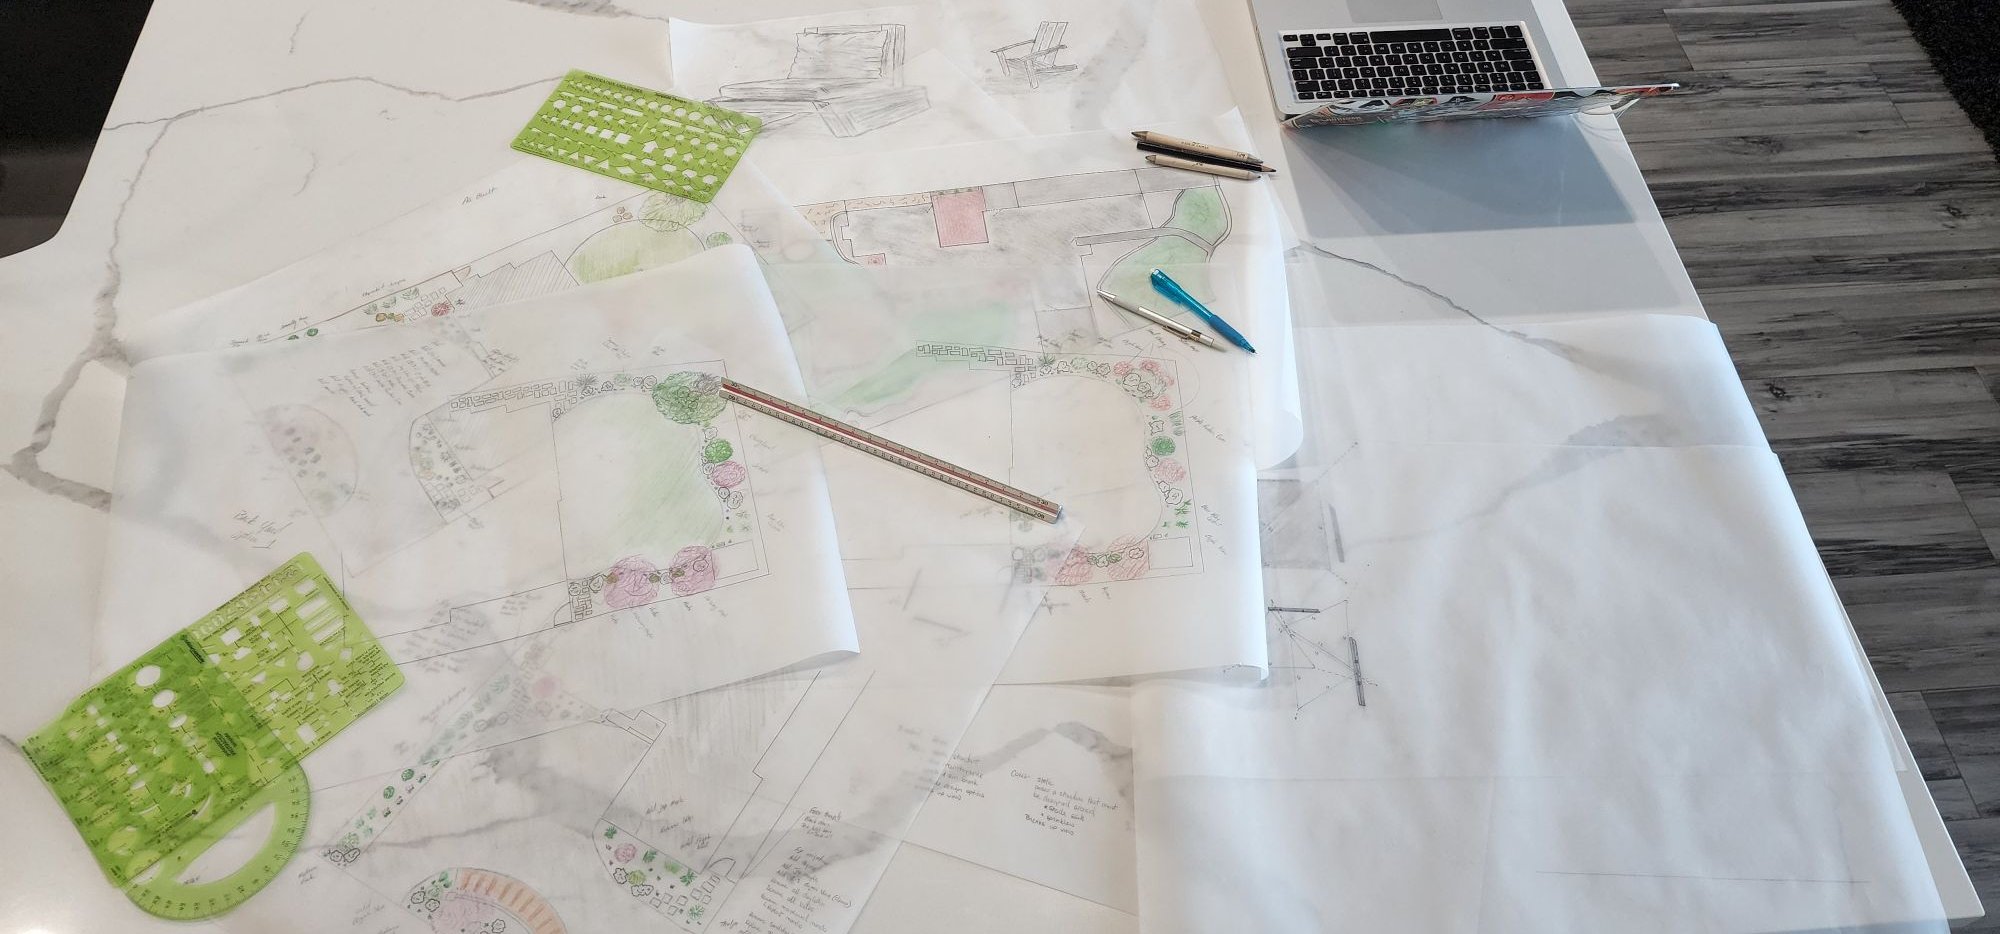
This year one of the major projects I embarked on was the construction of the studio workshop. I have a limited footprint to build upon but I had the desire to build something that functioned efficiently & paired well with the aesthetic of the house and other structures on our property. This lead me to design, then multiple iterations and landed me on the result you will soon see.
Ground preparation & concrete
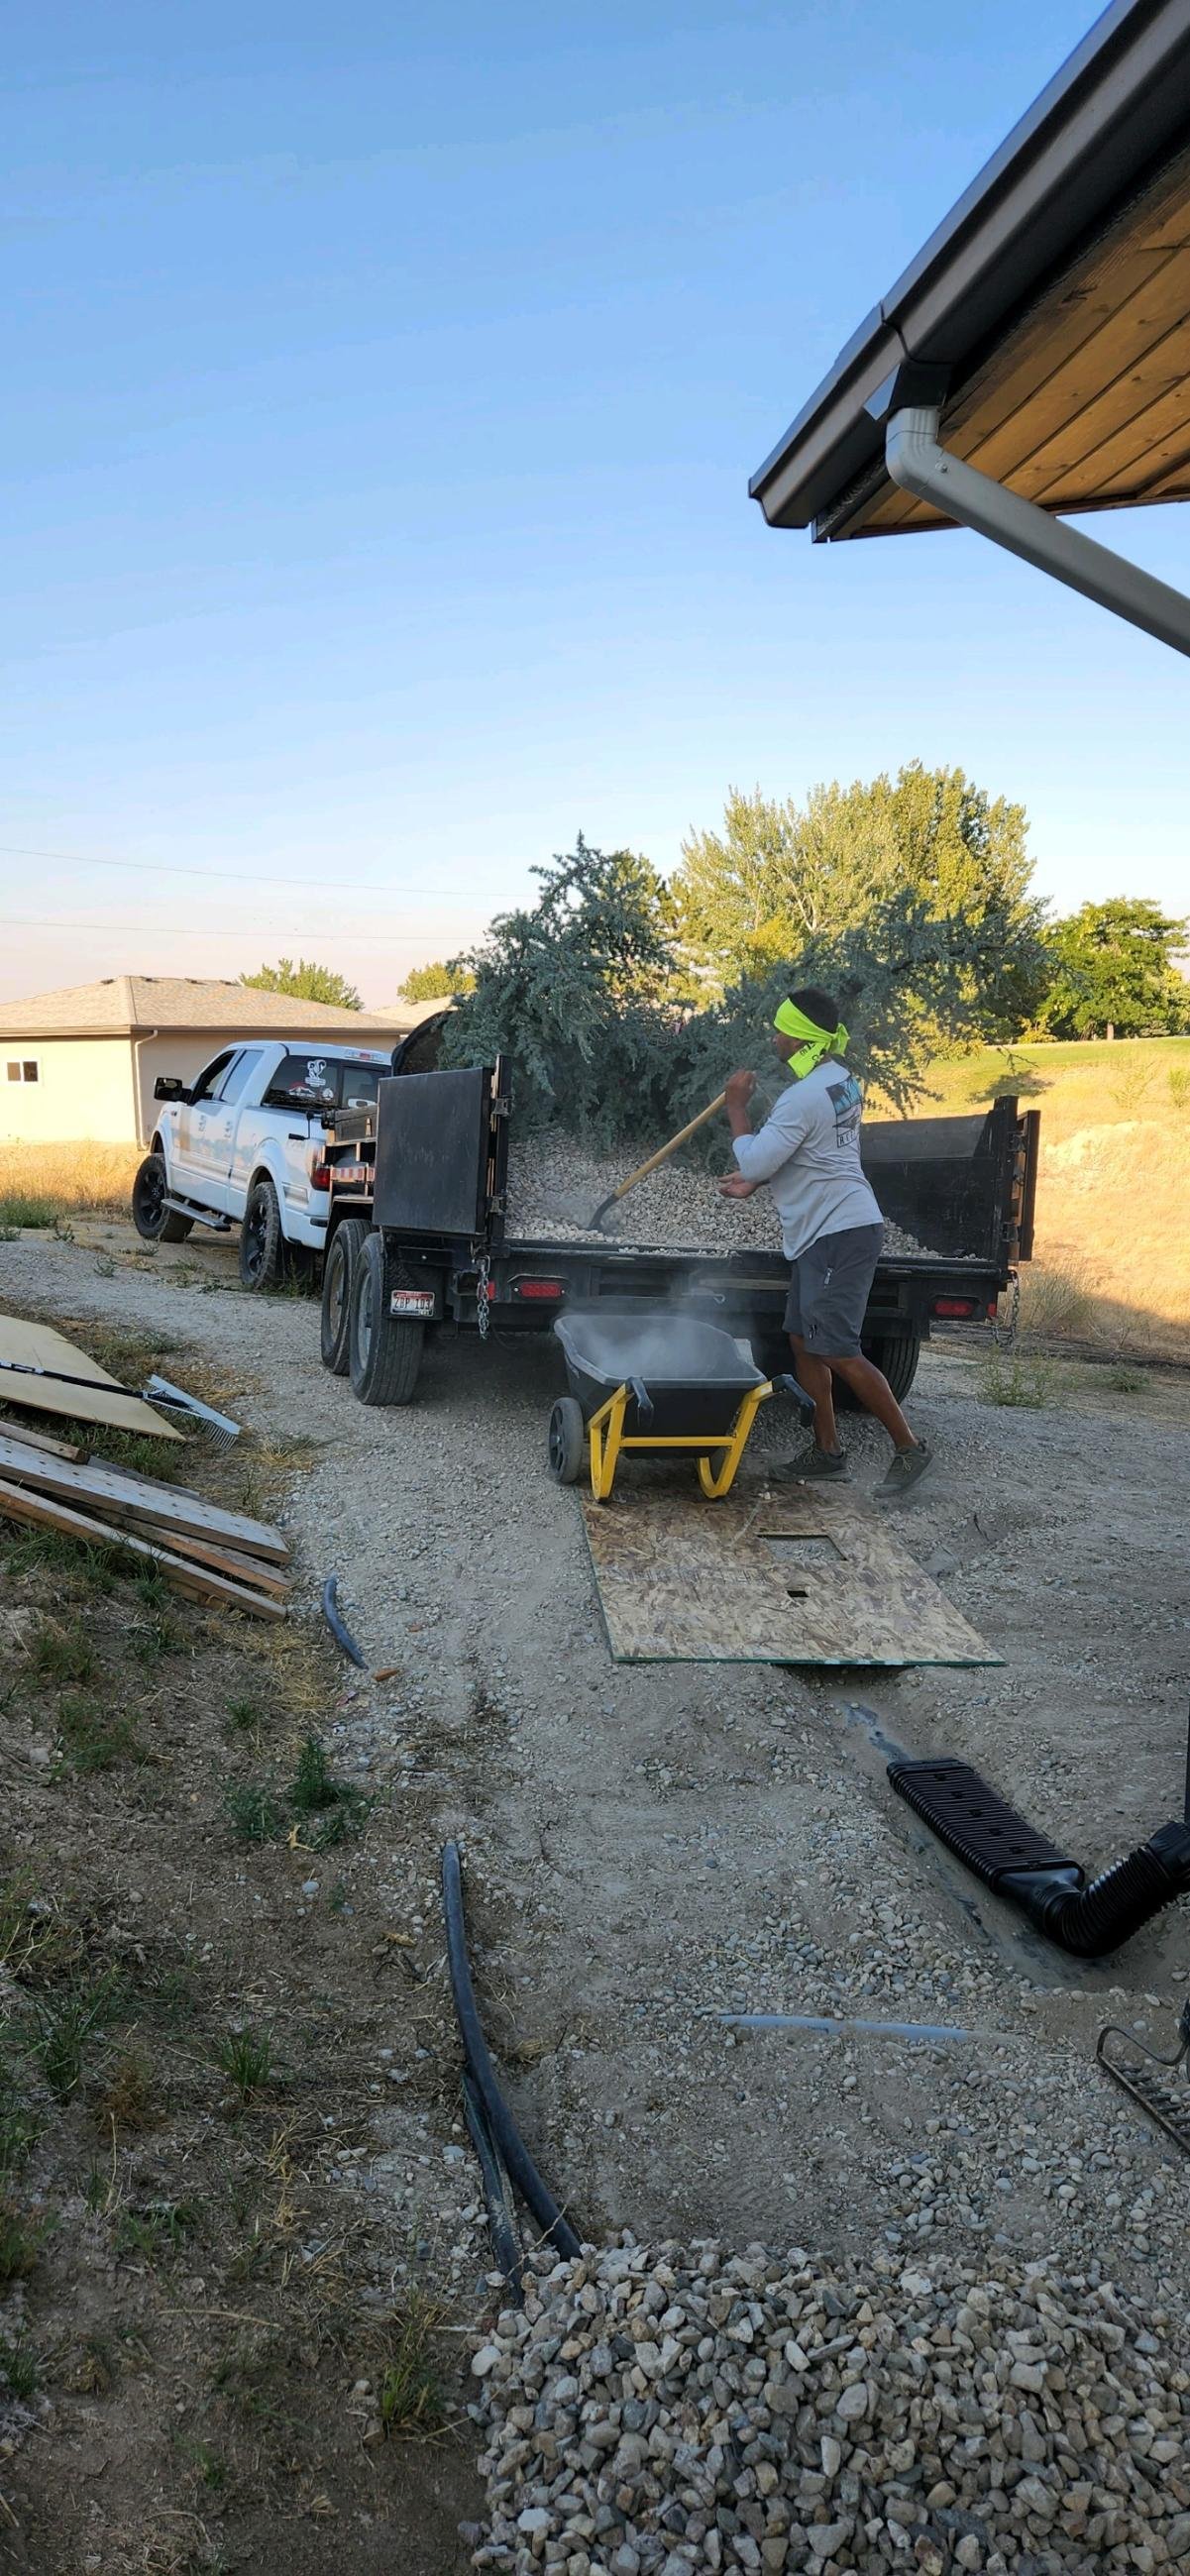
In the process of design and building, I had to rework the ground below my house on the “studio terrace”. I moved the earth, compacted and allow it to settle for two years. I then repacked the ground, put down geotextile fabric, and brought in 25 yards of road mix. I recompacted the mix and prepared for forms. Given the building conditions in our local environment, I wasn’t able to get a cement truck to deliver the needed concrete, it was simply unaffordable and the timeline was 2 months out. SO, with a bit of hesitation, I bought bagged concrete and prepared to hand mix and pour the slab myself. 178 bags of 80# concrete, rebar, and J hook anchors for framing, I was ready to move forward.


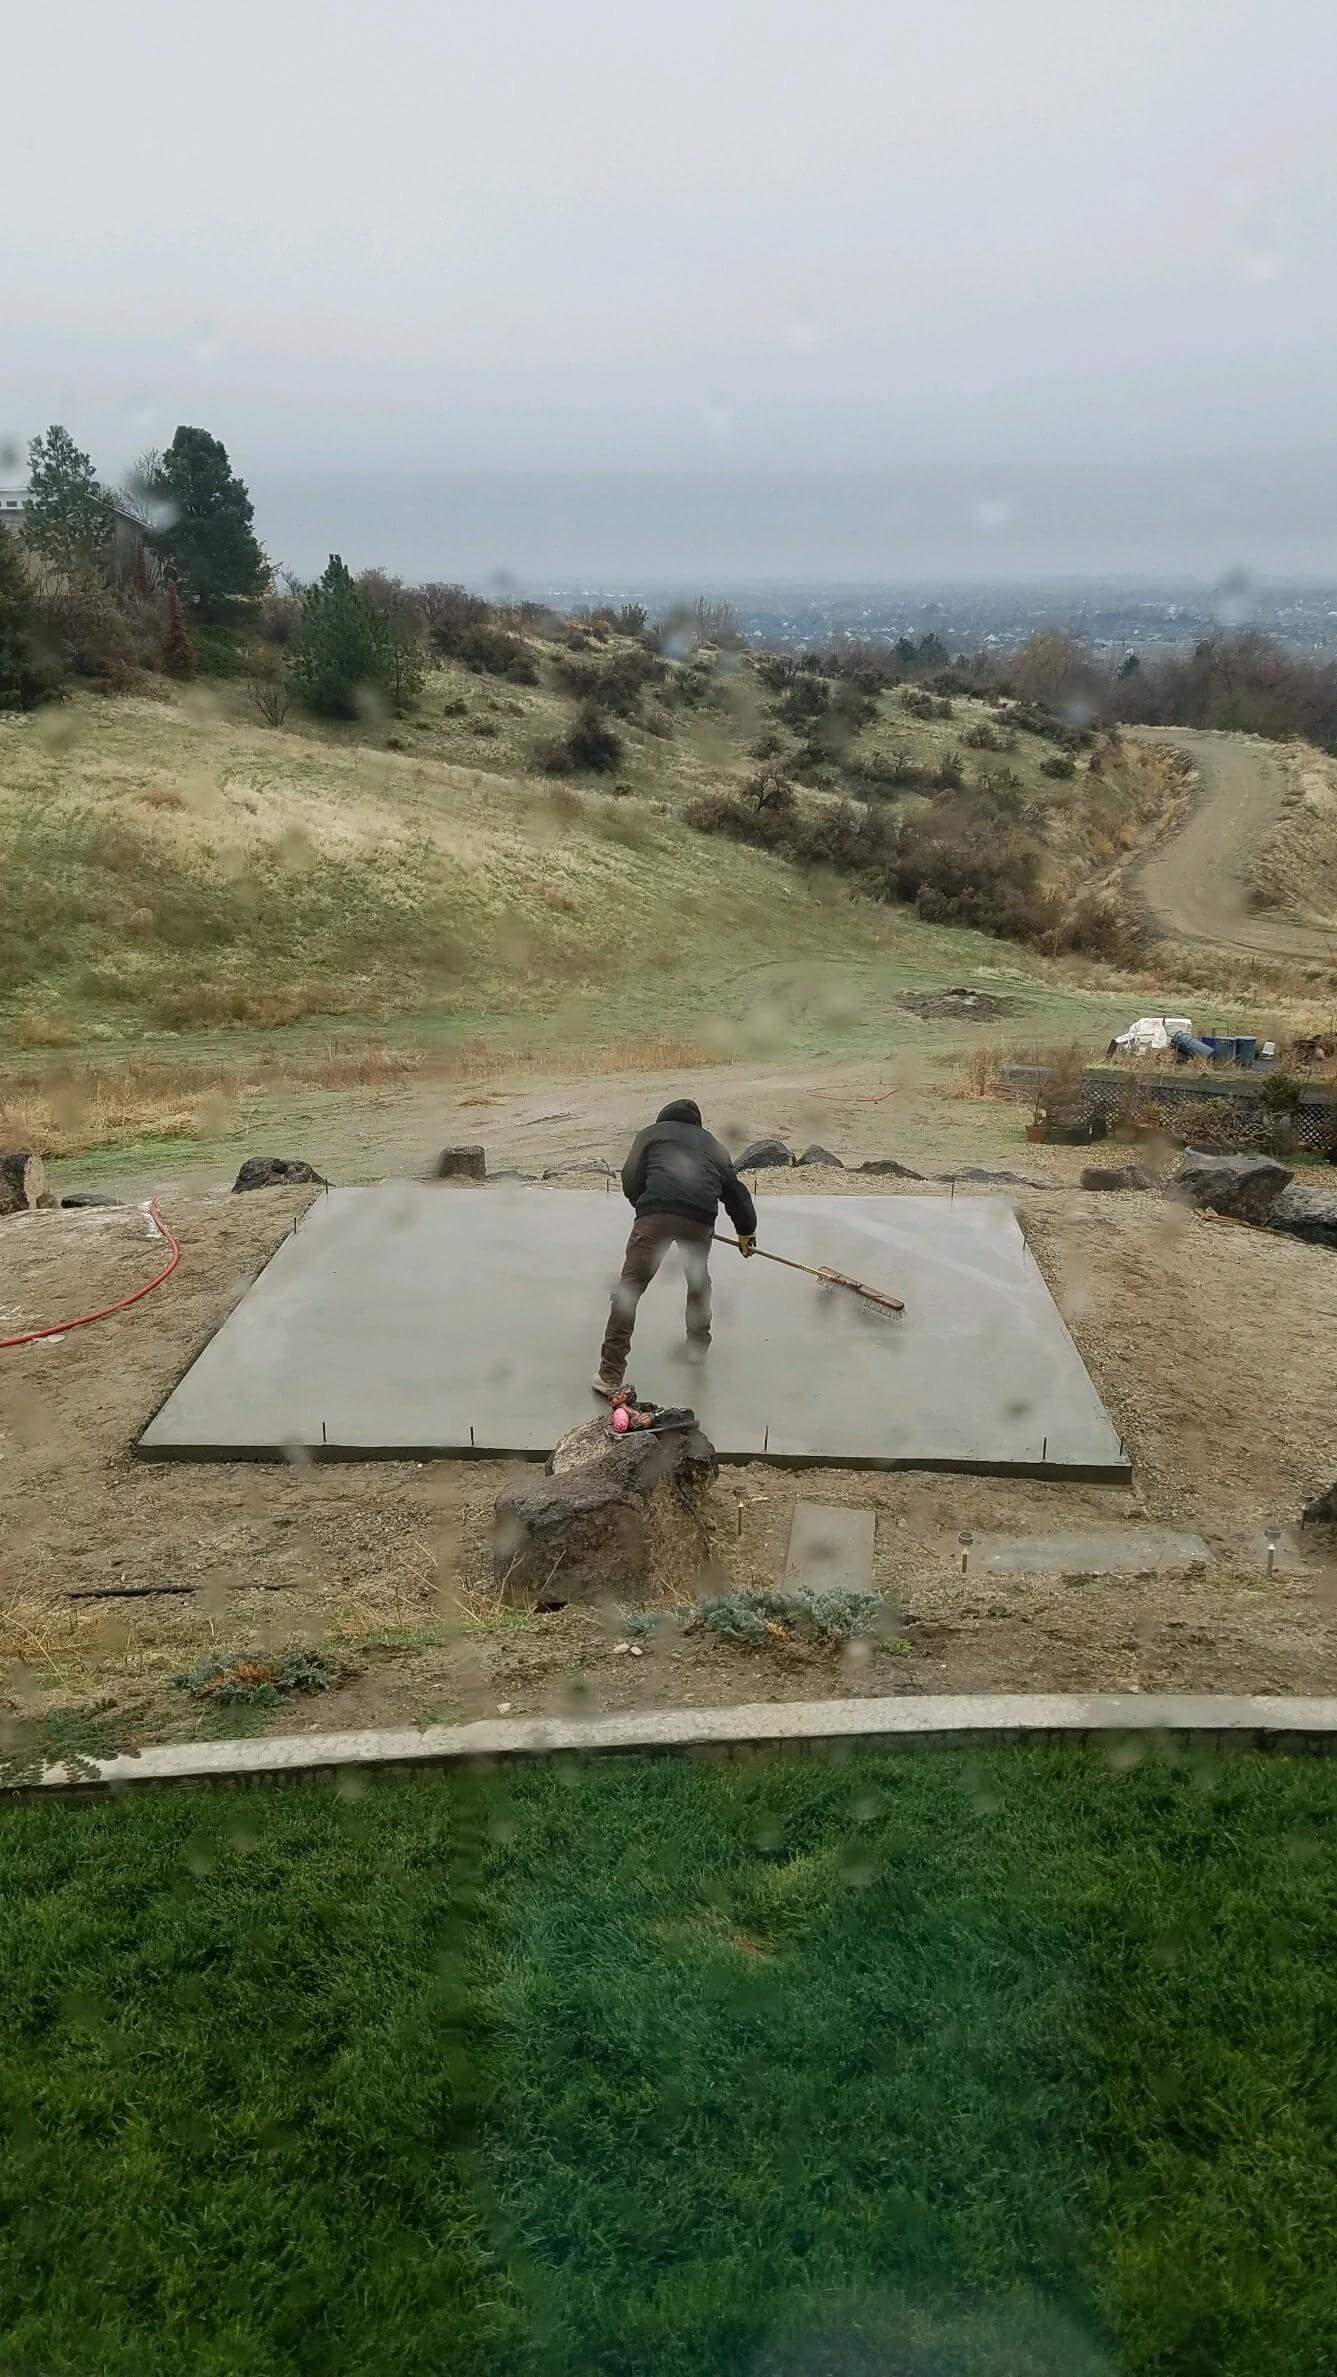
After pouring the slab and cutting in the joints, I let the concrete fully cure. While this was settling I worked on a few other projects you’ll see in the blog.
Construction
With the design set, many other landscape projects finished, and a couple of bonsai shows wrapped up, it was time to begin framing the studio. I designed with these elements in mind:
Easy access for large trees to be worked in winter
Lots of power and light (both natural and artificial)
Heat = wood stove
A single-pitch roof
Storage for all tools, stands, and misc. nursery goods
A place to shoot photos and videos
With these considerations I will start with access - I needed two single-bay garage doors for a pull-thru design. I set out to find some reclaimed doors. I wanted a simple design and a retro look. I found what I was looking for on the Facebook marketplace. There was a 60’s era home that had replaced its doors. I jumped at the opportunity and purchased them. The doors were in rough shape, but with some elbow grease and determination, I resurfaced, removed, and cleaned the glass panels for complete refurbishing. They are exactly what I was shooting for.
Next on the list was lighting. I wanted the ability to work through the year in any weather. I needed light for this. The southern-facing wall was all windows 4’T x 20”W. The east and west garage doors have a full row of glass panels and the roof was designed to use tinted acrylic roofing. This covered the natural light aspect, but our winters are dark and cold so I needed to be able to sufficiently illuminate the space during that time of year. I went with contractor-grade LED light strips. I used these in the garage, shop, and greenhouses and have been overwhelmingly impressed with their output. I placed four 8’ lights inside. This is wonderful, it’s like working on a sunny spring day even in the worst outdoor conditions.
Now on to power. I plan on using this space for classes, and expansion as the nursery grows. So, I needed to future-proof the design. With this in mind, I trenched in conduit for both power (50amp service) and PoE (Power Over Ethernet) network connections. This insured I could connect my welder, compressors, carving equipment, and plenty of expansion for the needs of the future. I also added a WiFi repeater and hardwired internet for streaming. I also tied in my security system and cameras for safety.
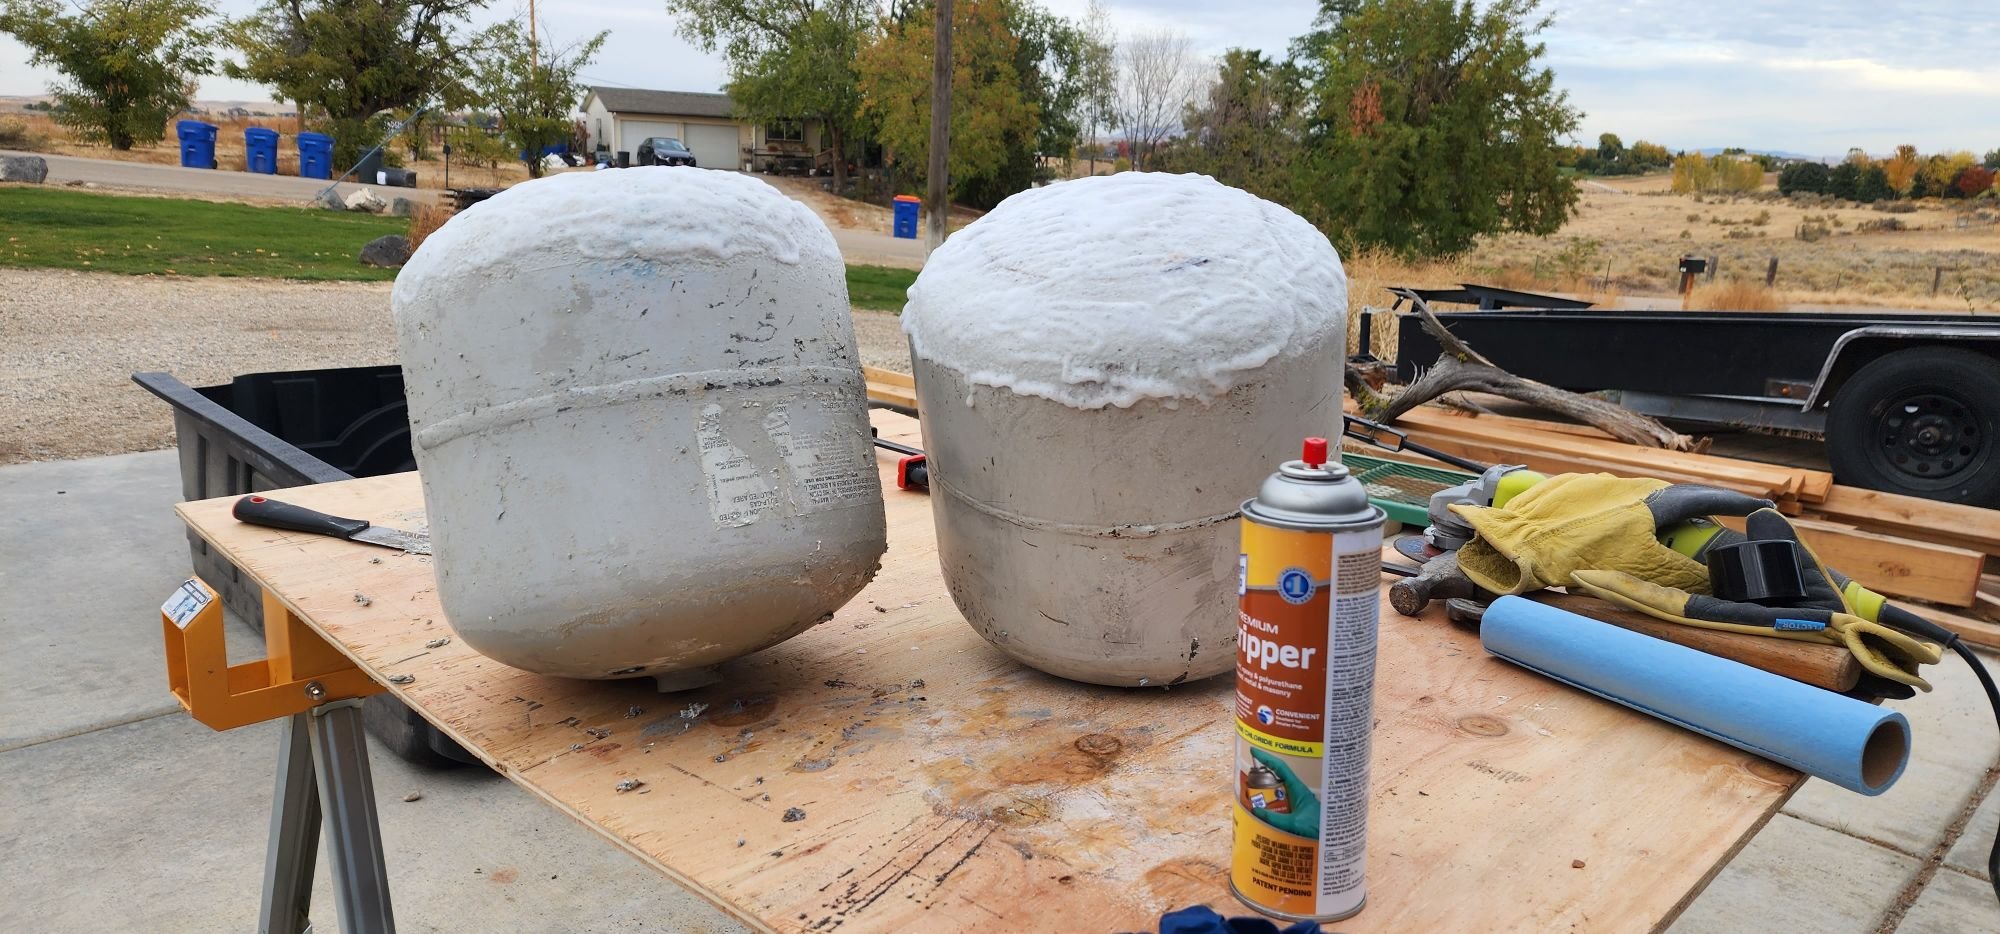
Following next was heating the structure. I had plans for a retro-style wood stove. I drew up some designs and planned out my concepts. I landed on repurposing two outdated propane tanks placed on their sides and welded together. I used these two tanks, a large section of 10 gauge steel tubing, and a repurposed brake rotor for the final section of the base or foot. I cut all the sections welded and then tested it out on the driveway. I was very pleased with the result. Once I had this completed and I knew smoke wouldn’t be an issue, I cleaned and prepped the surface for high temp painting and installation. (installed pictures are in this feed - coming below ↓).


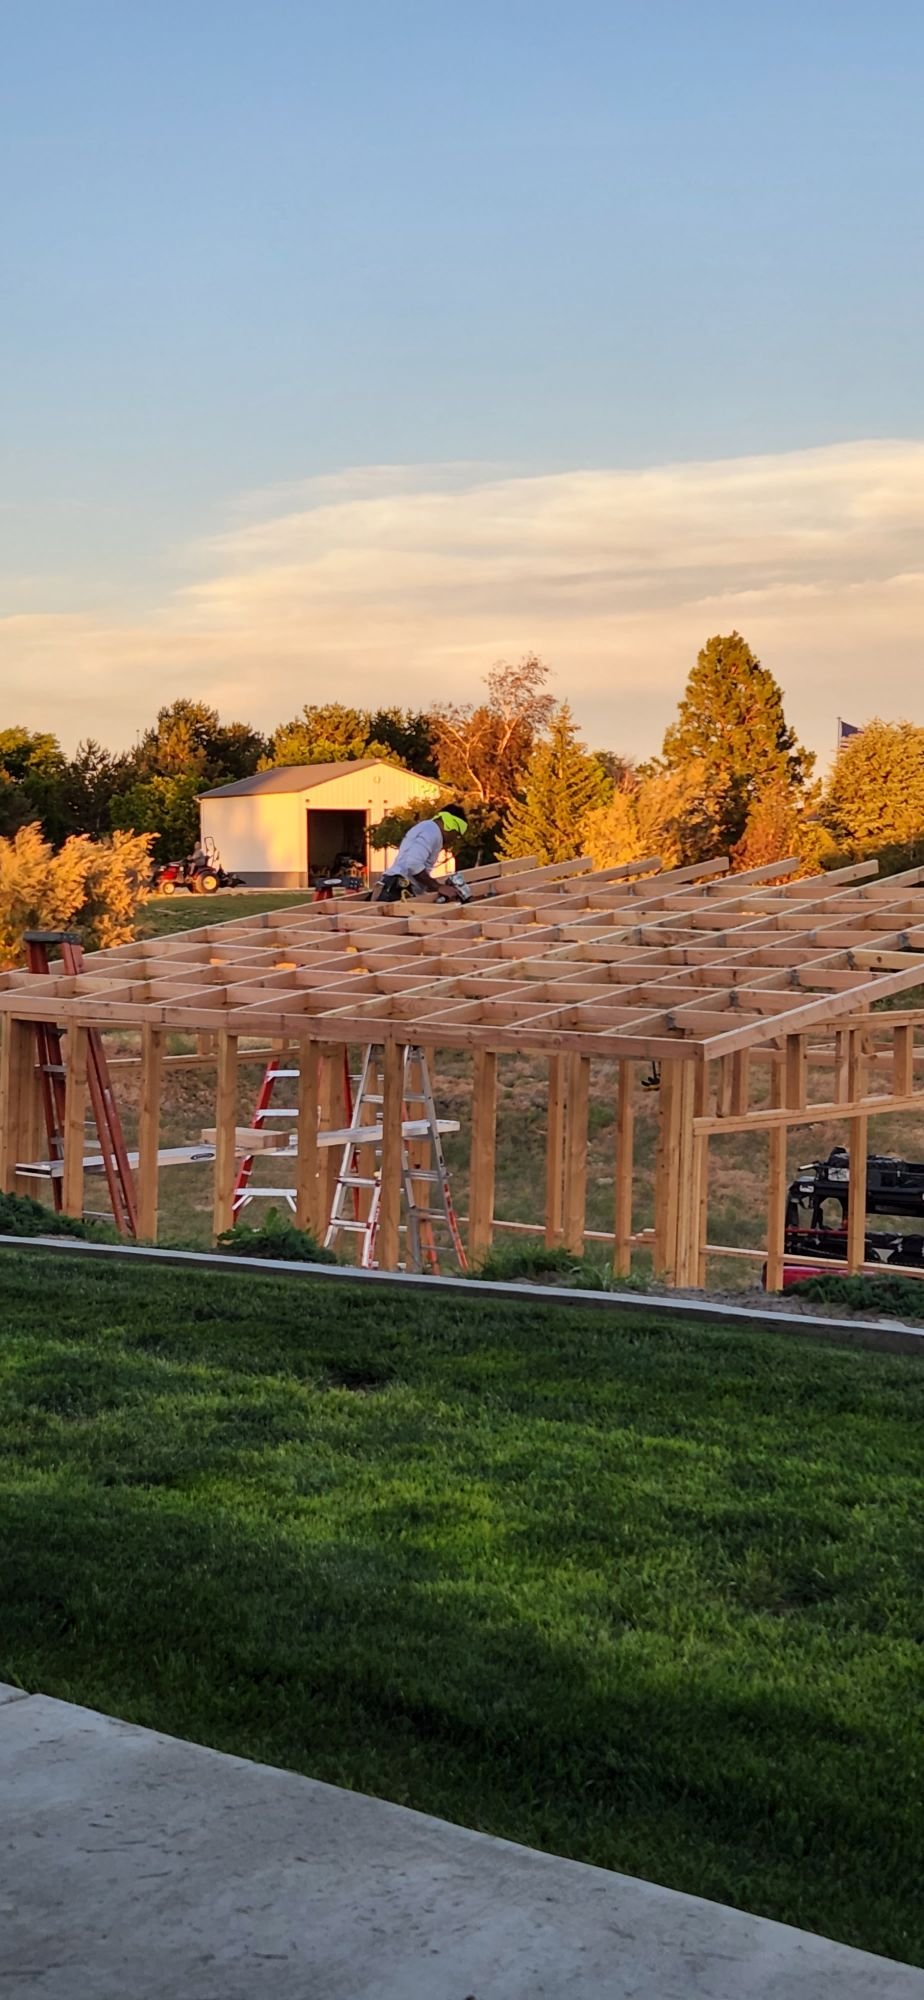
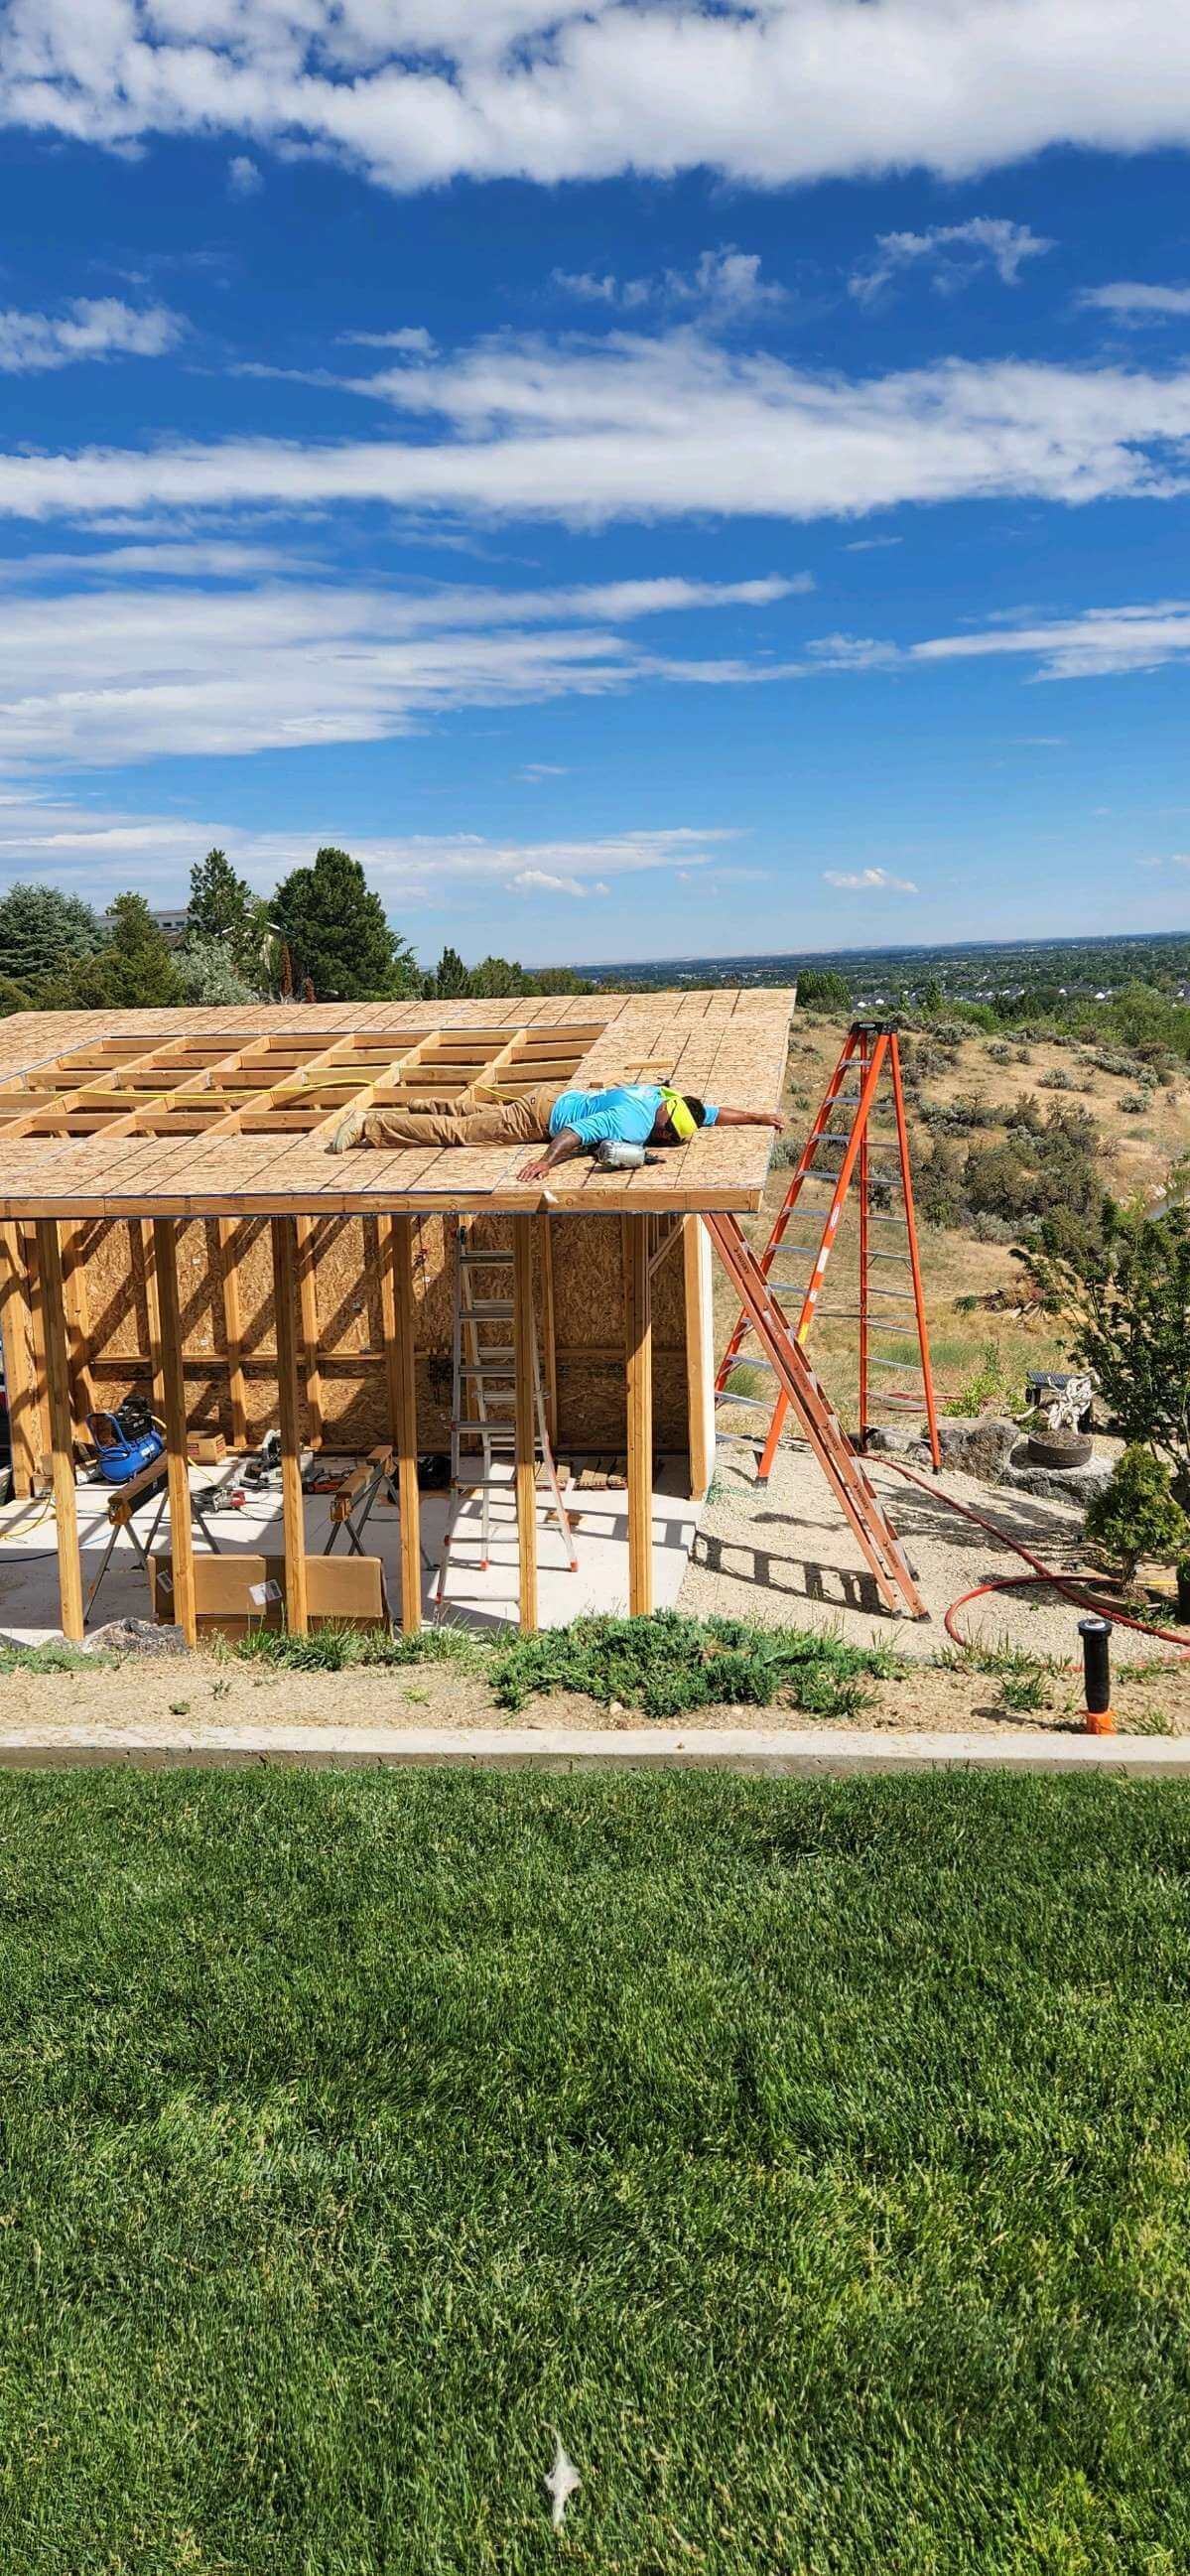
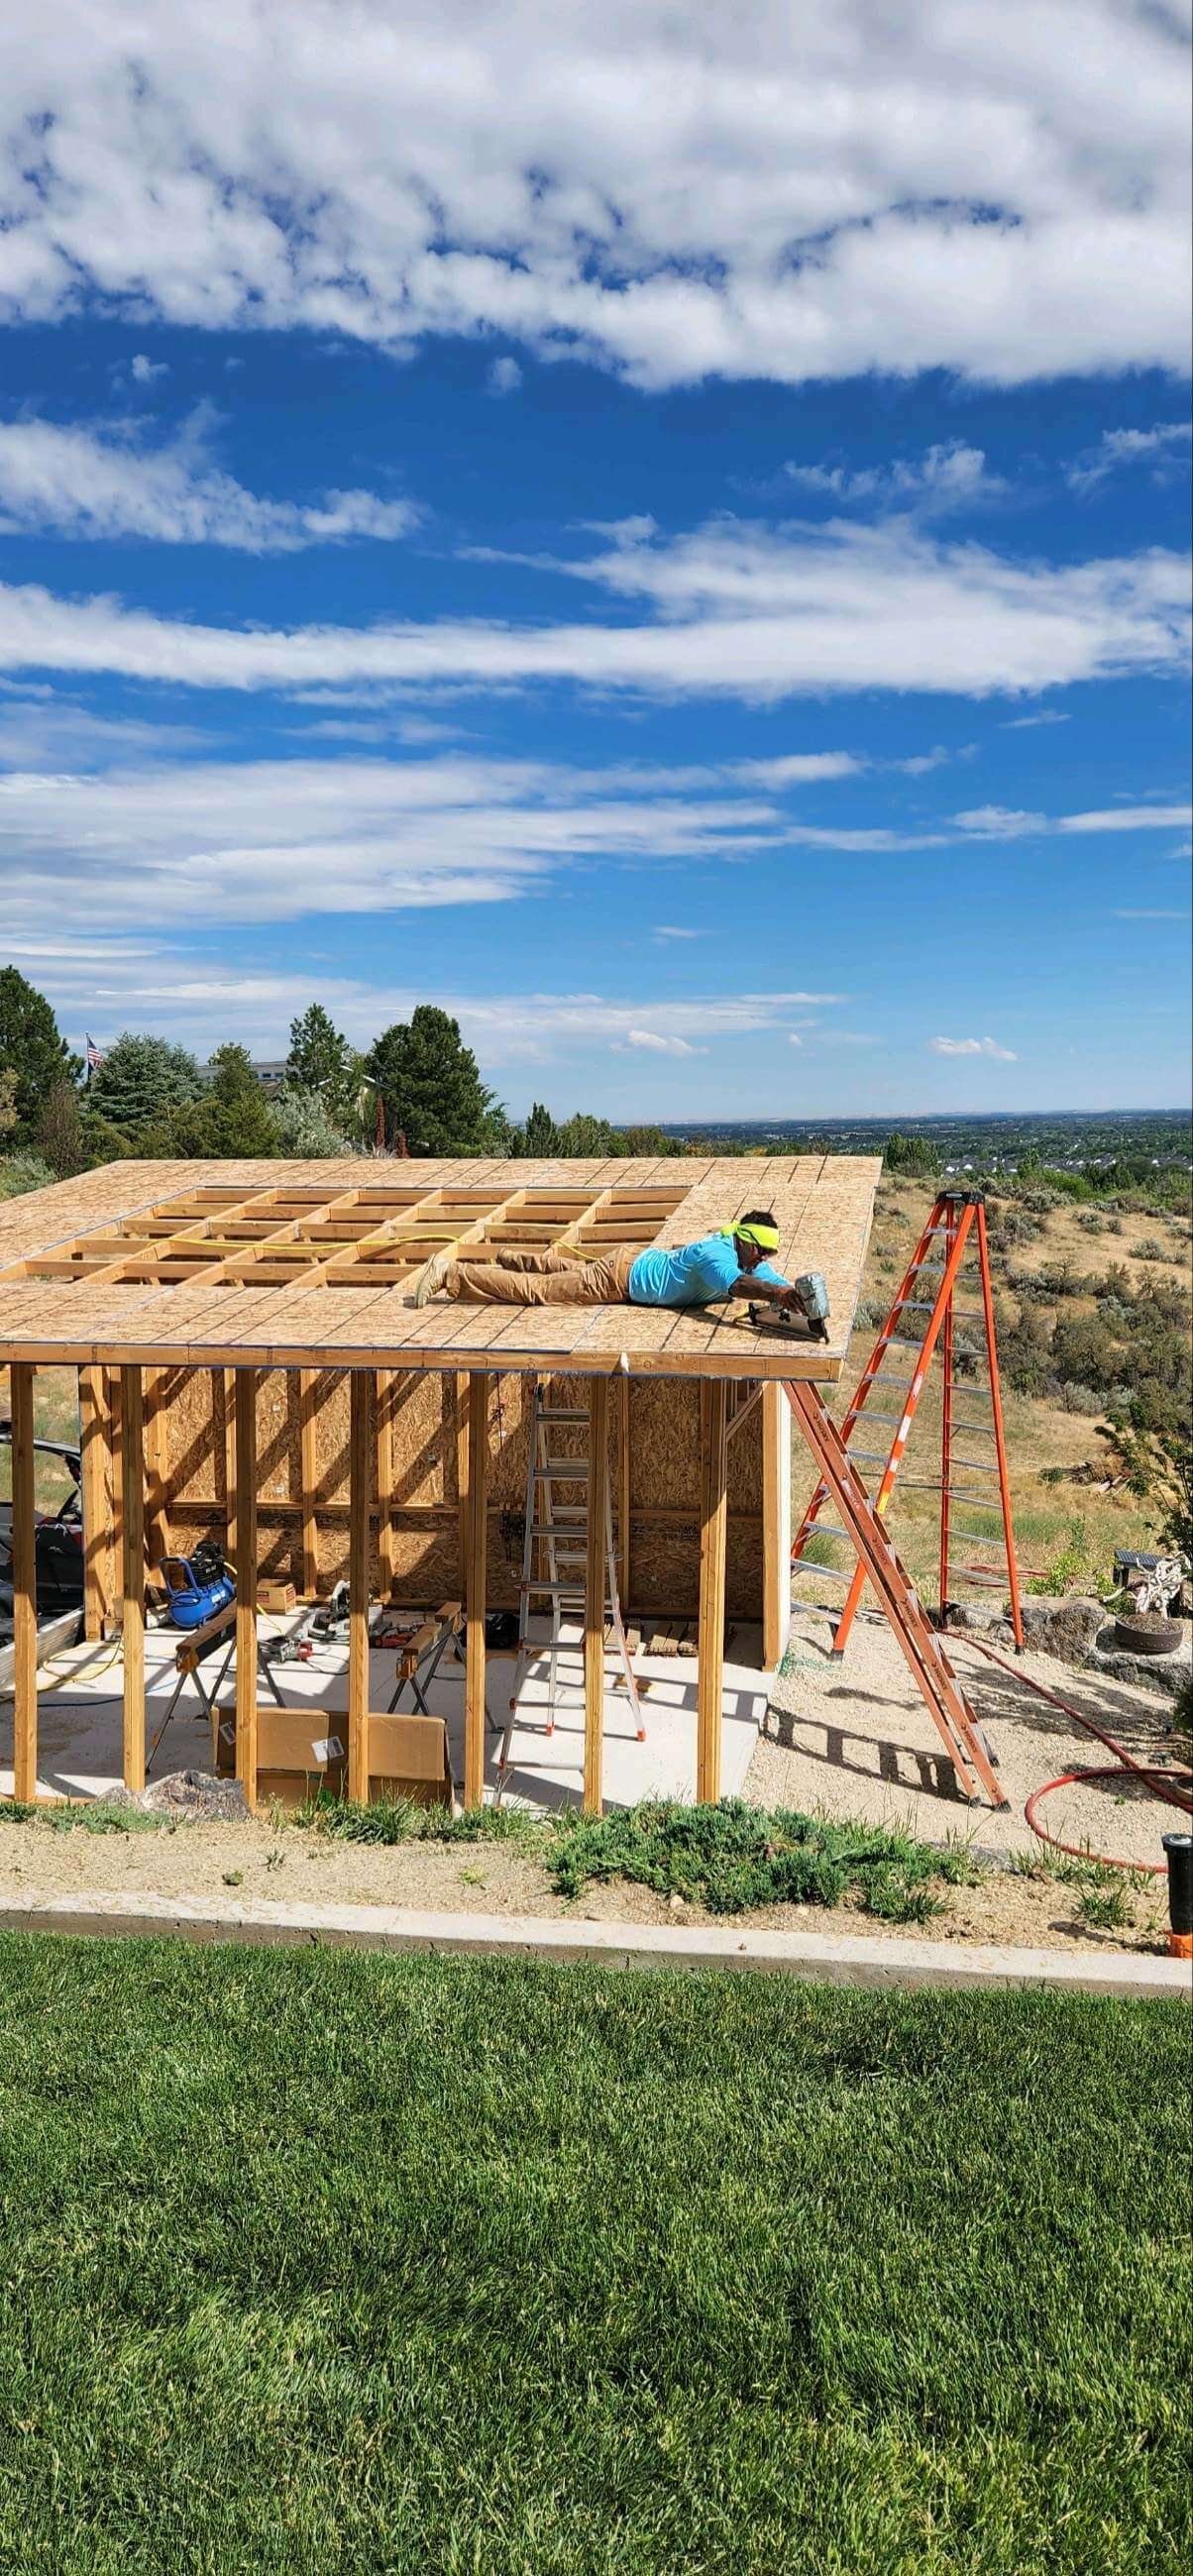
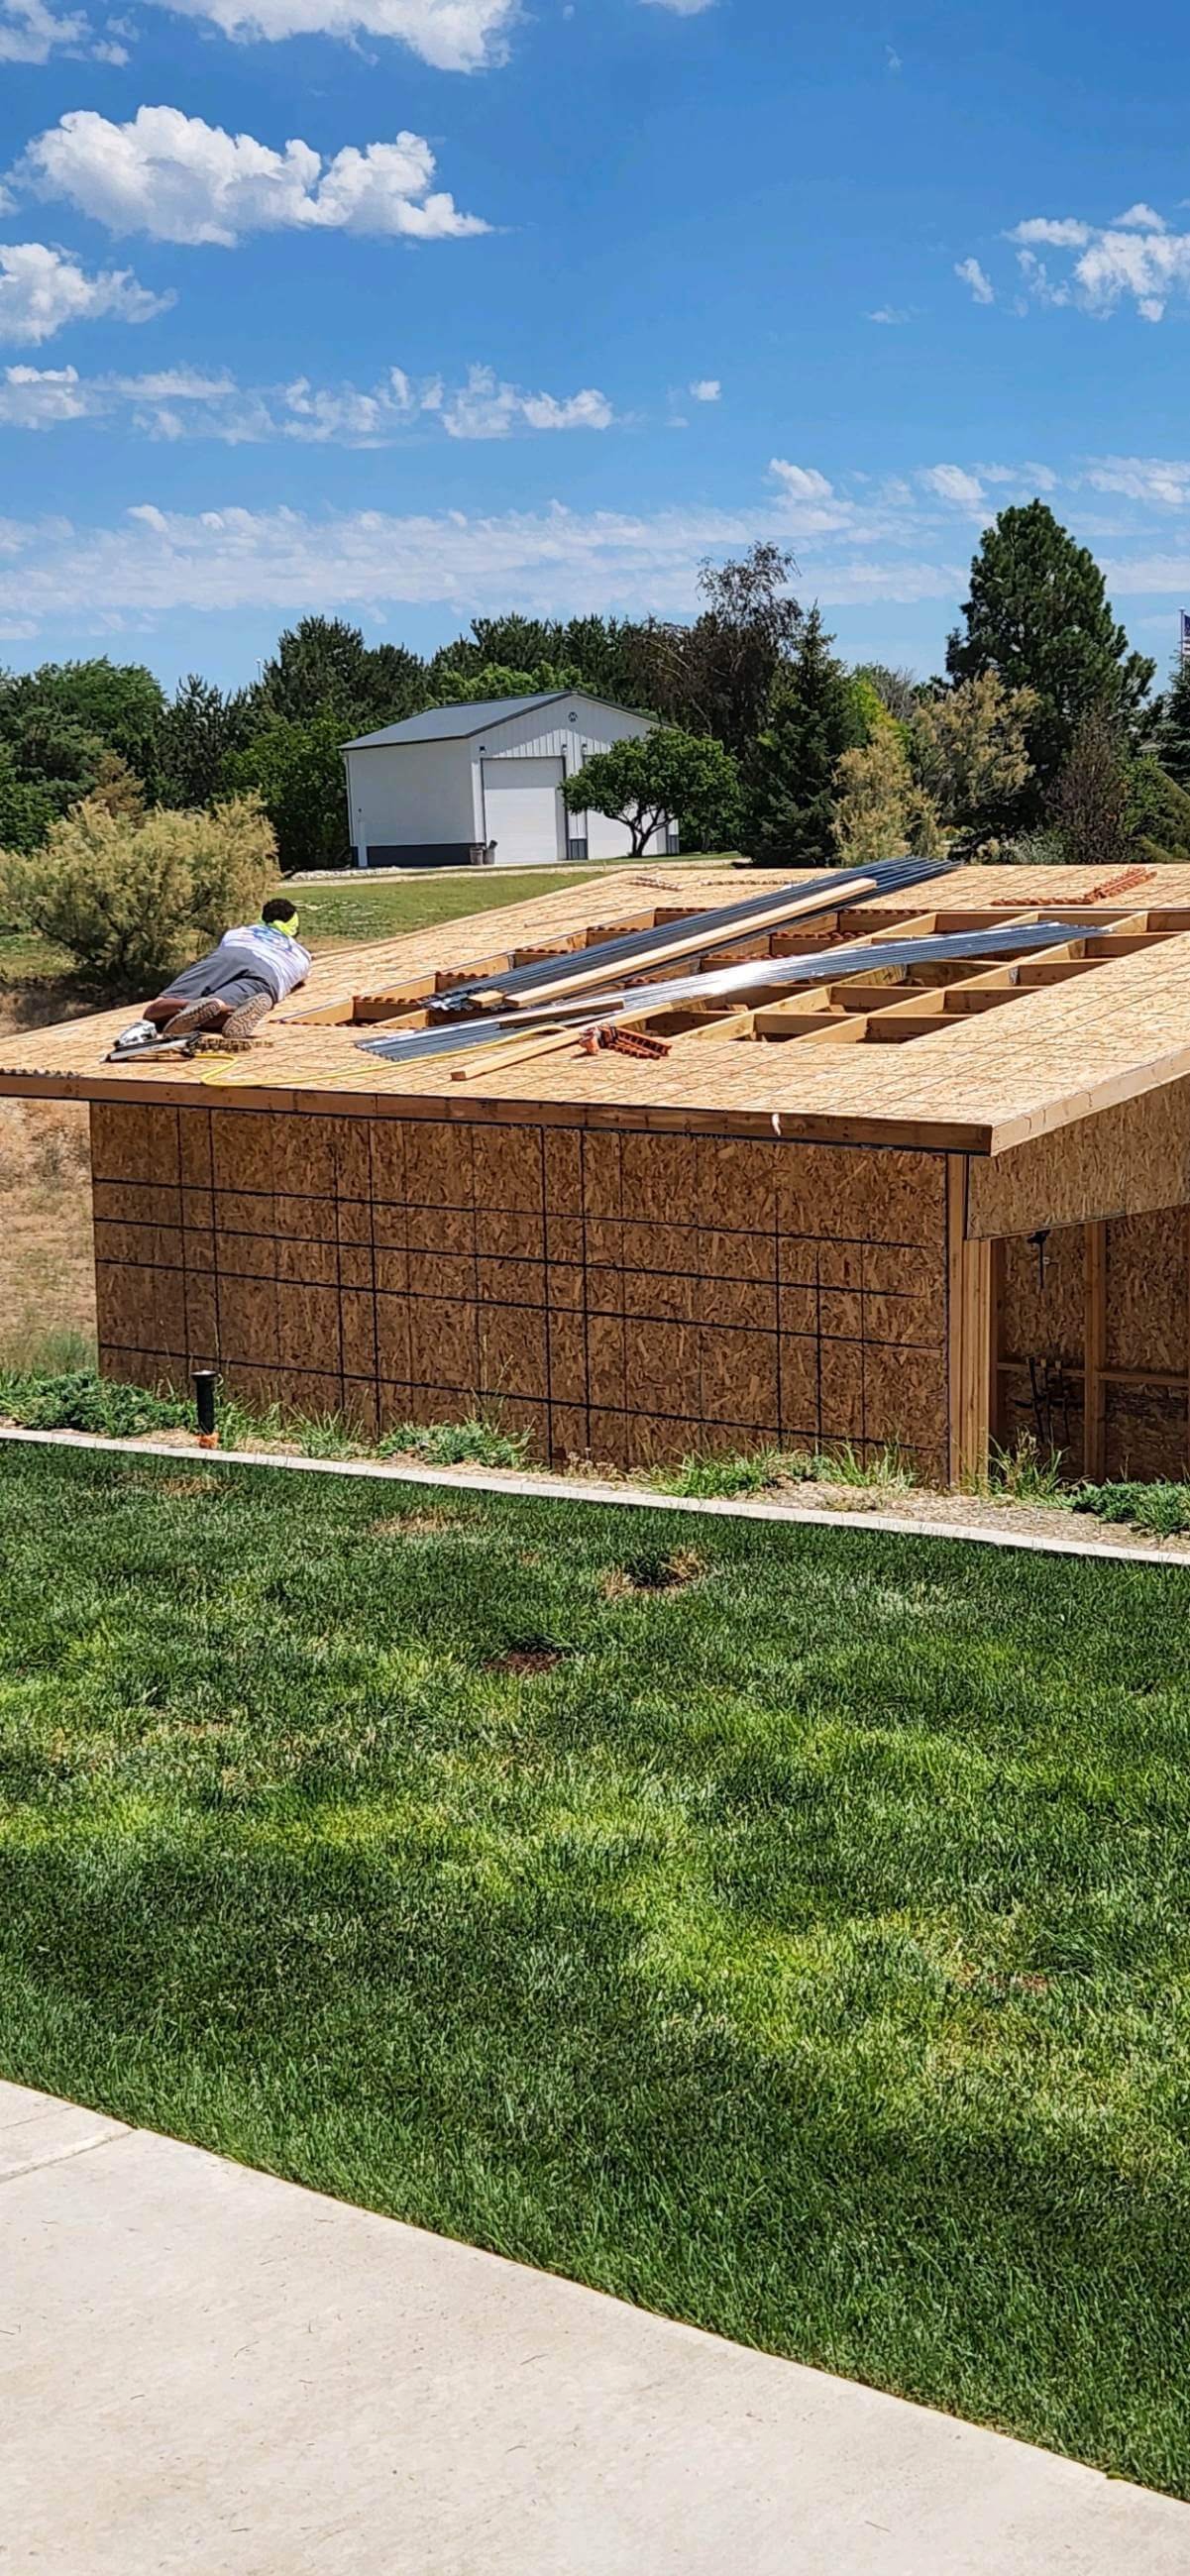
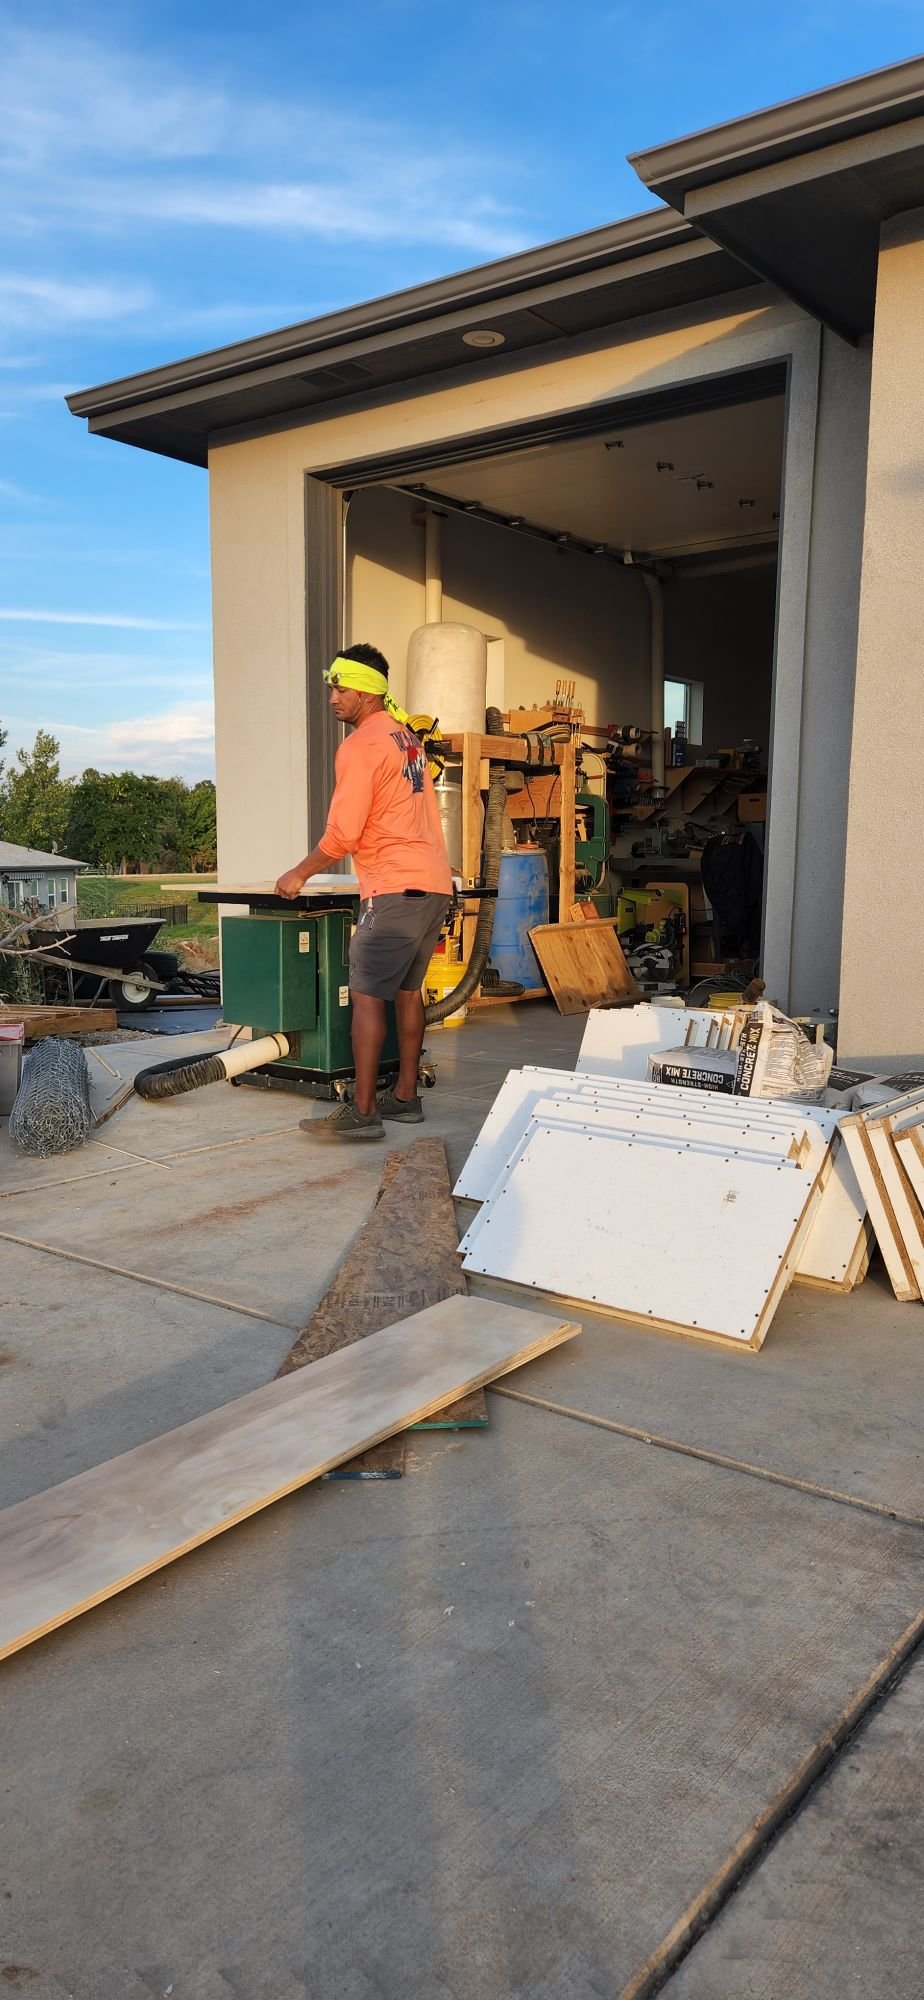
Following the design aesthetic of our home plus my vision for the overall nursery look and feel I needed this structure to have a single-pitch roof. Not only is the simplicity of the design more appealing, but it would also be a more impactful visual piece when visiting the garden. I also incorporated a two-foot overhang with the eave. I like that mid-century feel and envisioned a nice tongue and groove natural wood soffit trim. This brings me to the framing photos.


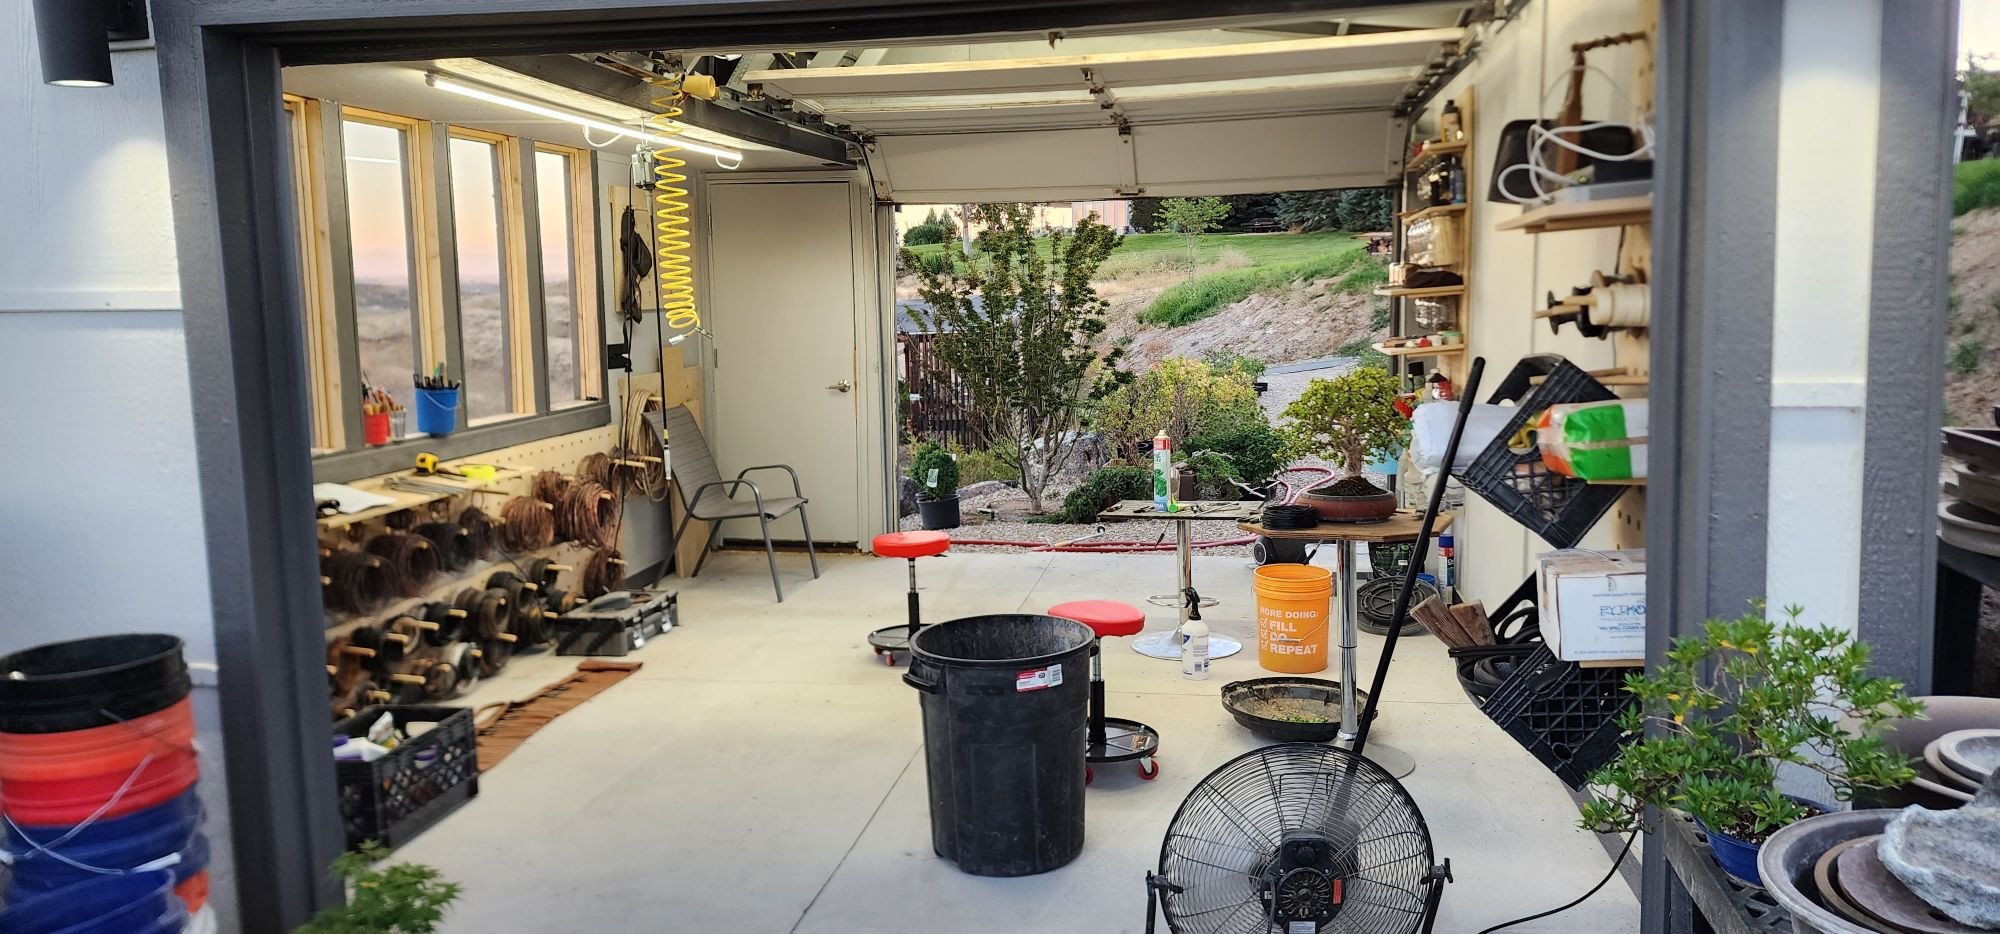
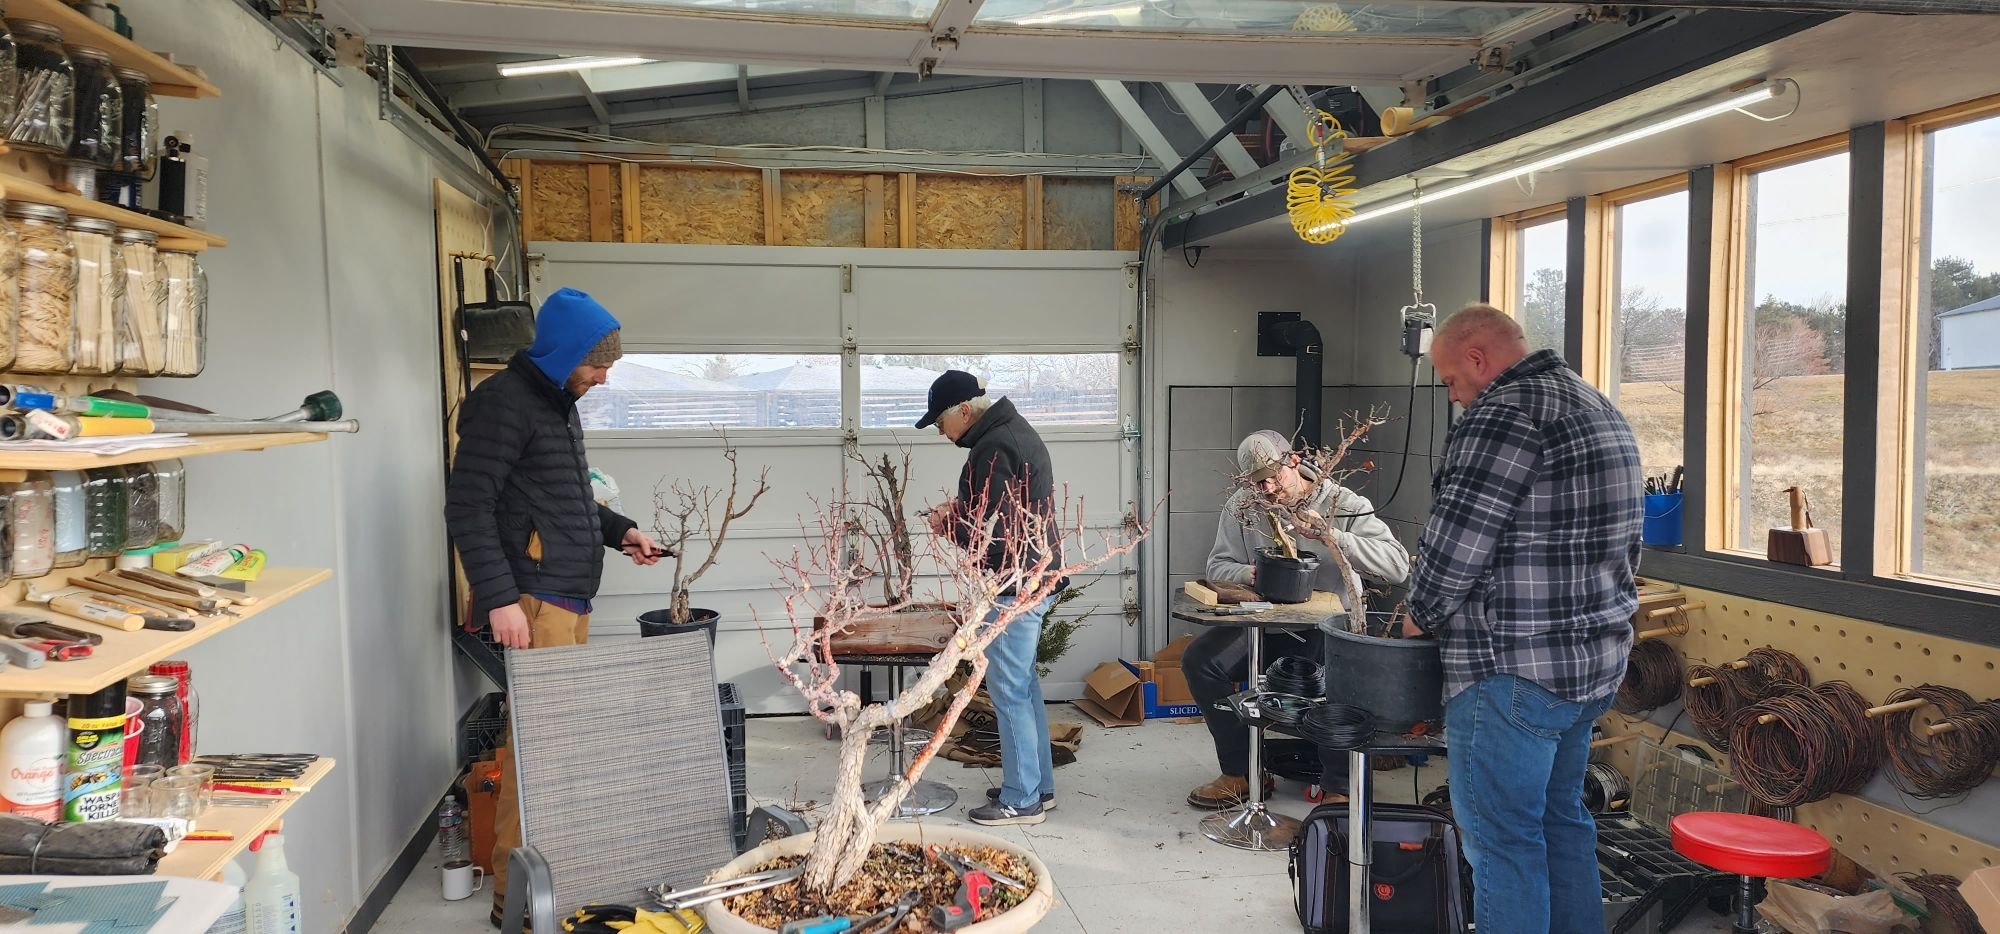
Now with the structure set, I’ll show you what I came up with for my storage, workspace and photo solutions.
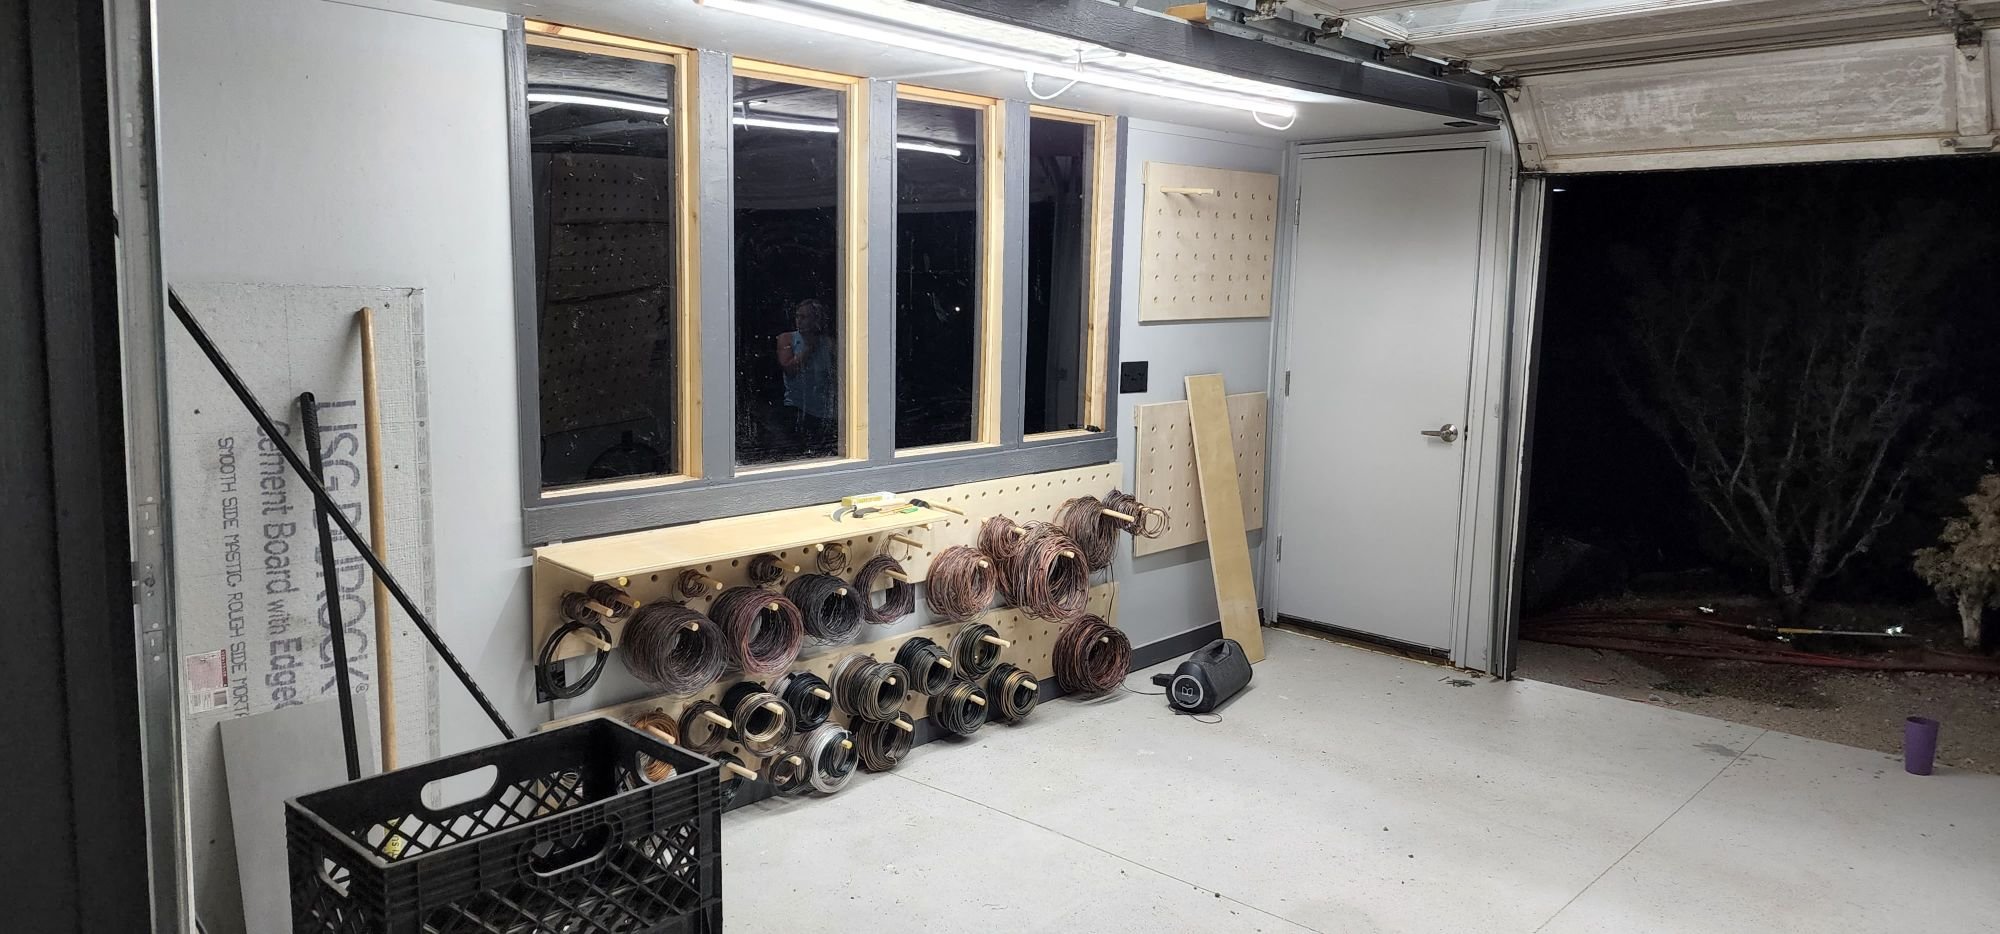
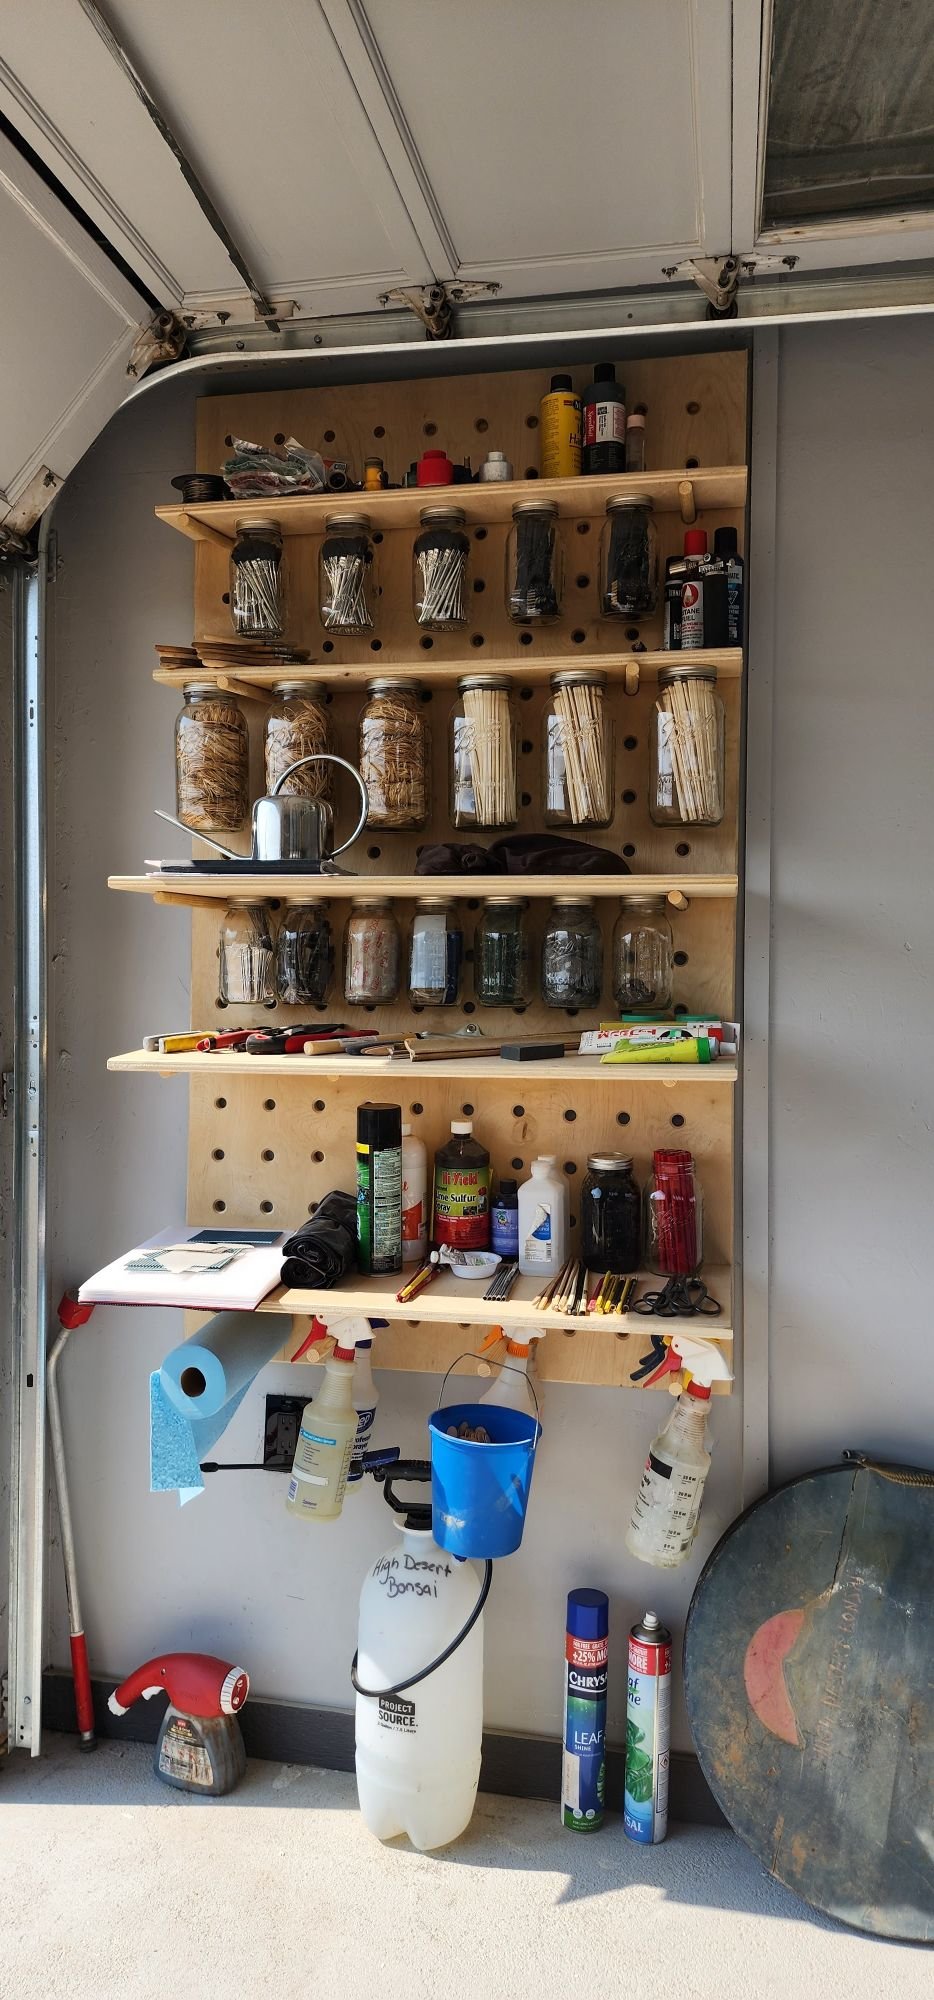
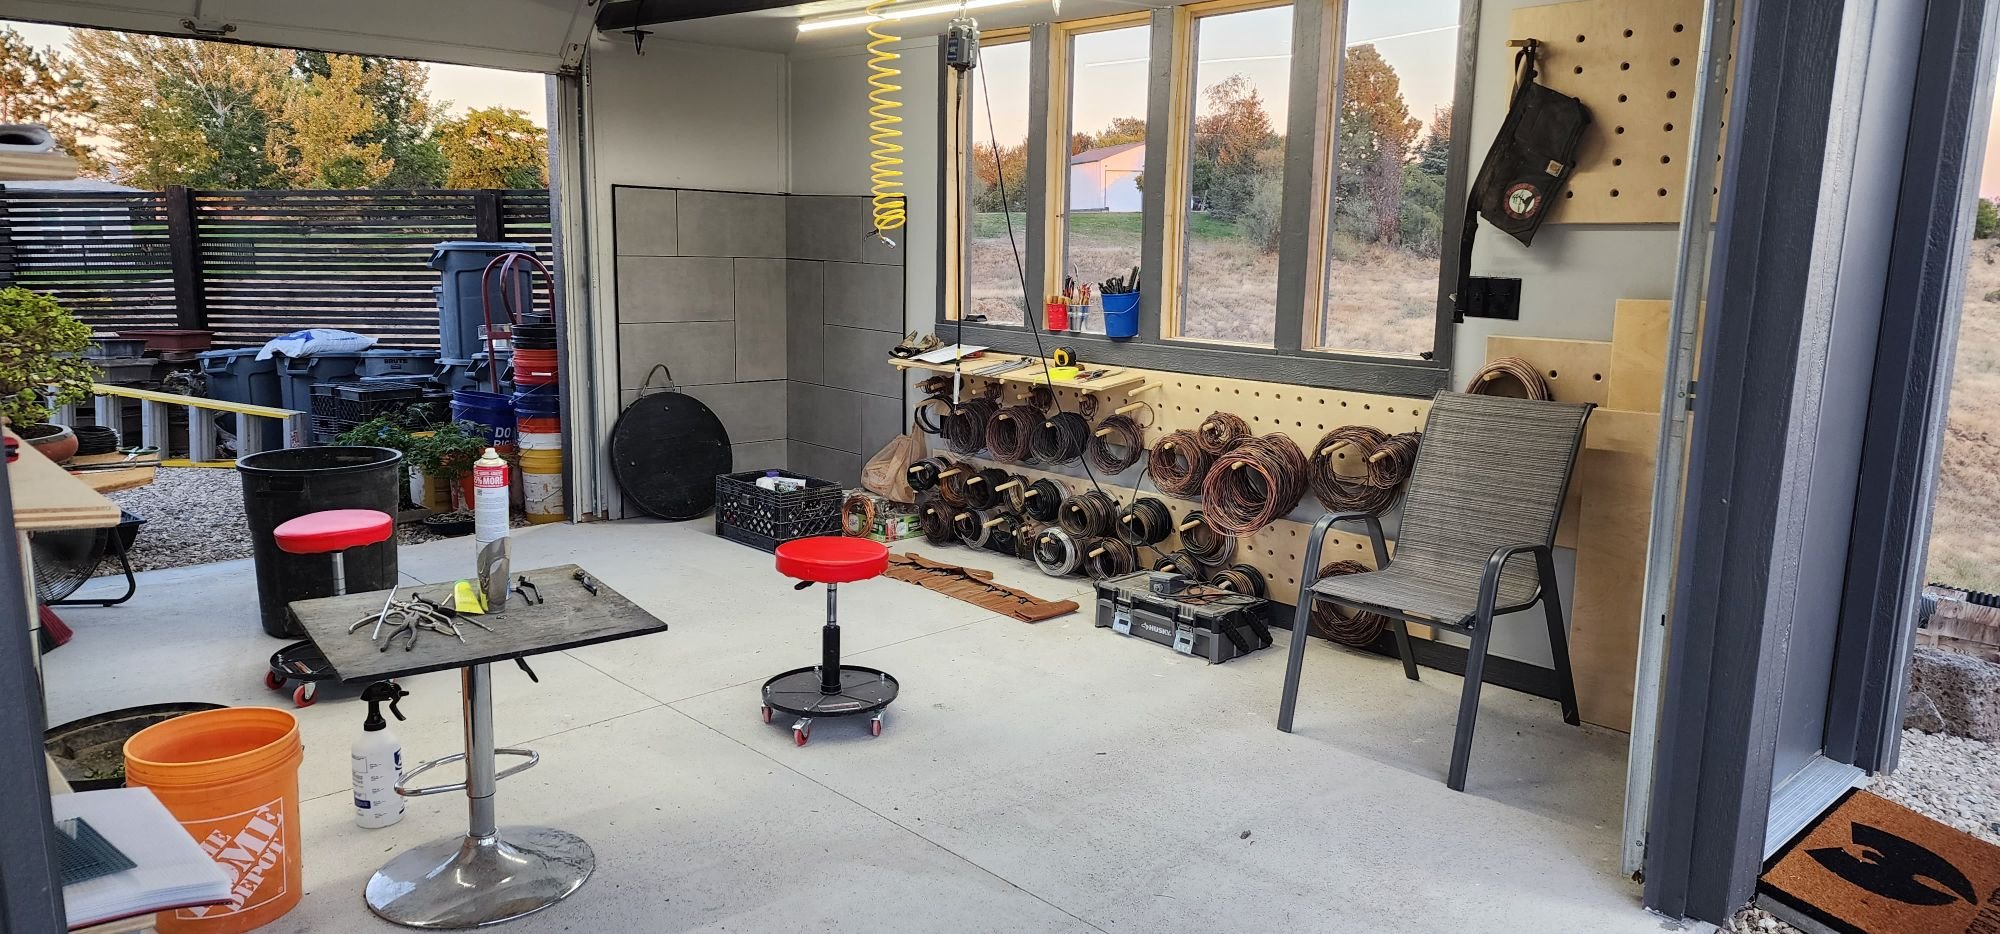
I used the area on the southern wall (high side of the structure to be my storage location. This area houses, shade cloth, potting supplies, stands, etc. The area below the windows (on the same wall) houses the bonsai wires, shelving for workshop tools, and the Foredom carving material. There’s a set of electrical switches that turn on the lights, fans, compressor, and remote features for the greenhouses (lights, fans, heaters). The southeast corner has the stove installed in it.
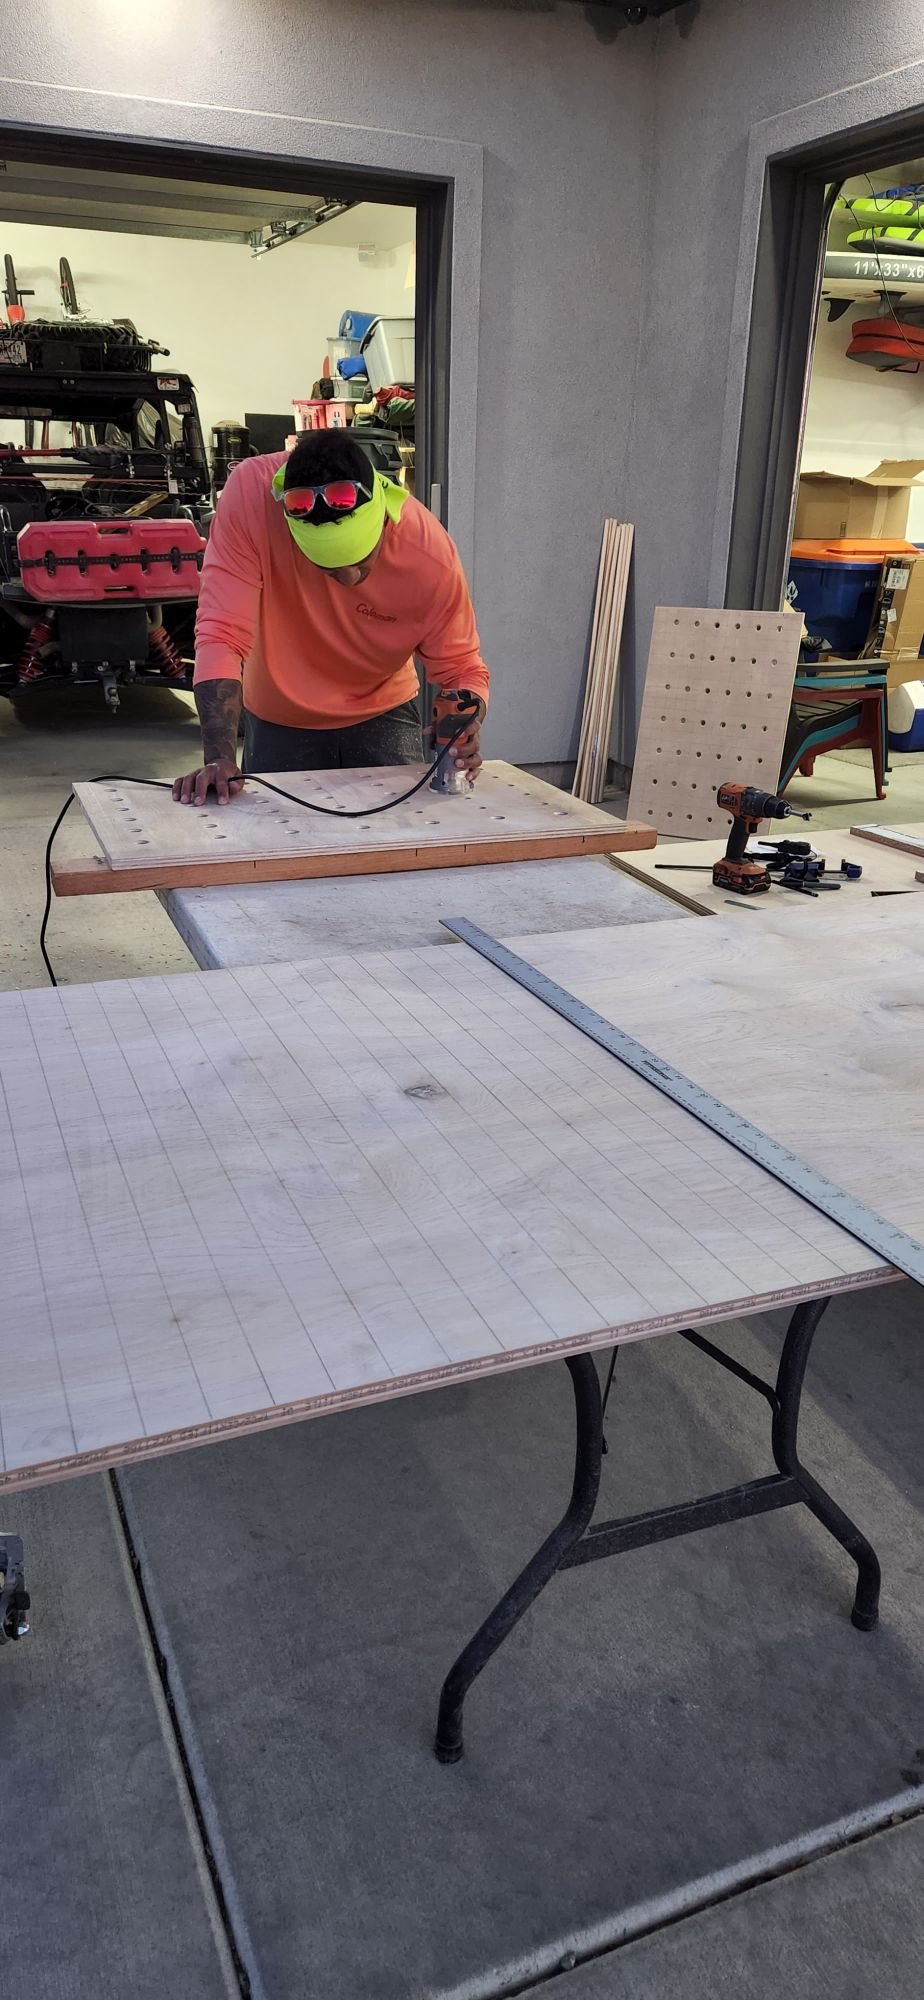
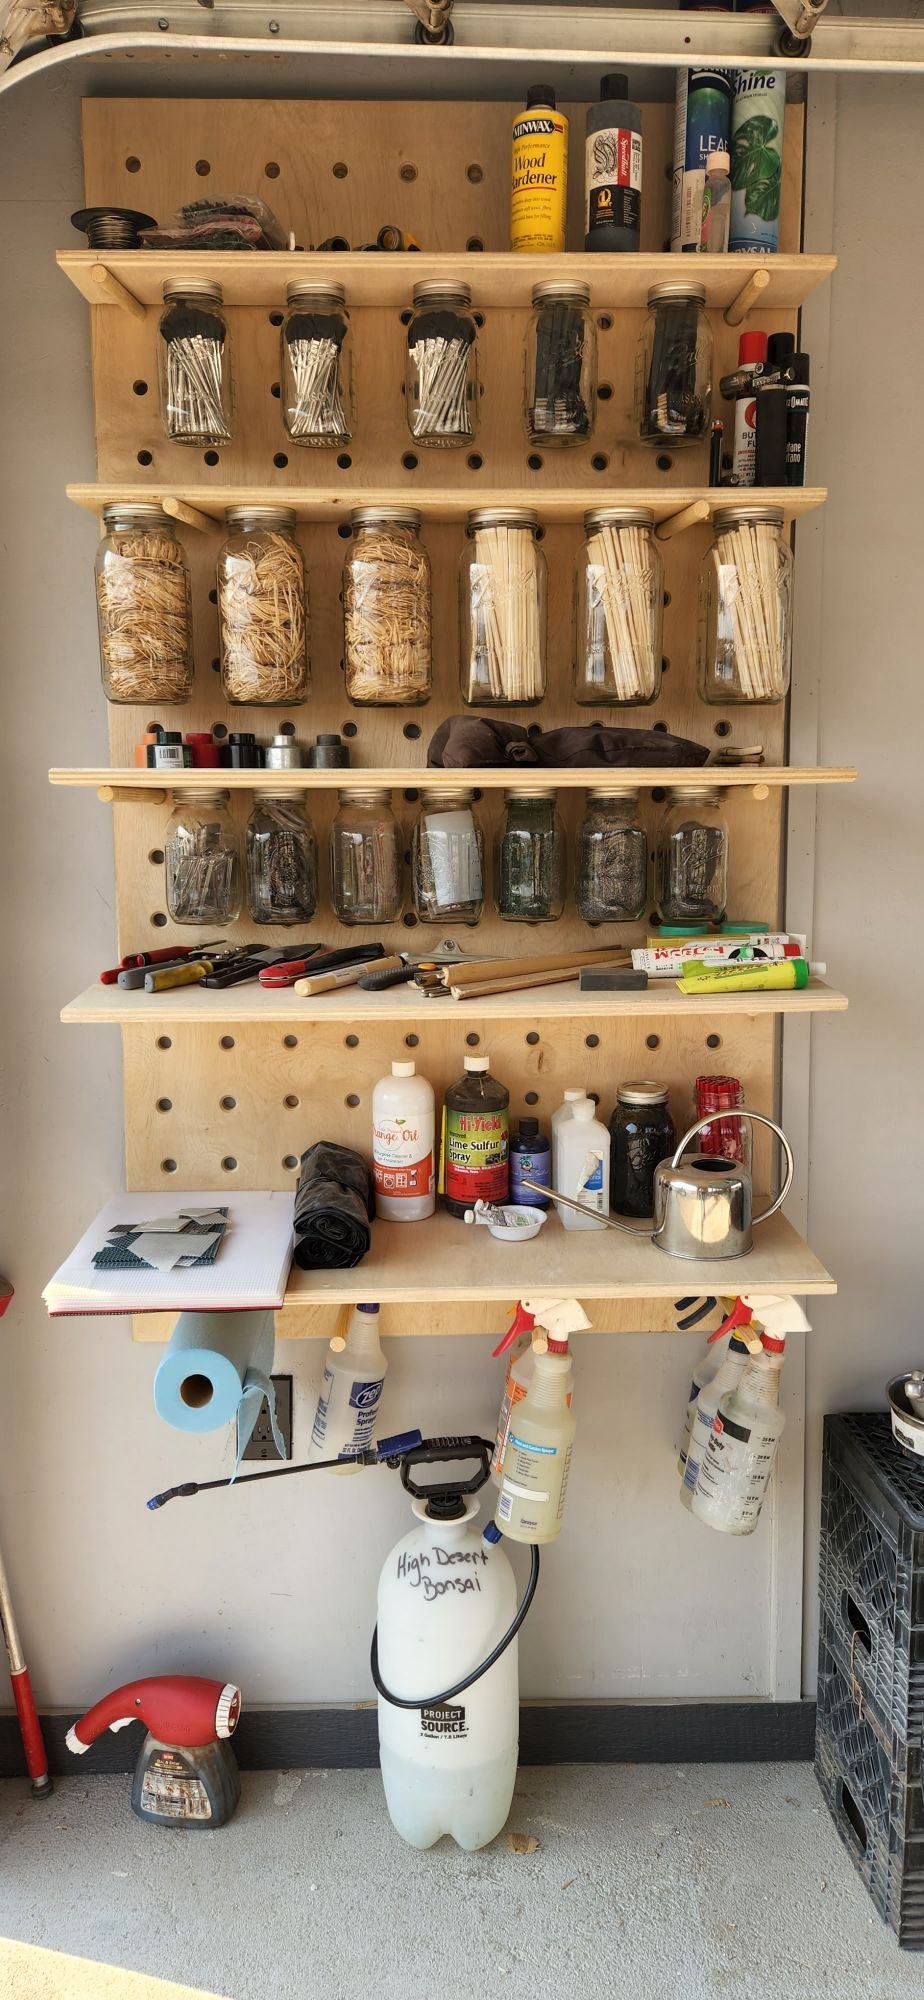
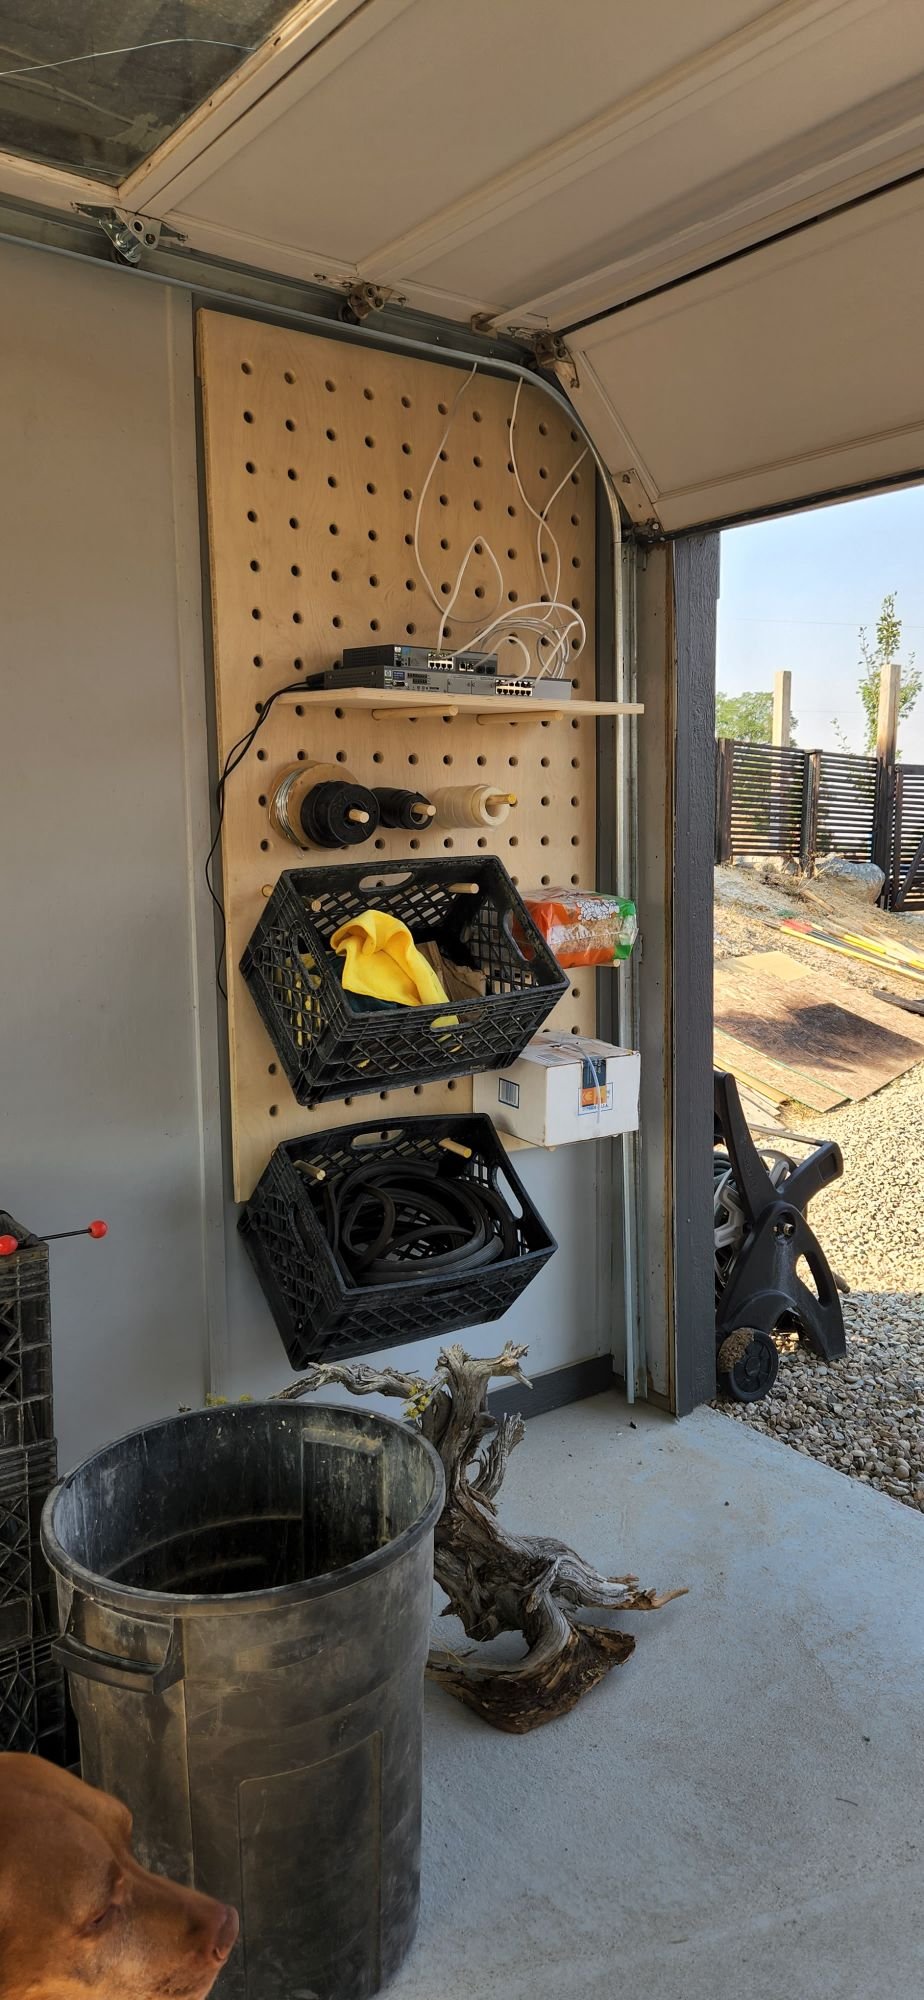
The north wall has more tools and is the wall used for photos. I built pegboard wall sections out of 3/4in sanded maple with 3/4in pegs that are built on a french cleat system. I can easily remove or reconfigure the layout along with adjusting how long the pegs are for the needs of the feature they are supporting.


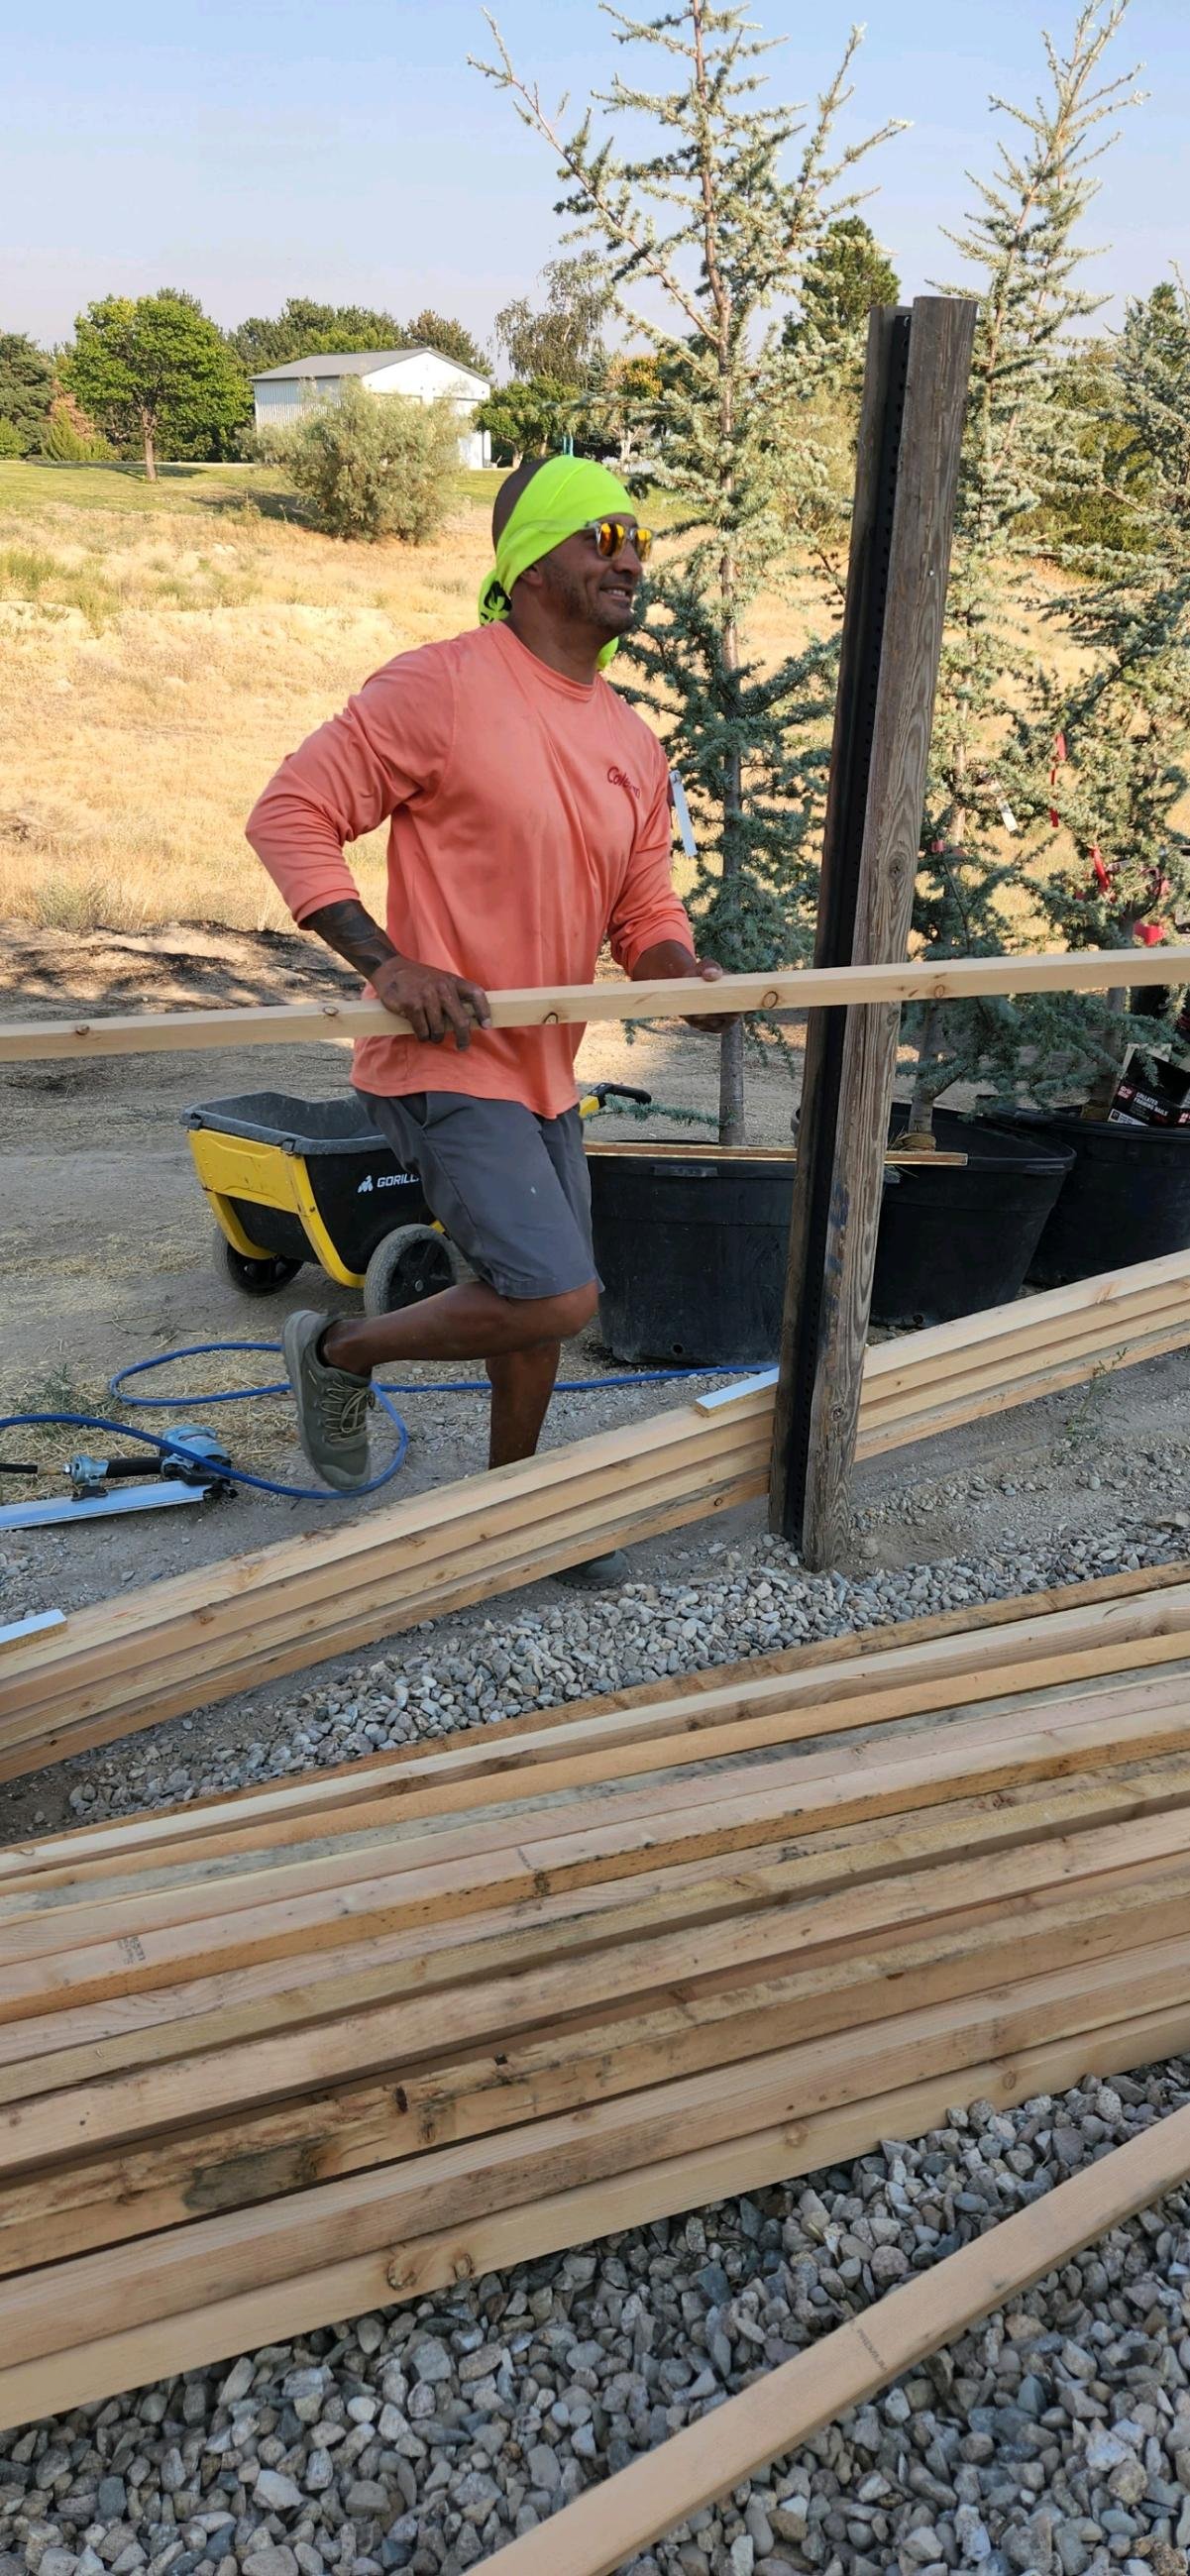
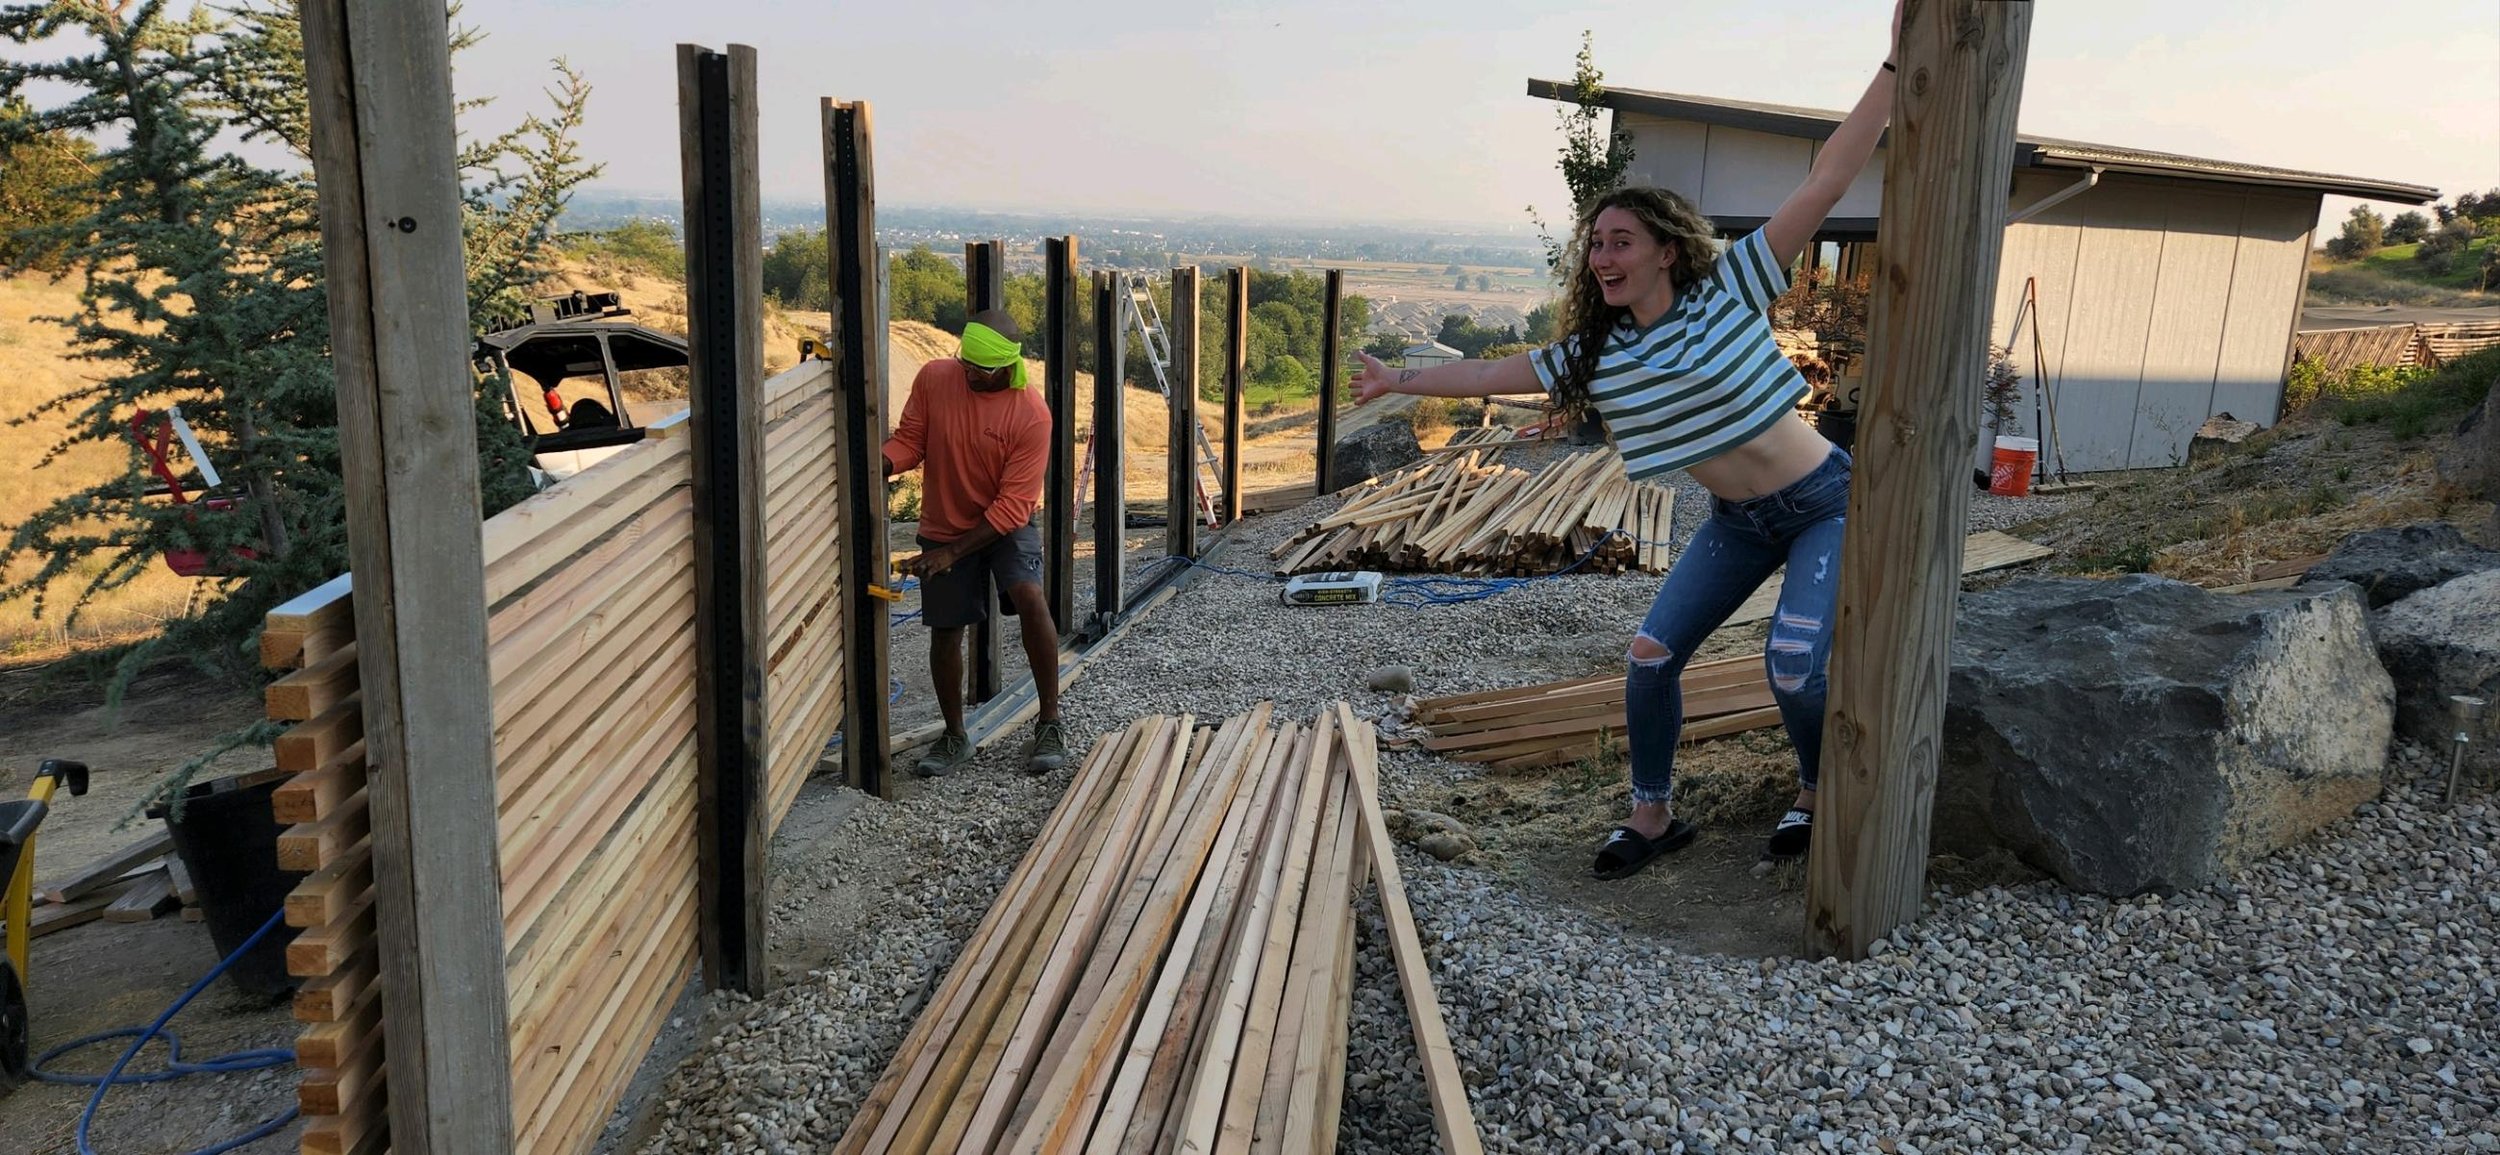
The last item I needed to address for this phase of the project, is the fence and finishing touches for the perimeter of the garden. I built a horizontally slatted fence with a sliding gate, man-gate, and a Tori gate that will tie in the next phase of the garden 2023. I used the same visual style as the other sections of fencing in the initial landscape design. I then applied sho sugi ban to the slats and planted several trees to get things moving before fall set in. I moved all the potting materials pottery and misc goods up to the studio terrace in preparation for the next season of planting & yamadori sessions. Here are some photos of the progression. Please note the Wu-Tang entry mat for all my fellow hip-hop fans.


Thanks for your time! If you have any questions, or are looking for ideas &/or help please reach out to me.
Jon